
HOW TO
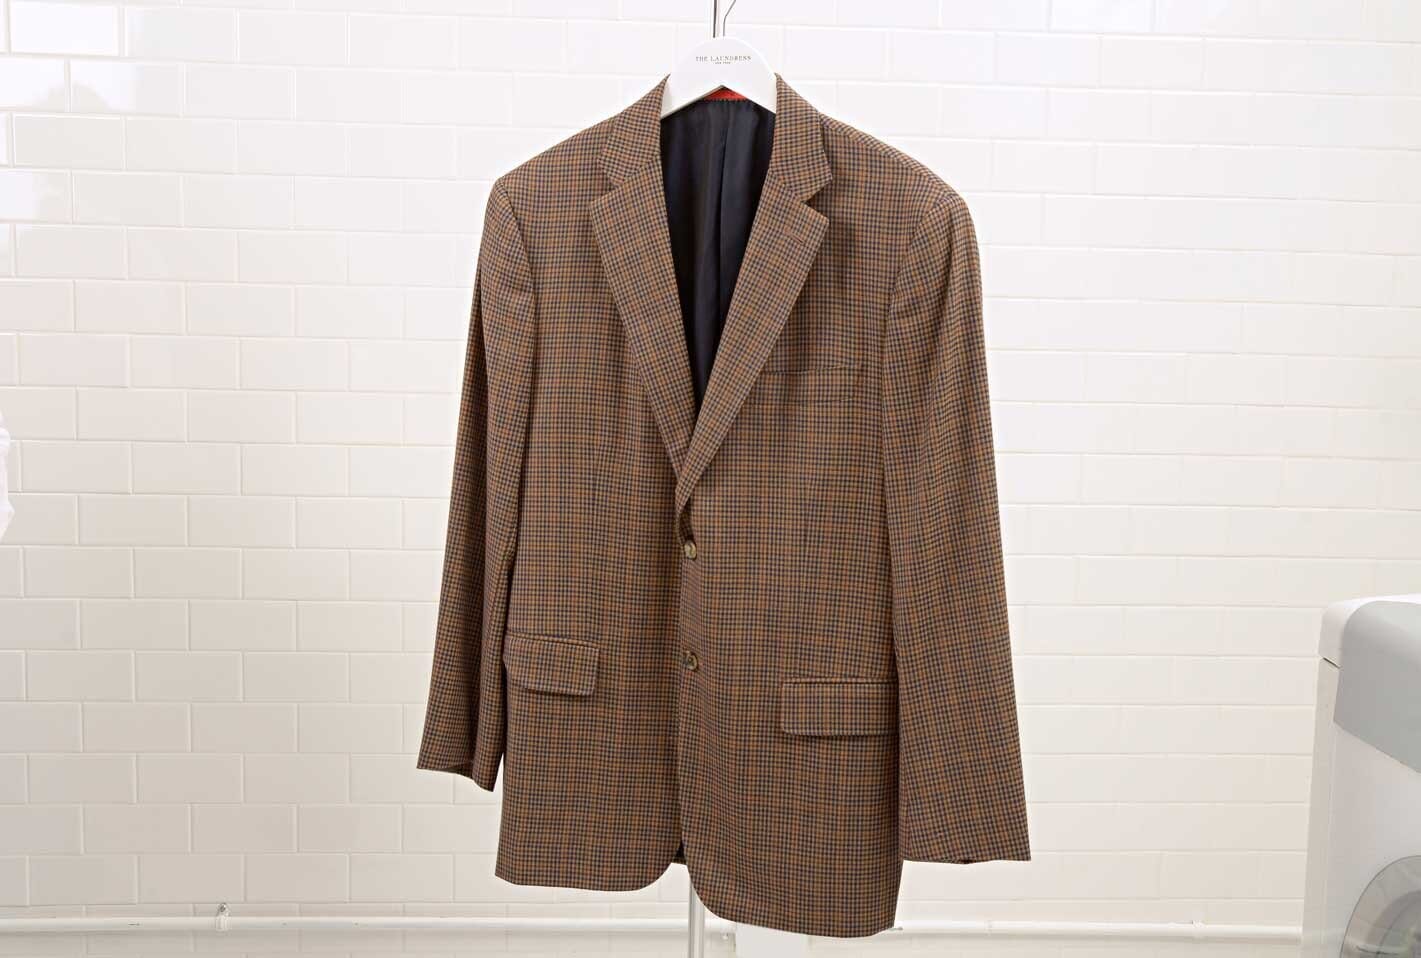
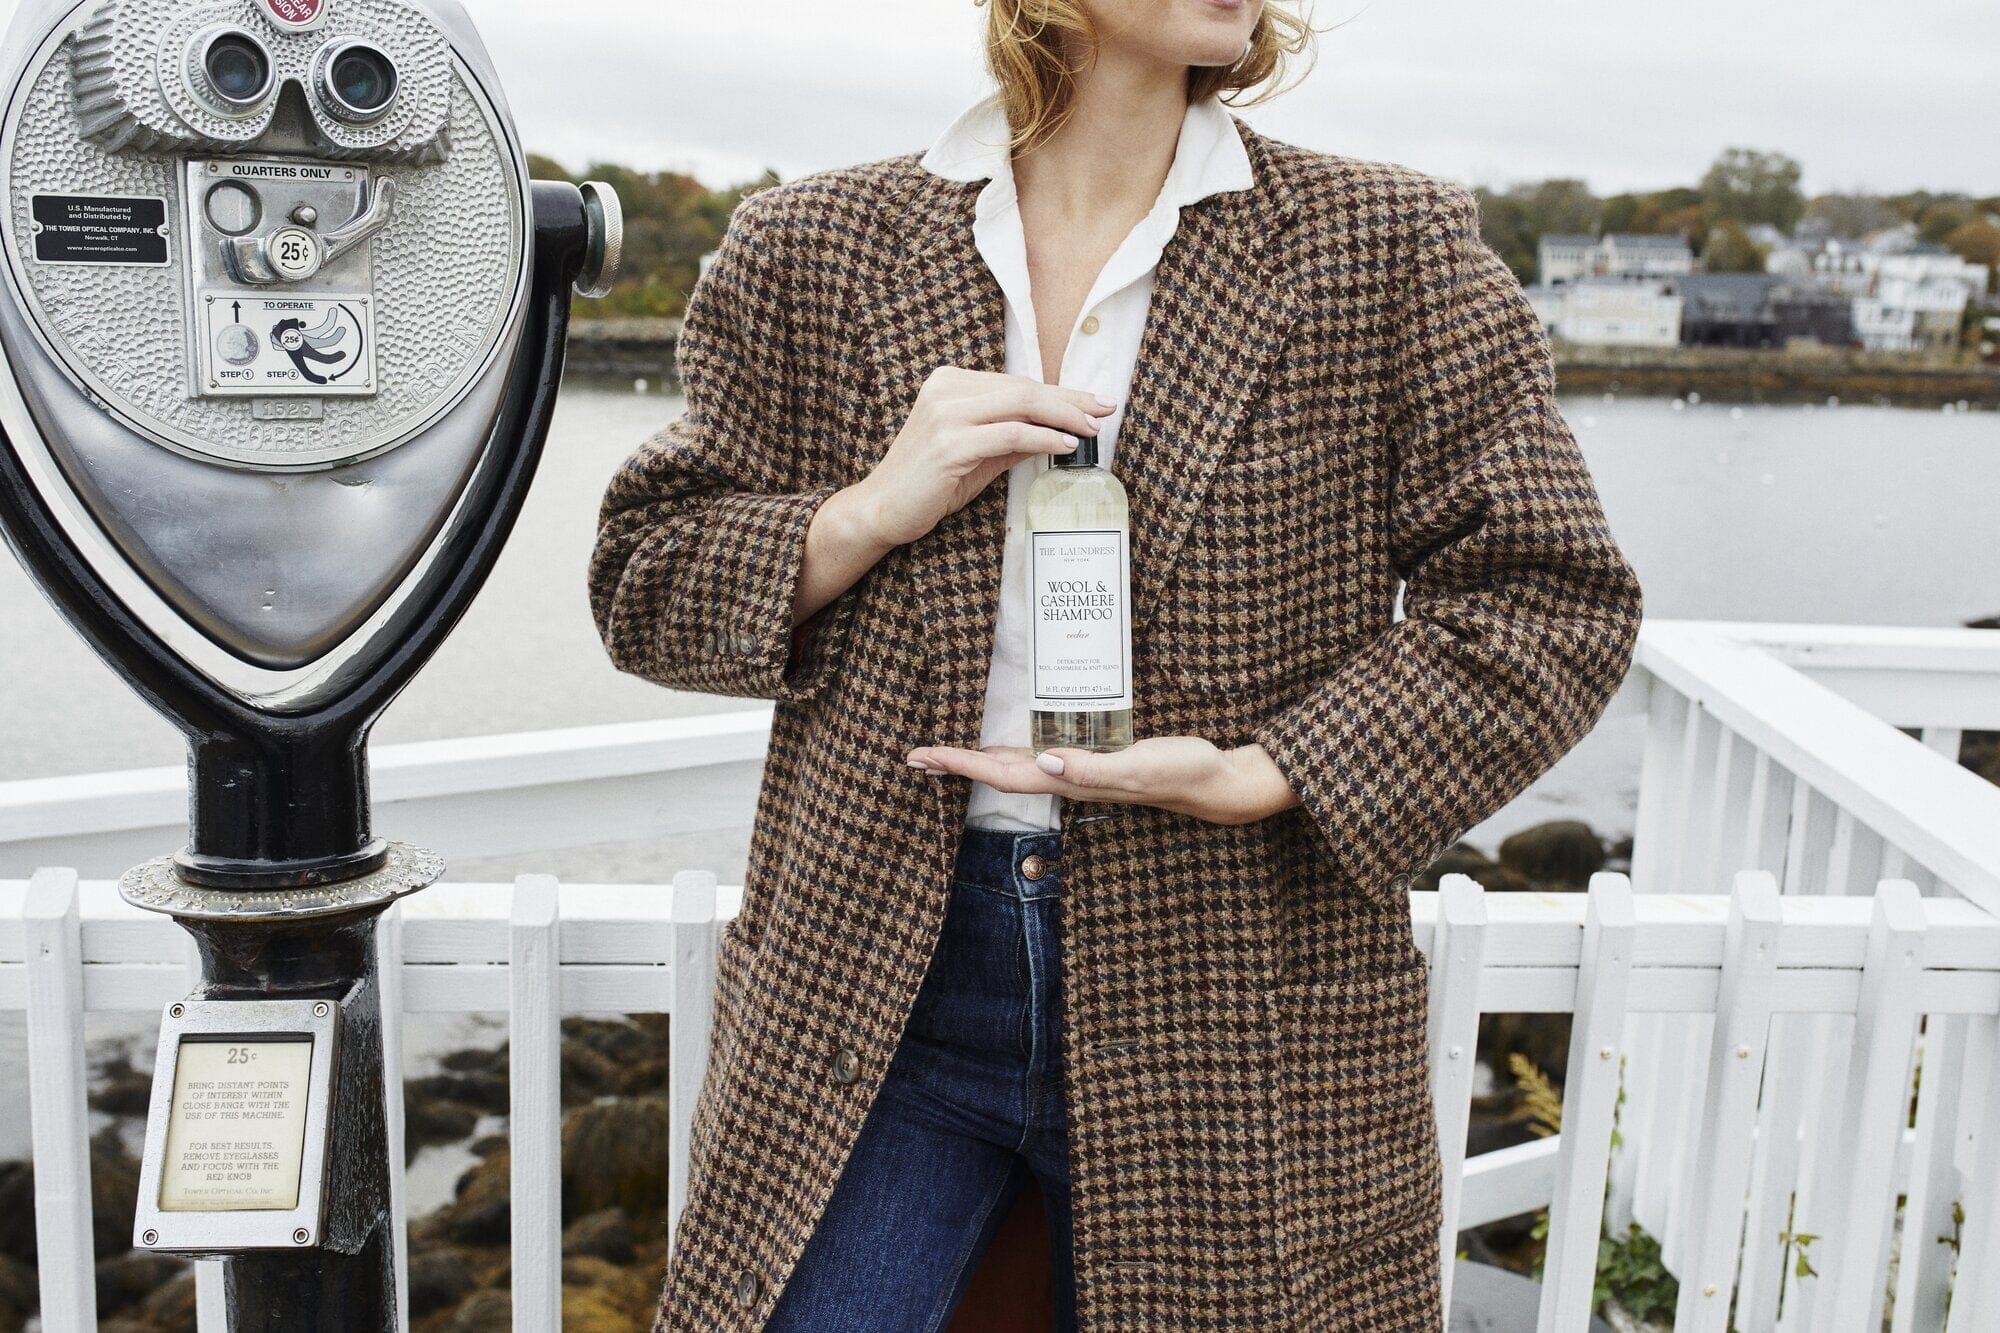
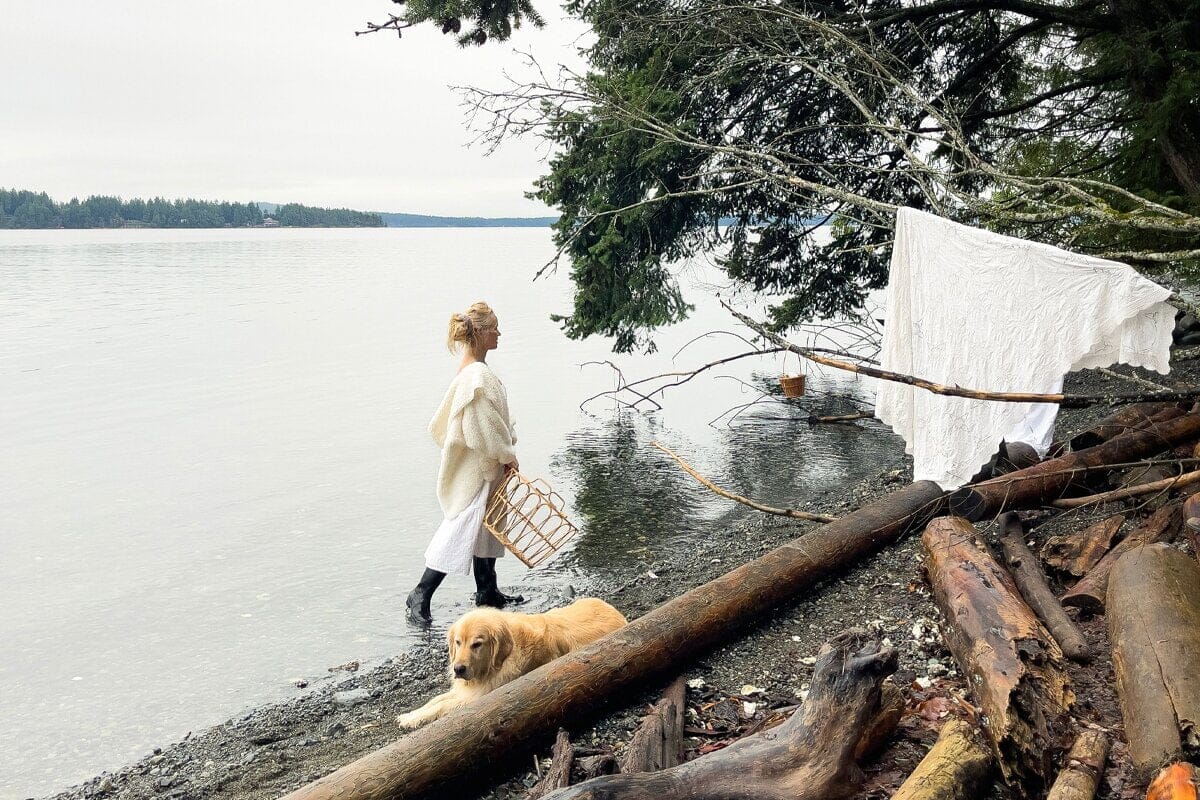
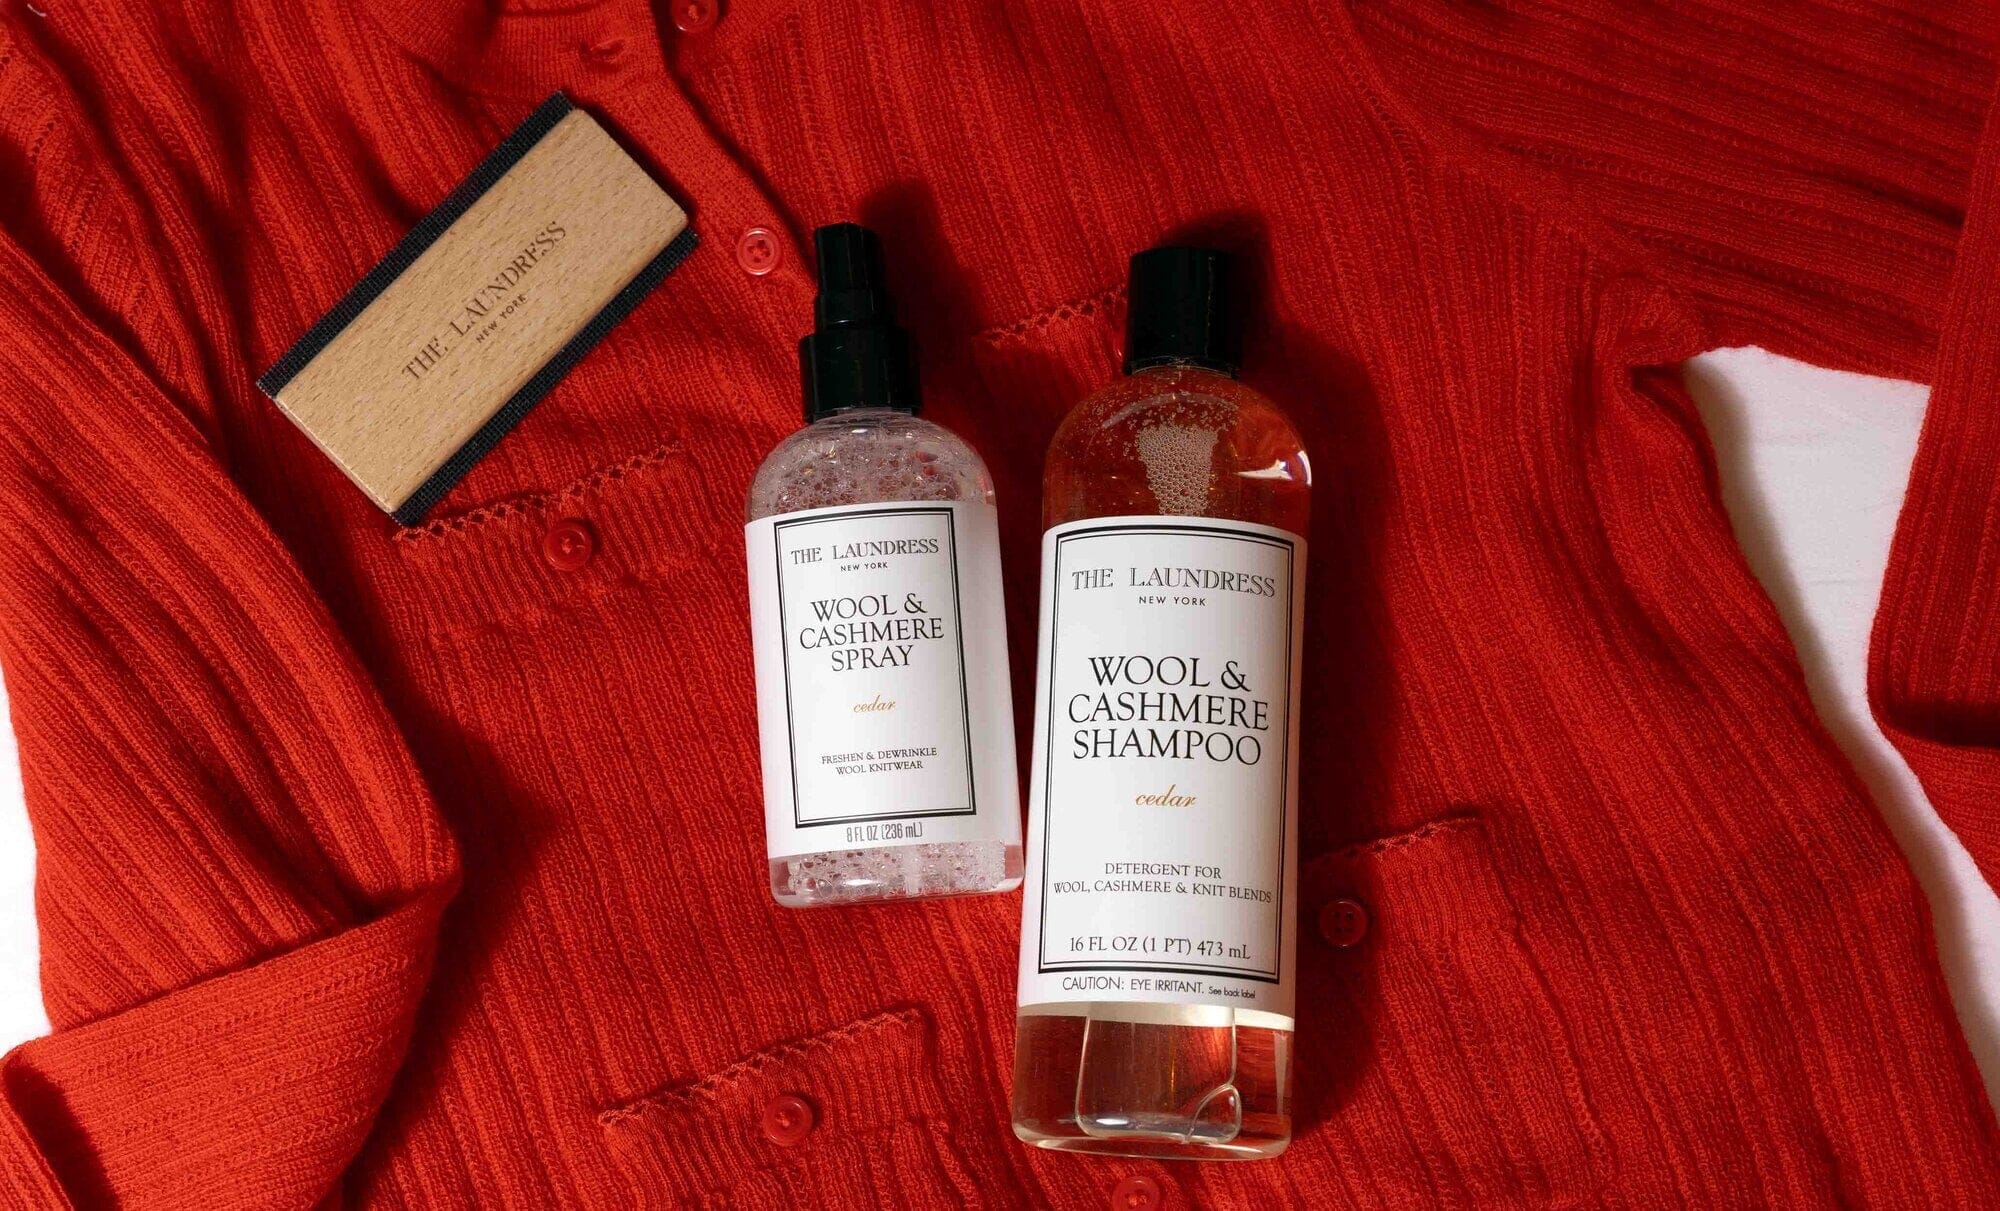
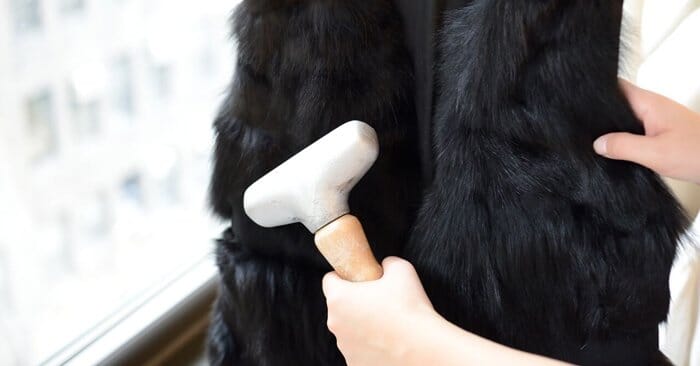
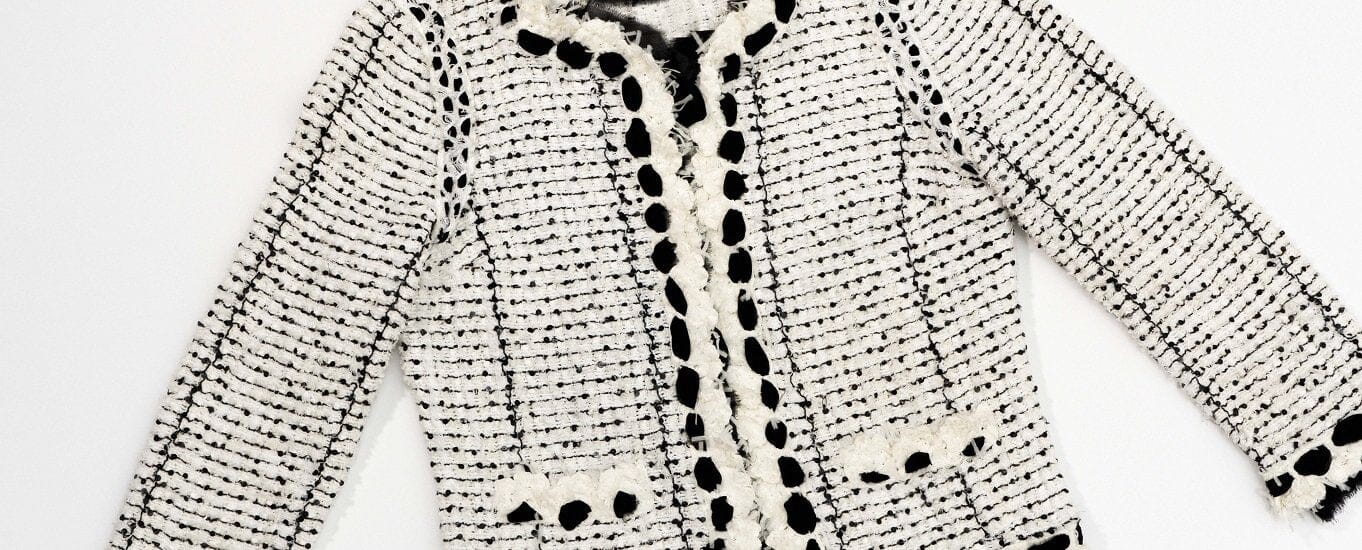
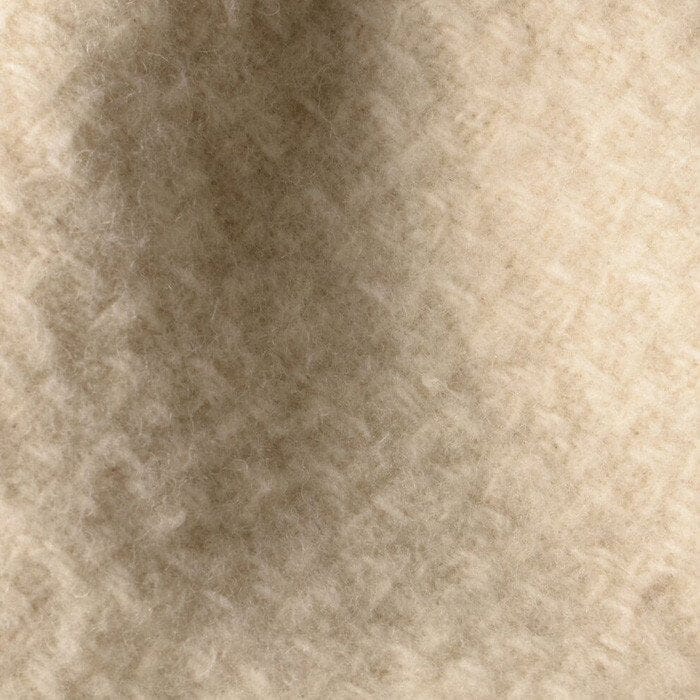
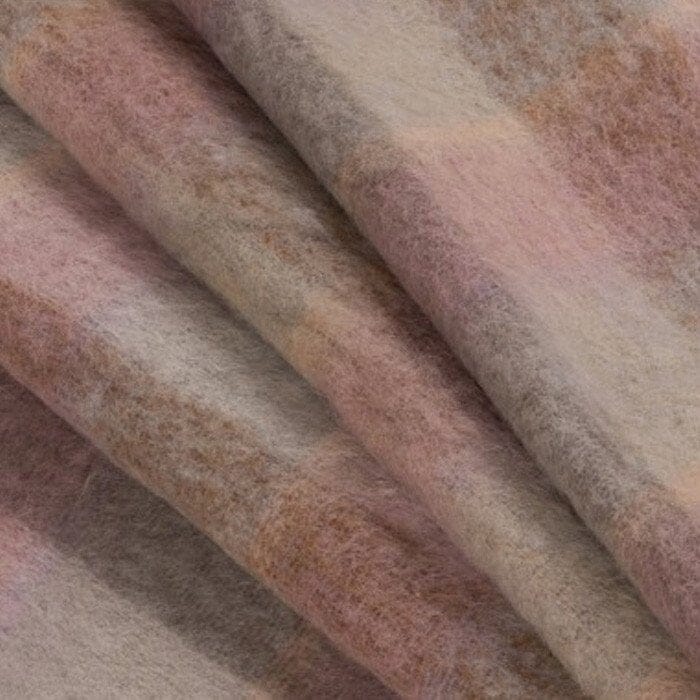
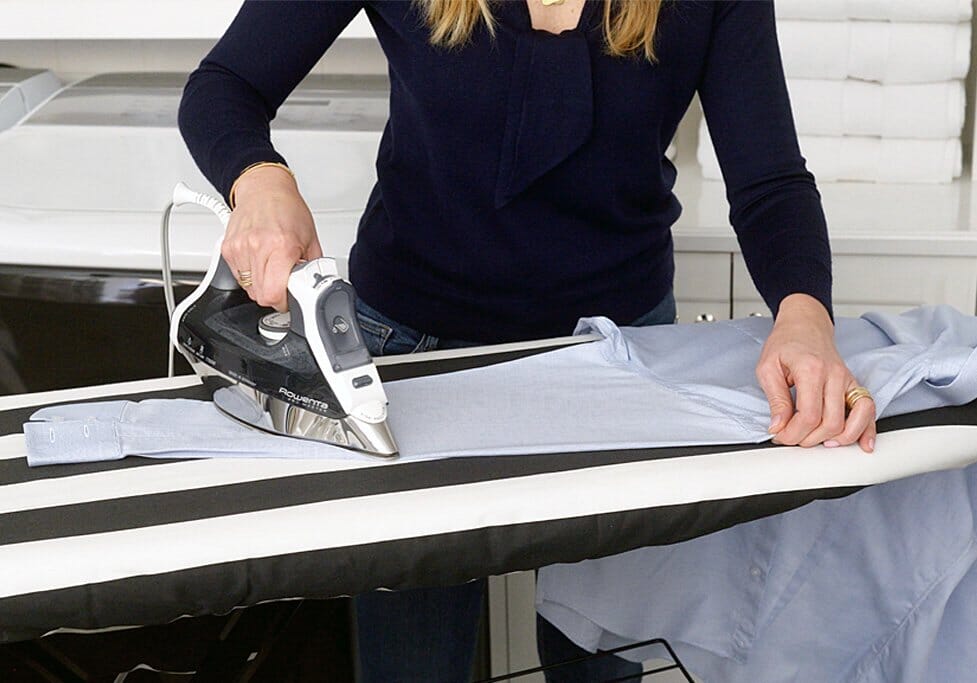
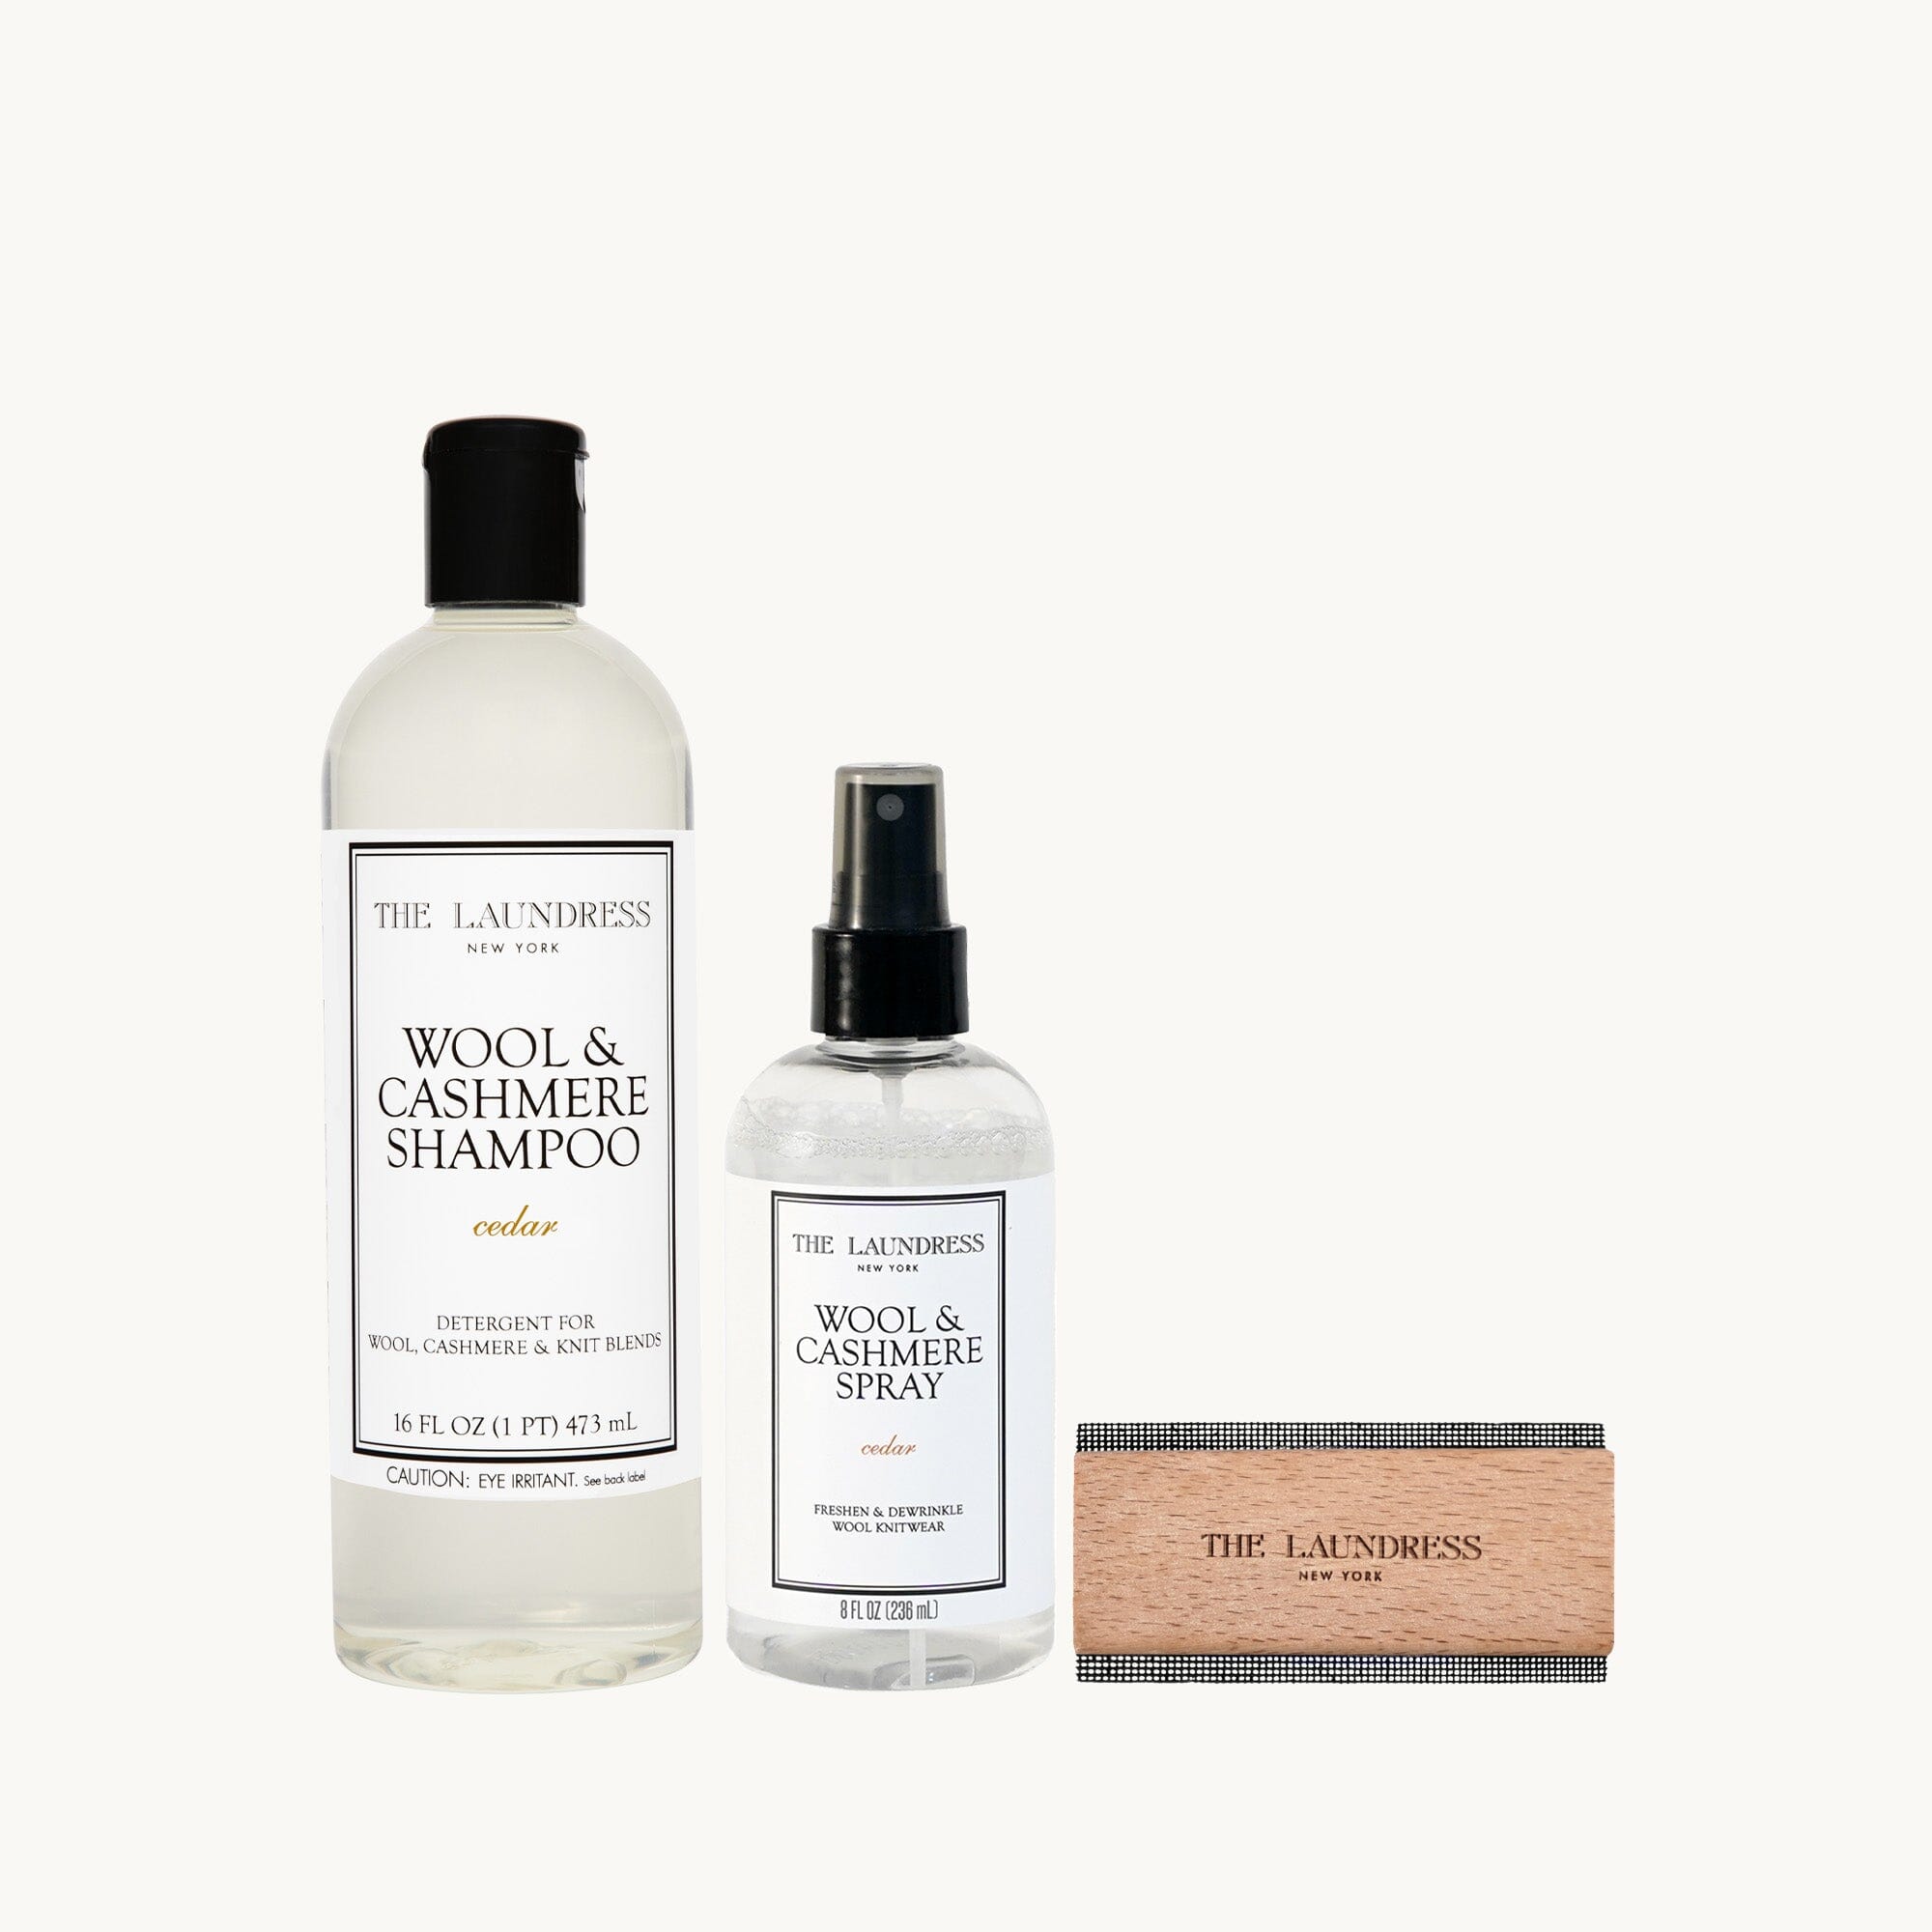
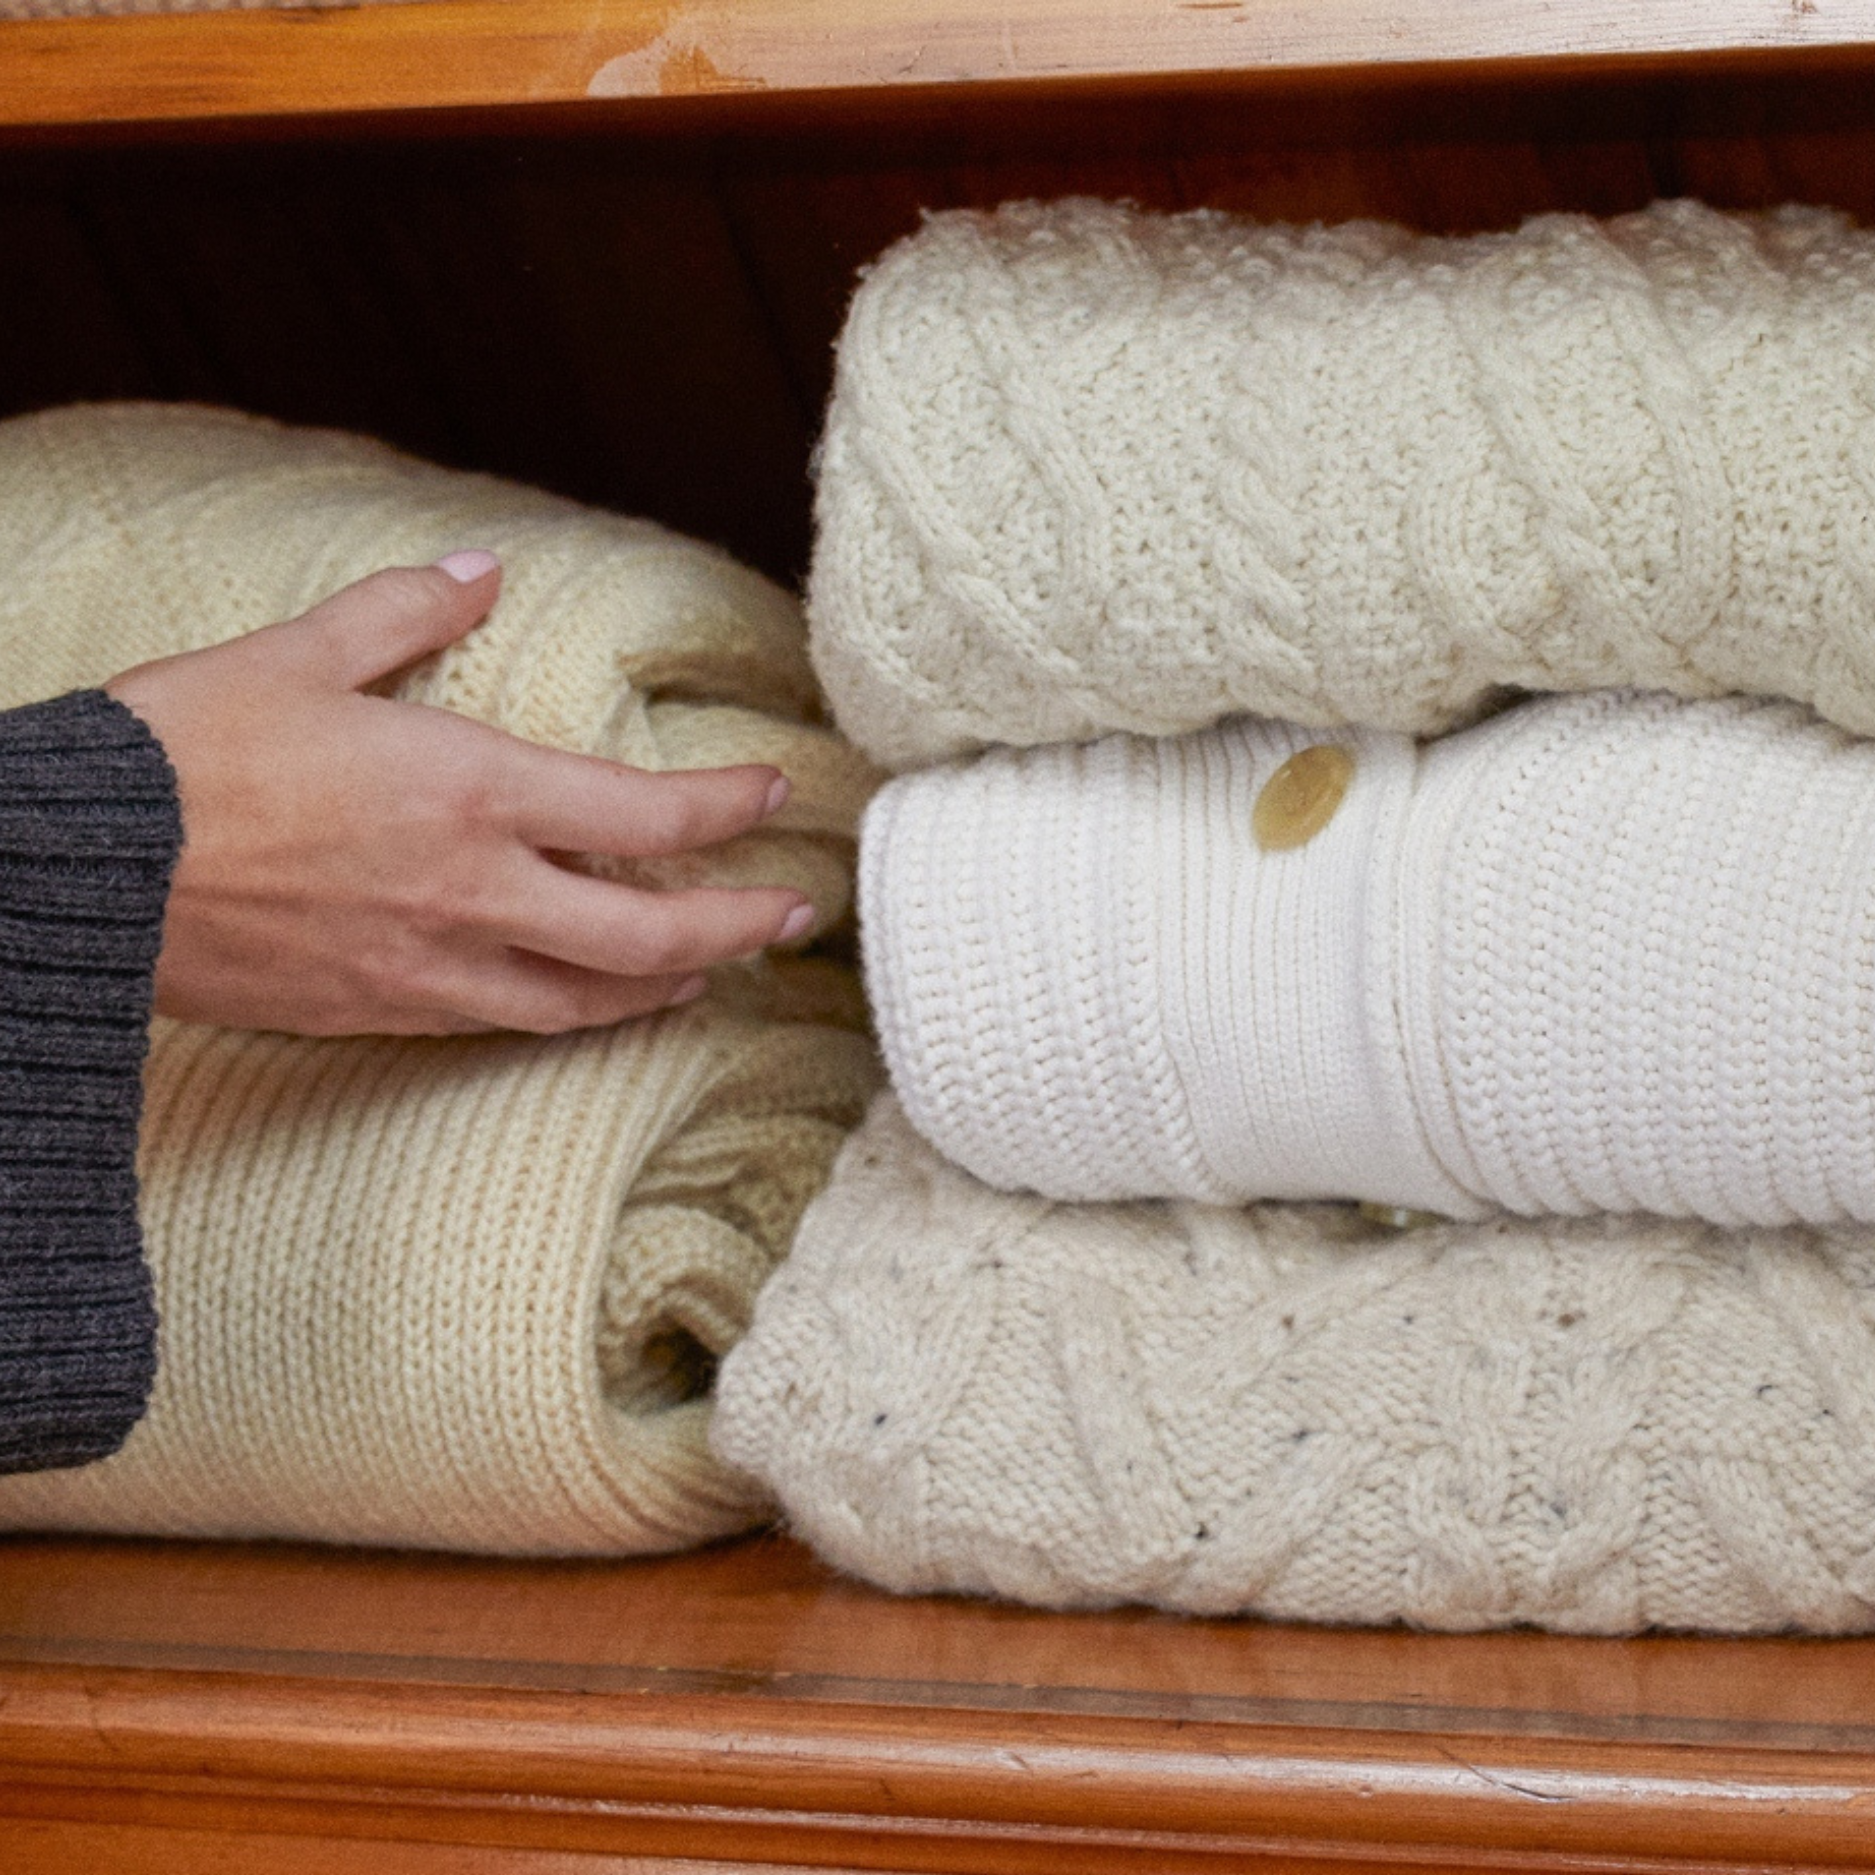
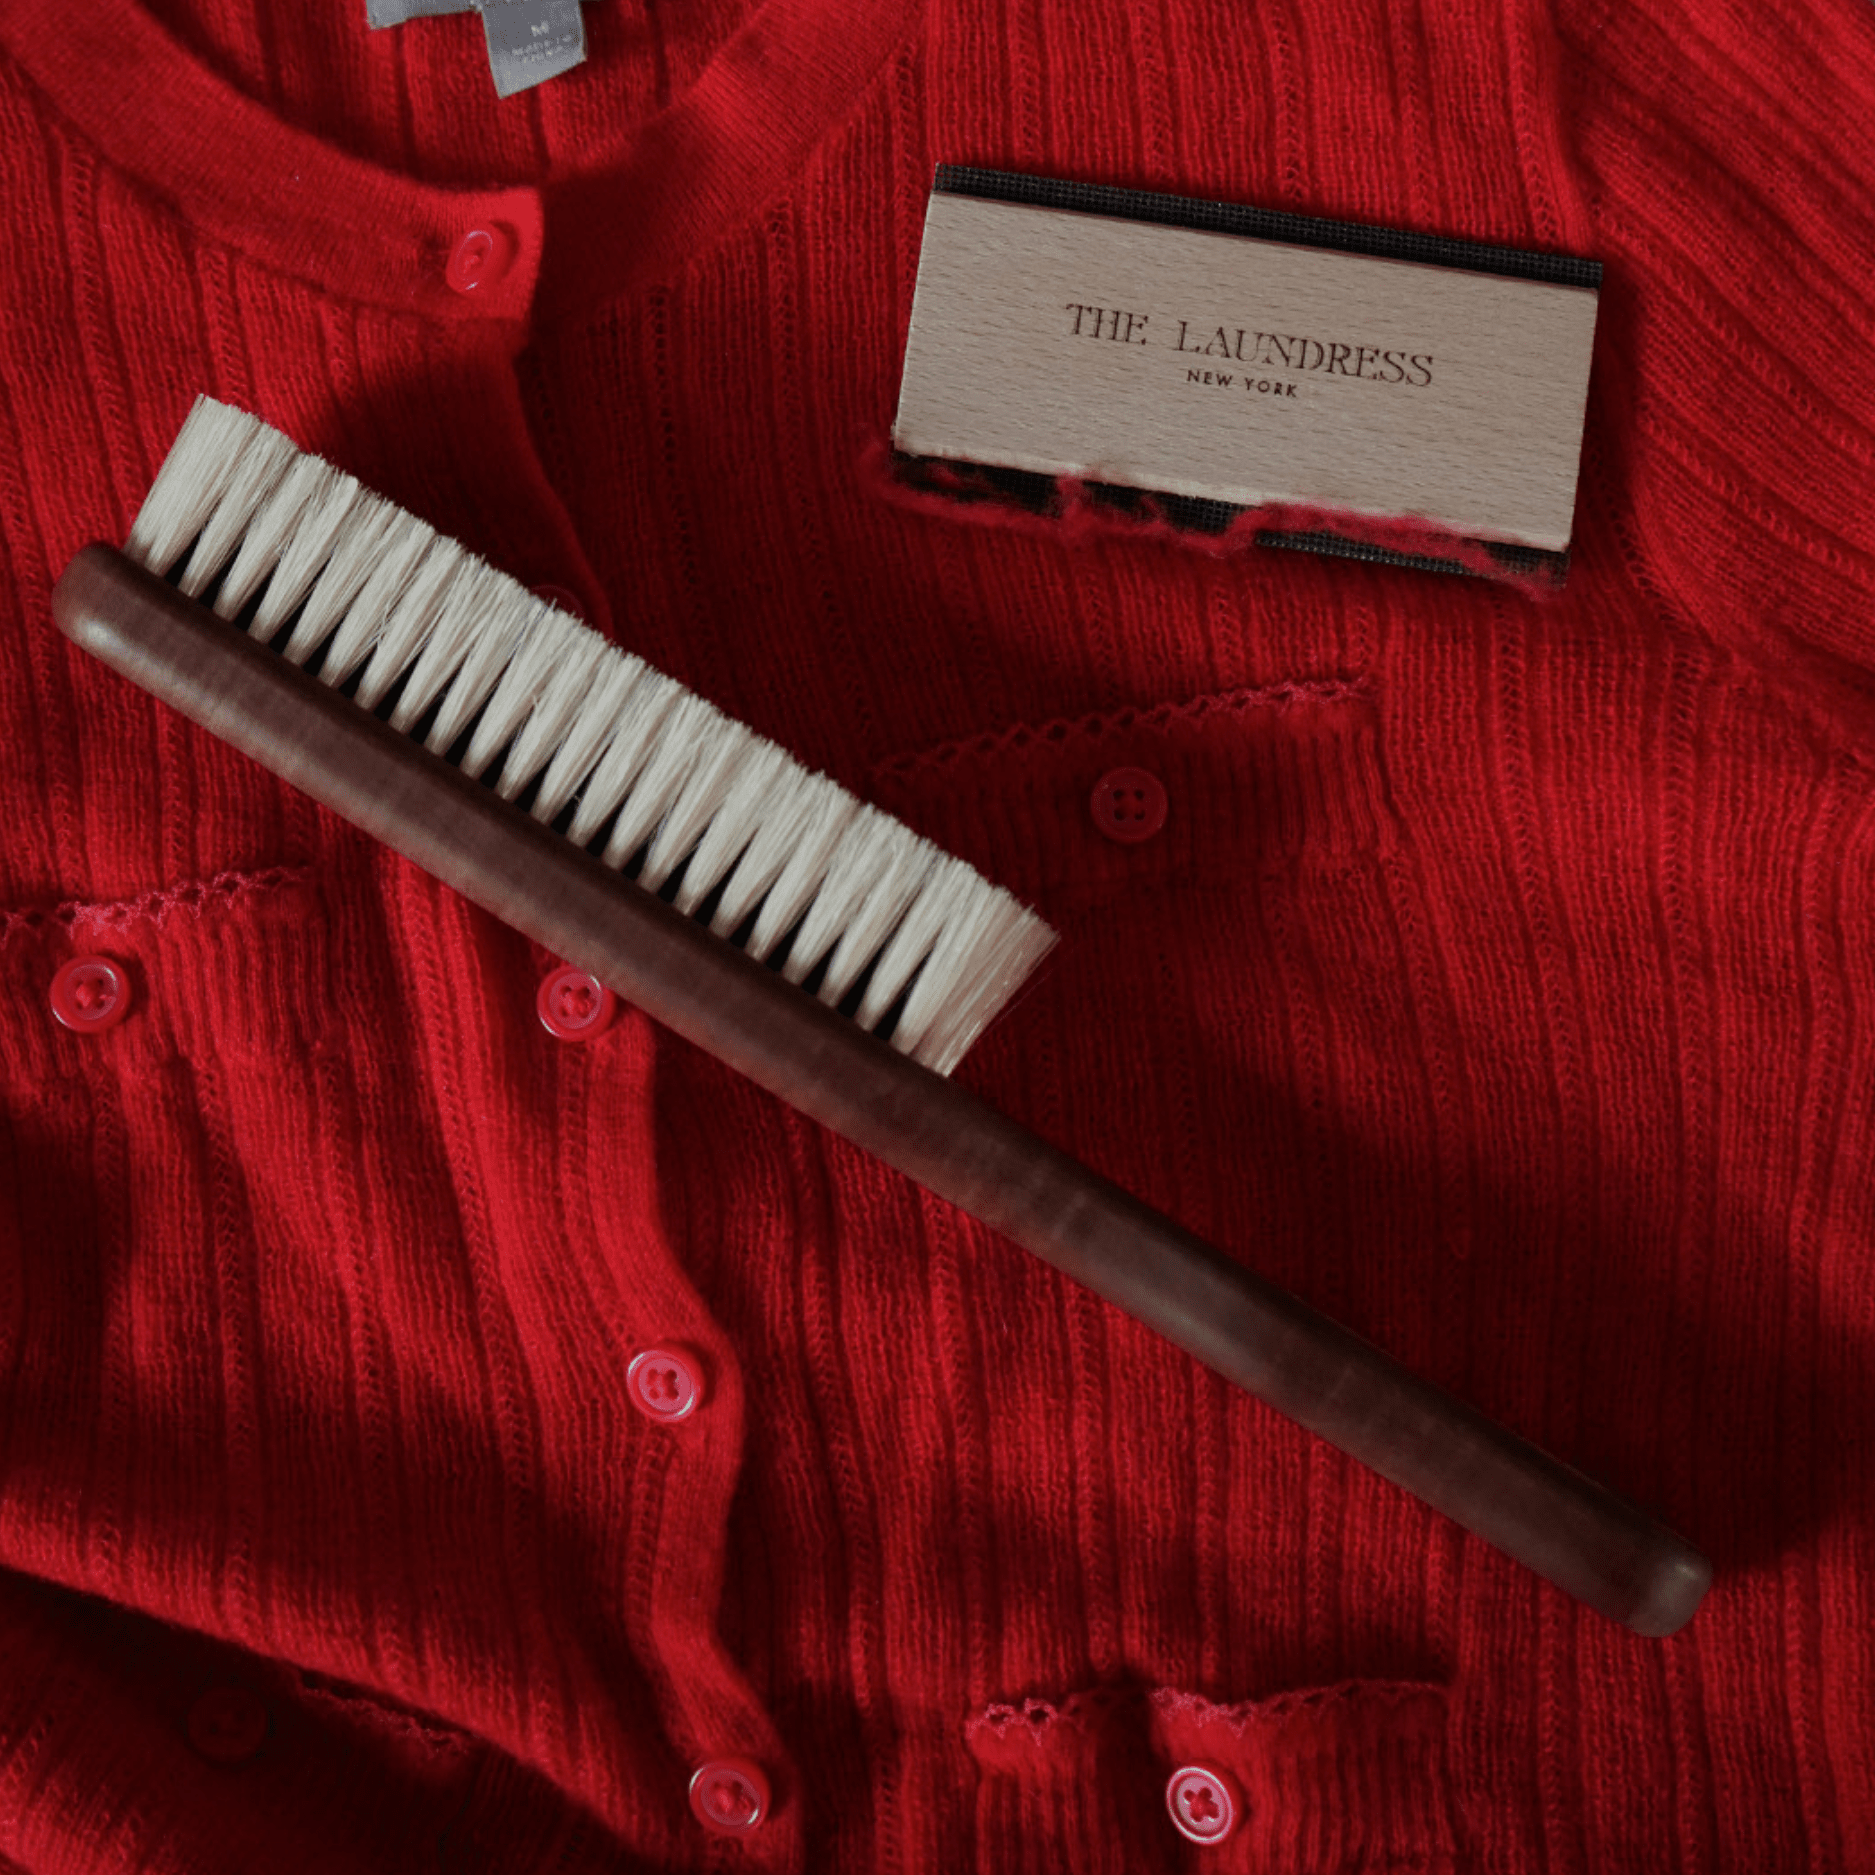
How To Clean and Preserve Precious Wool & Cashmere At Home

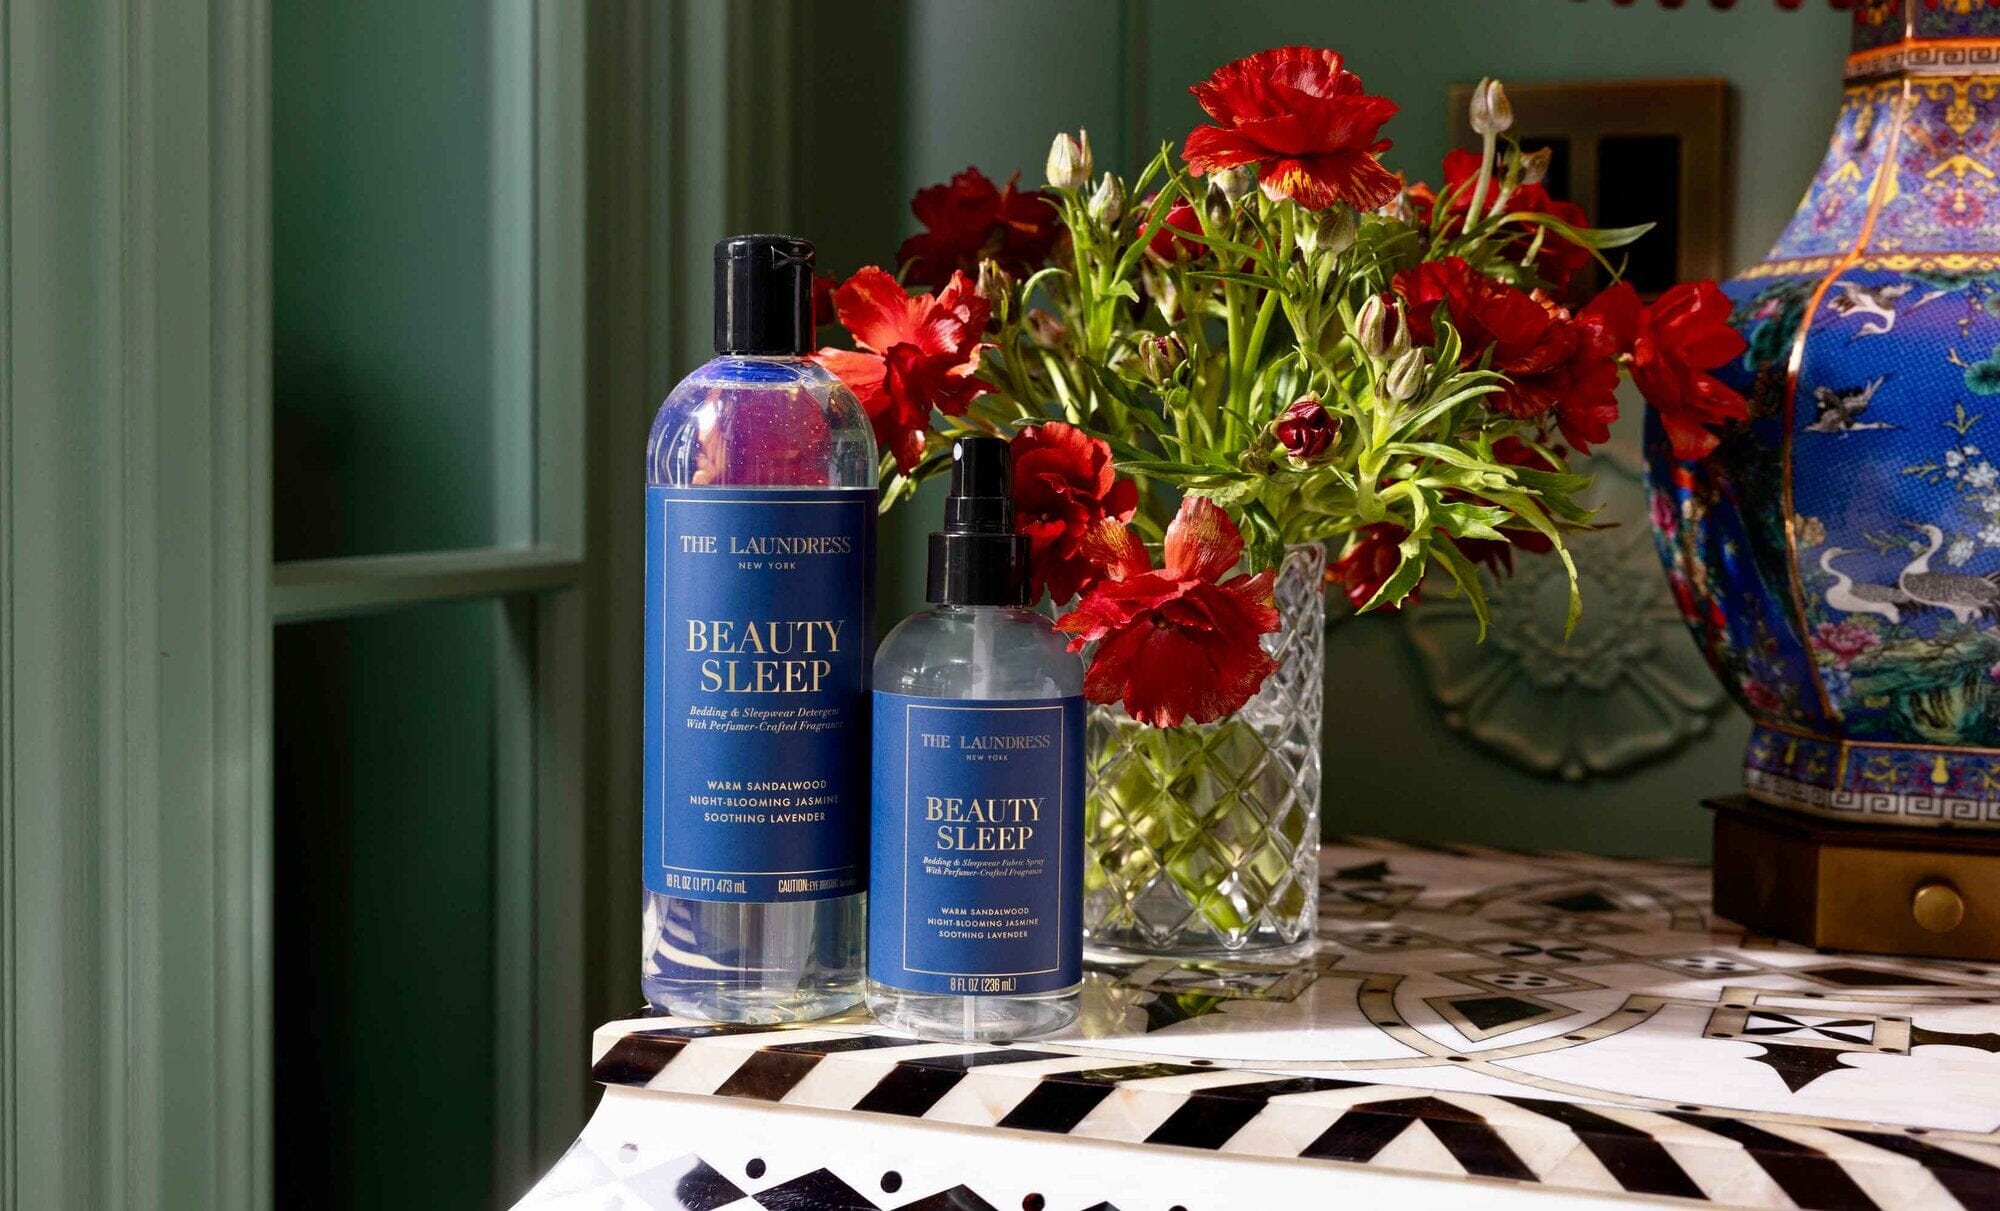
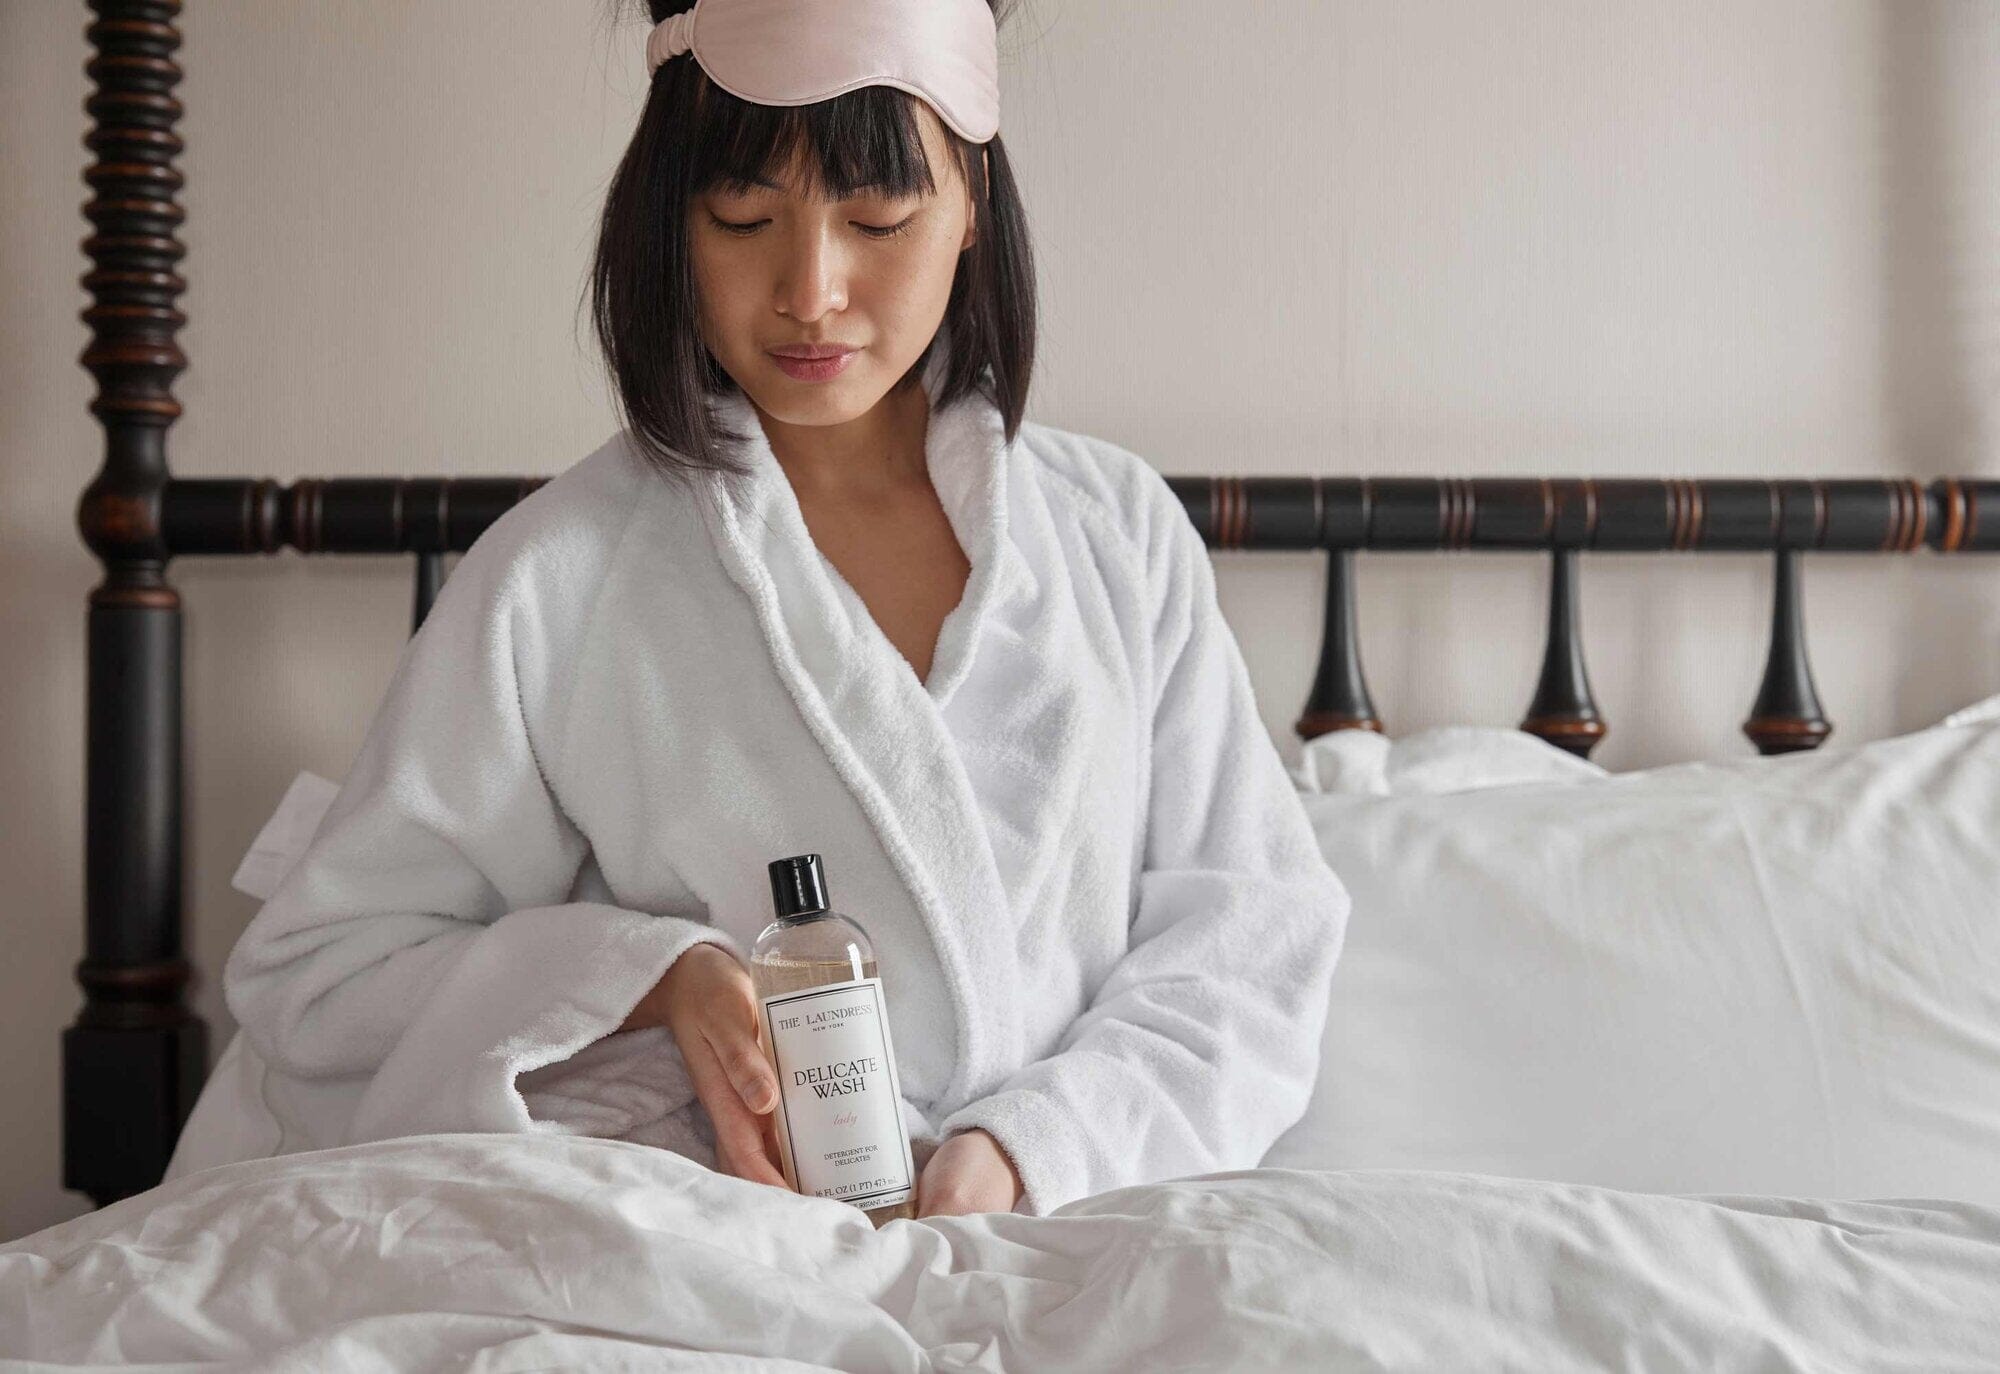
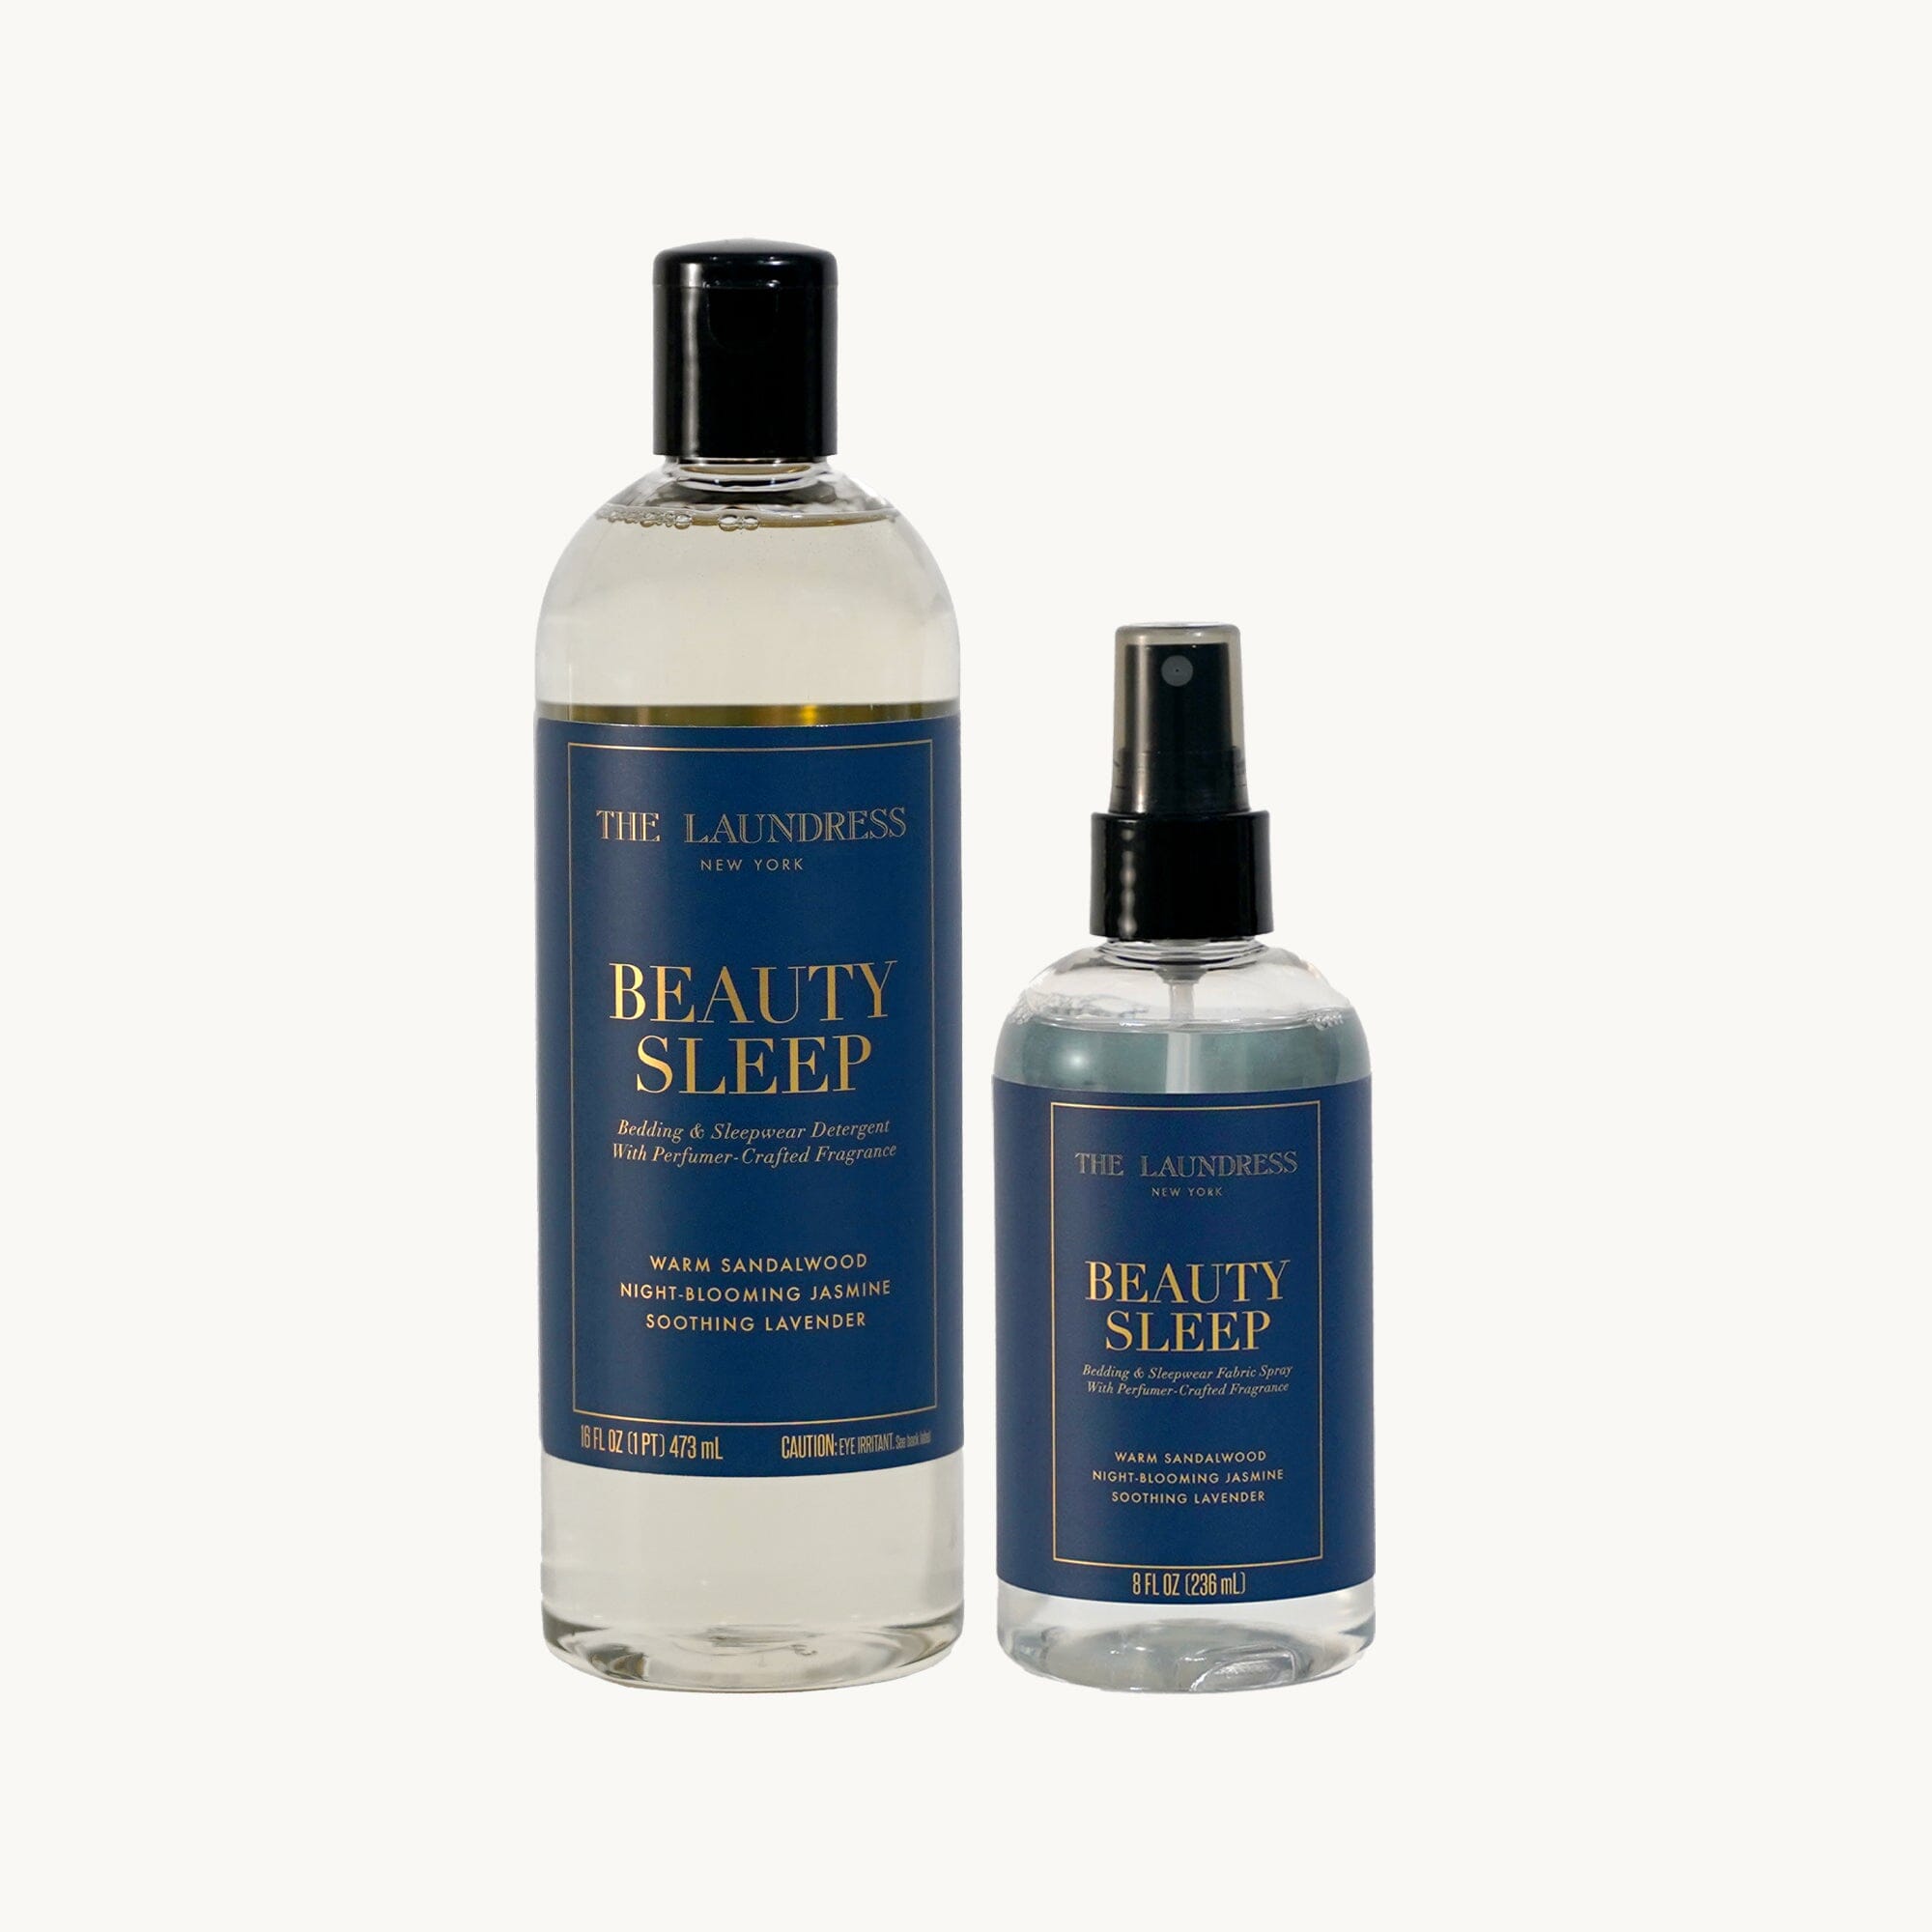
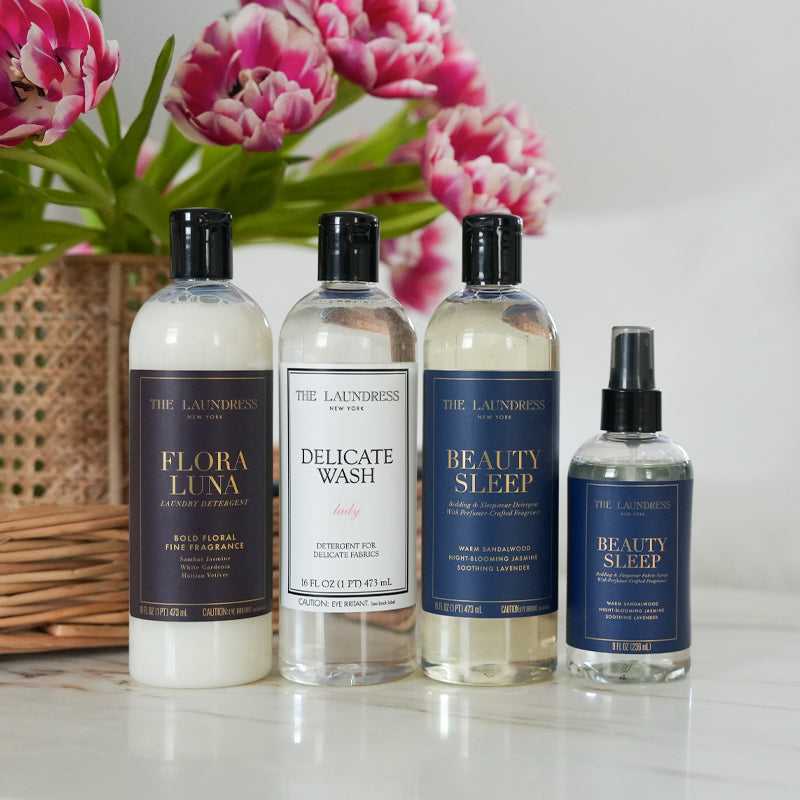
What Dreams Are Made Of
Sweet dreams await with our award-winning Beauty Sleep Detergent.
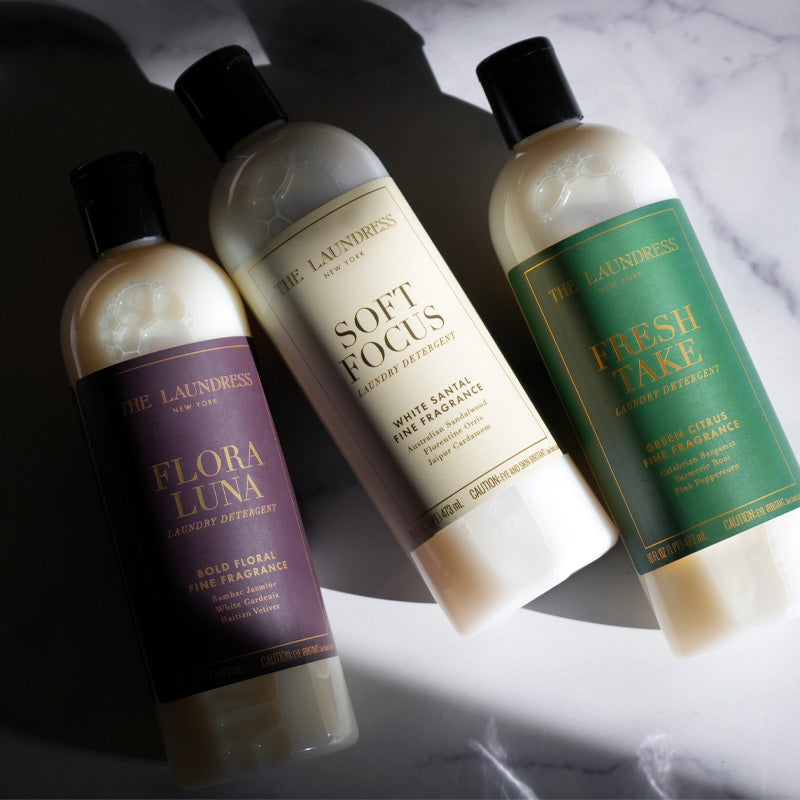
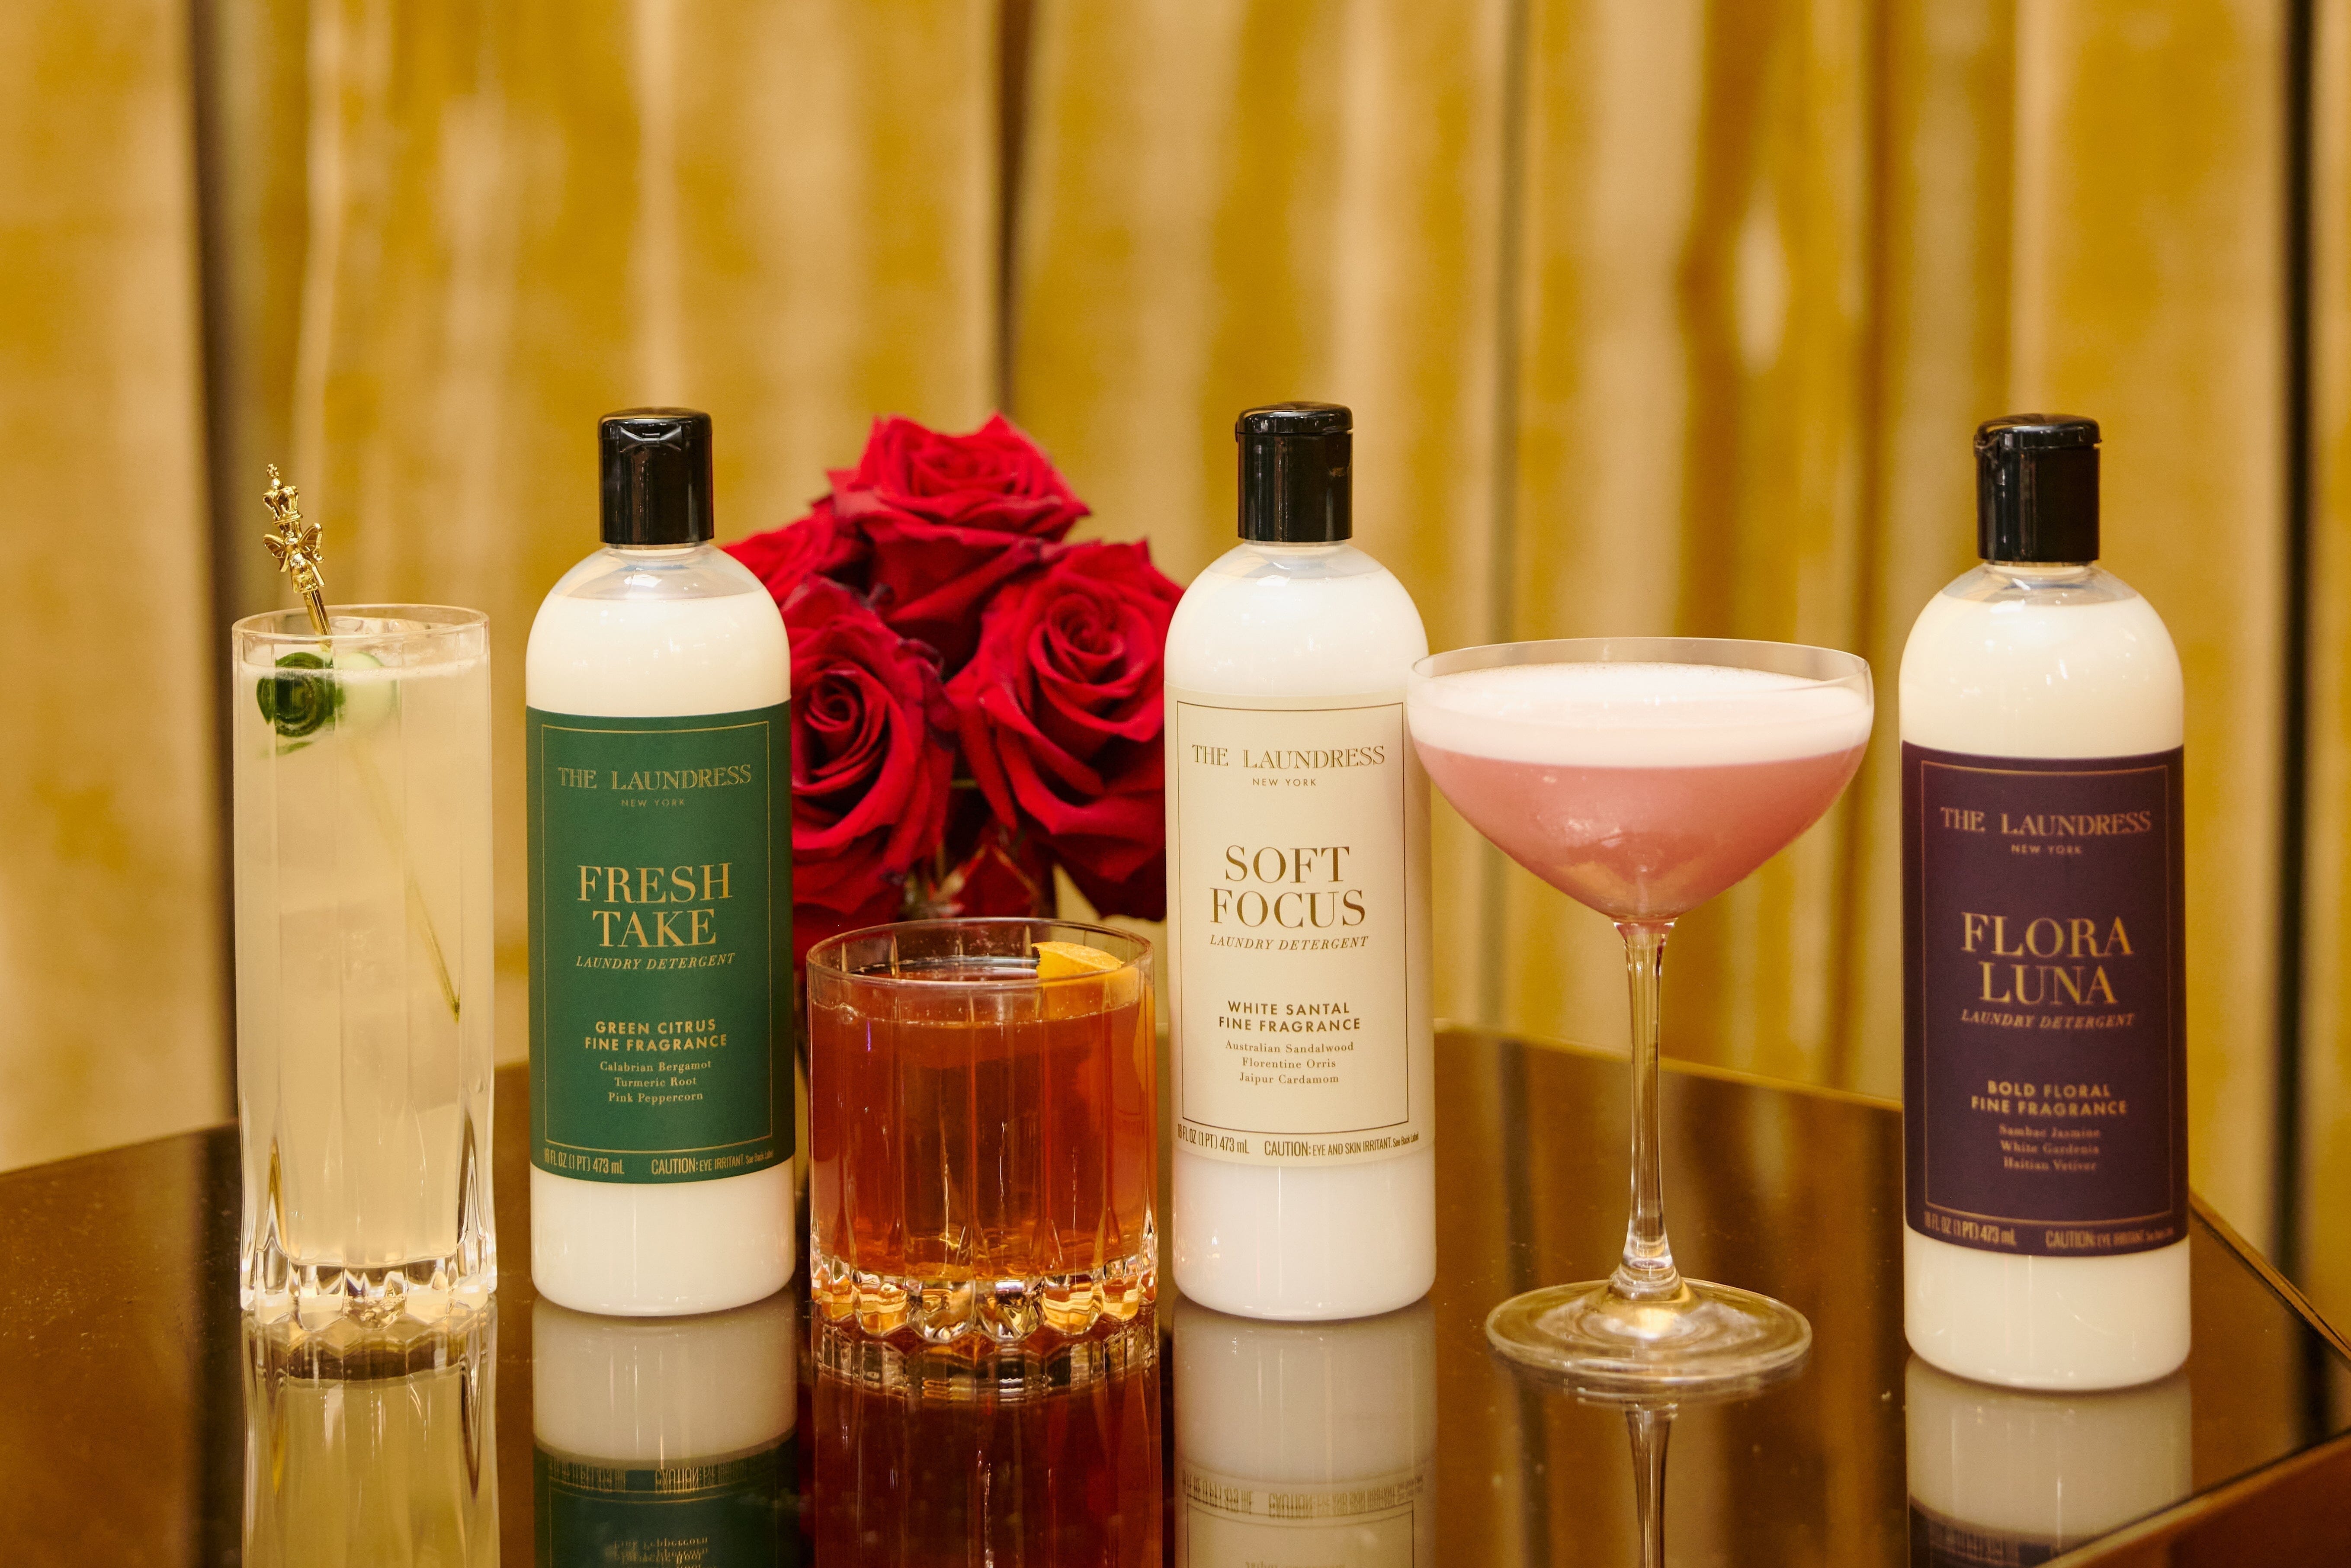
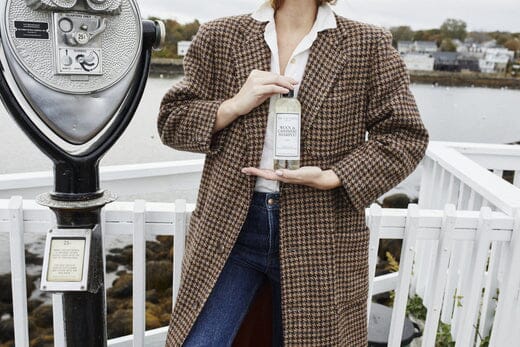
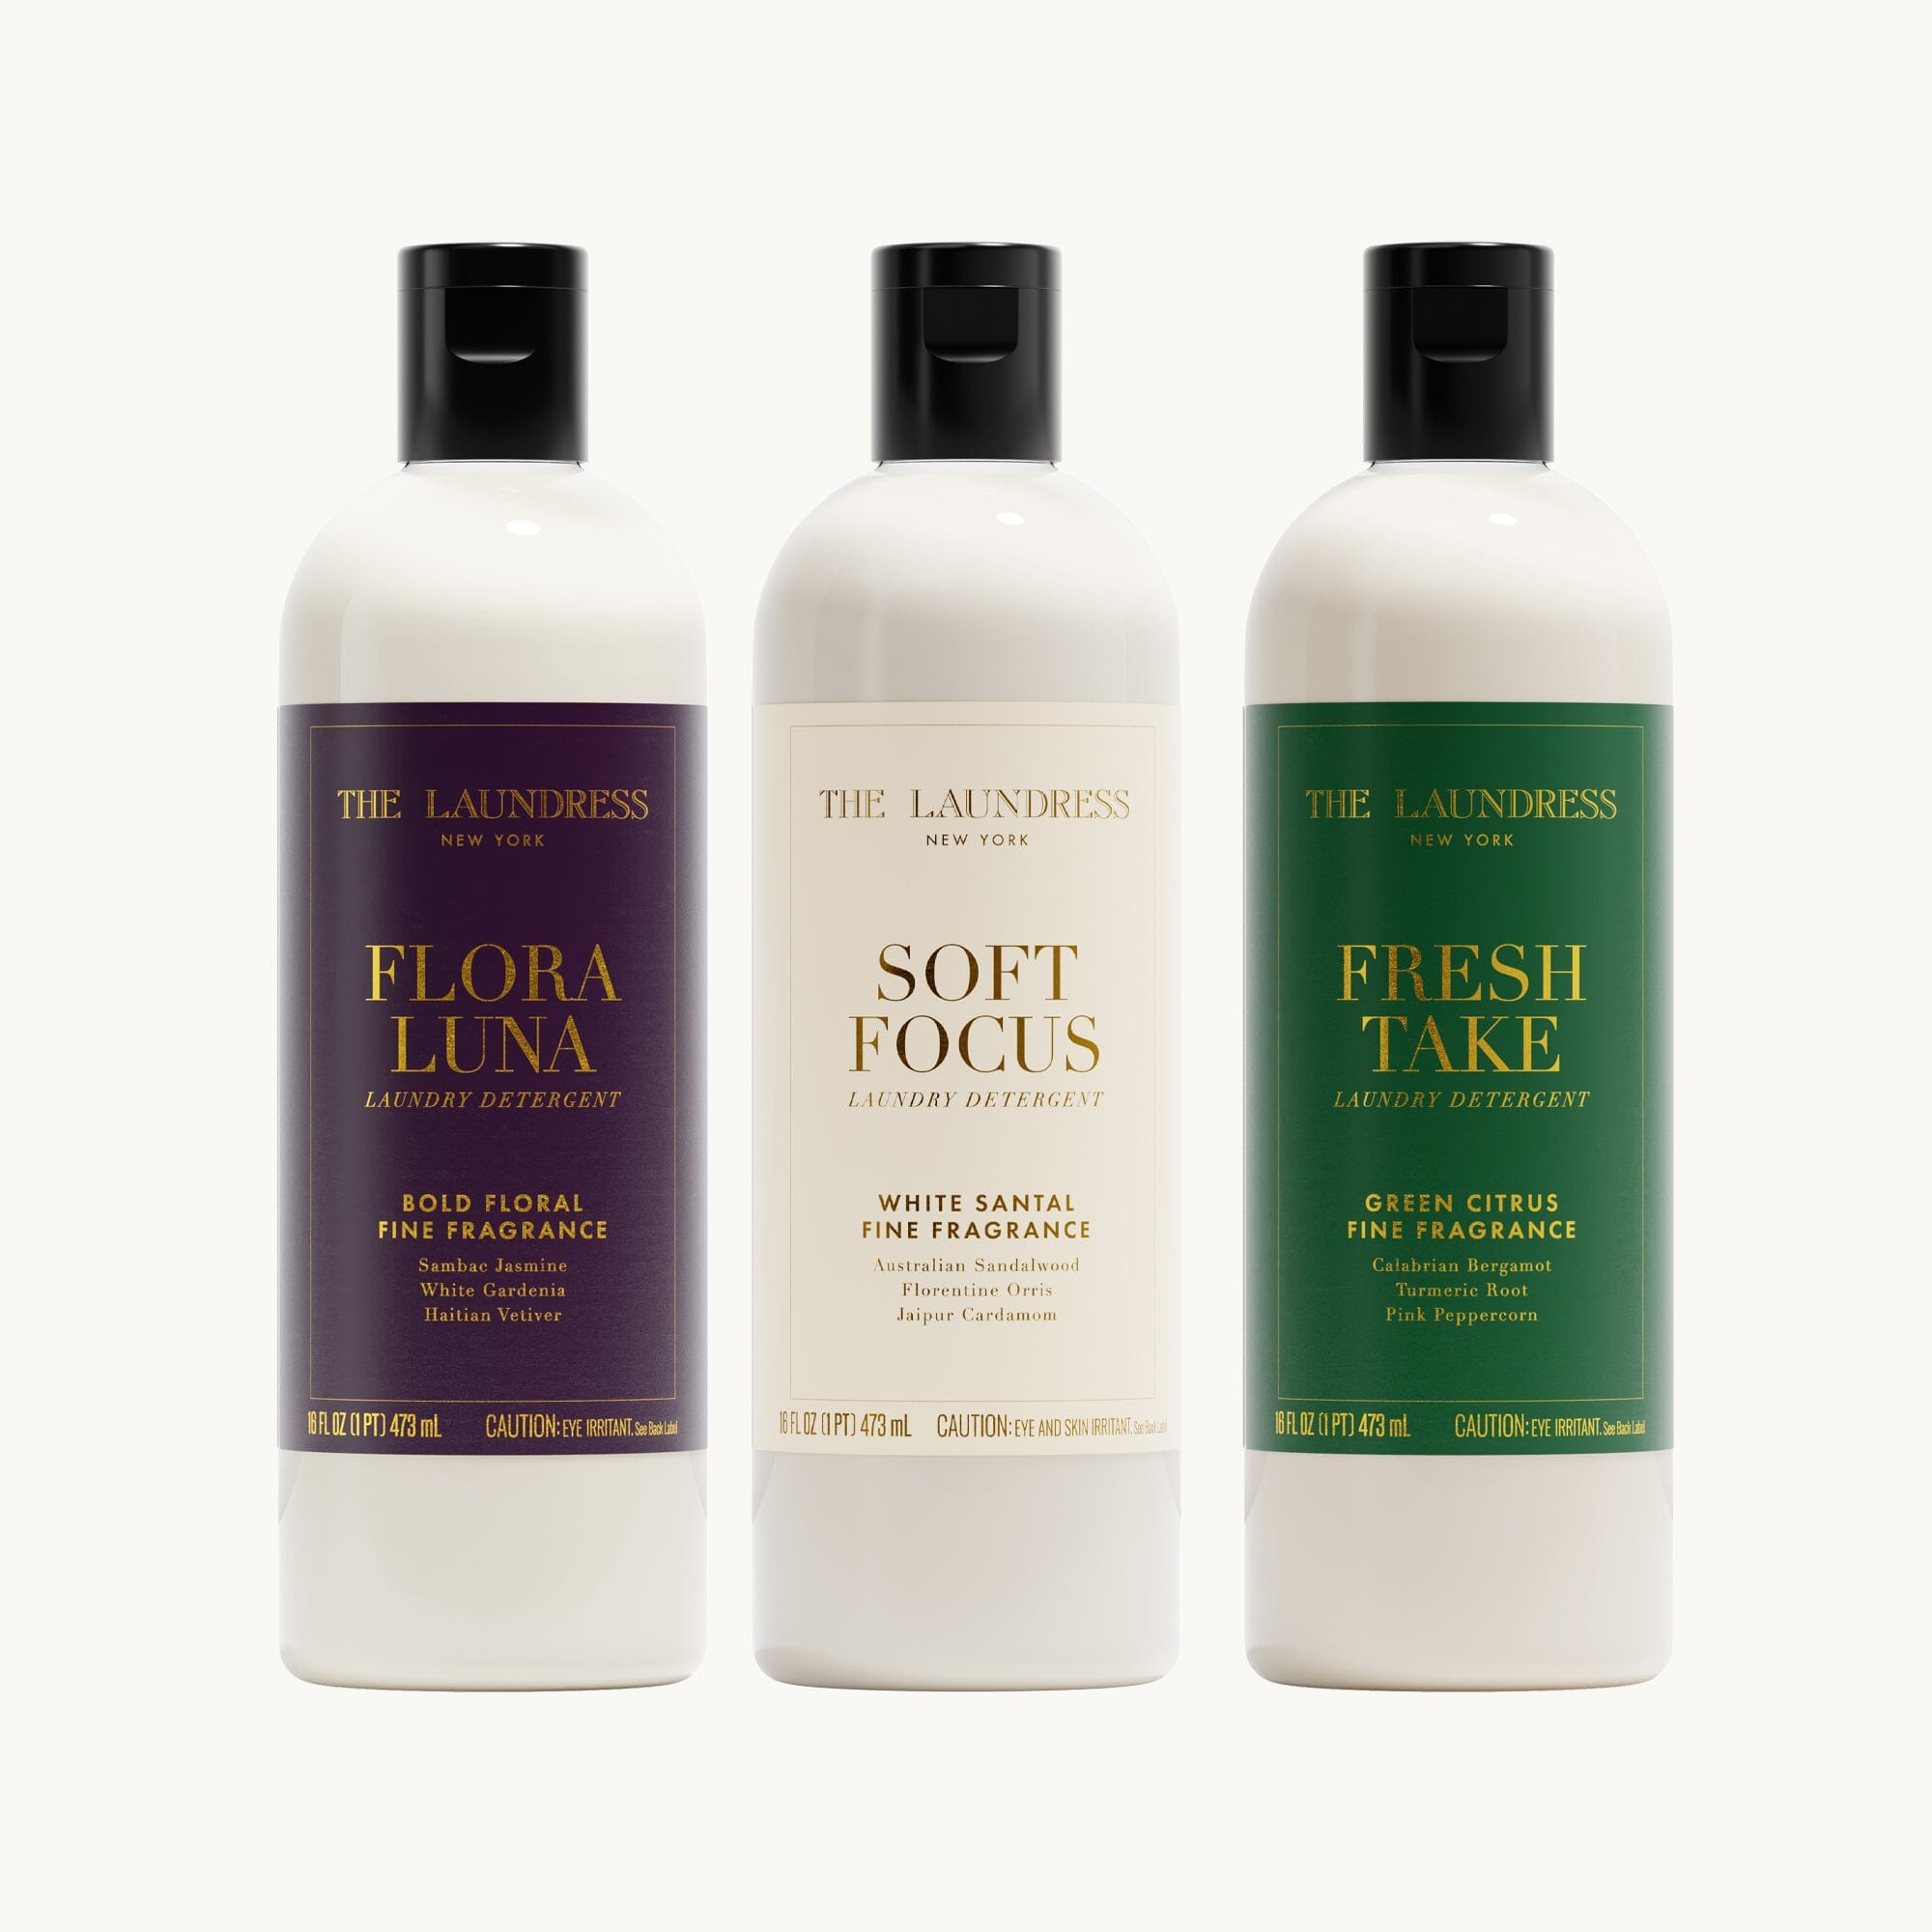
Indulgence, Bottled Up
Opulent fragrance blends that turn laundry into a rich, sensory experience.
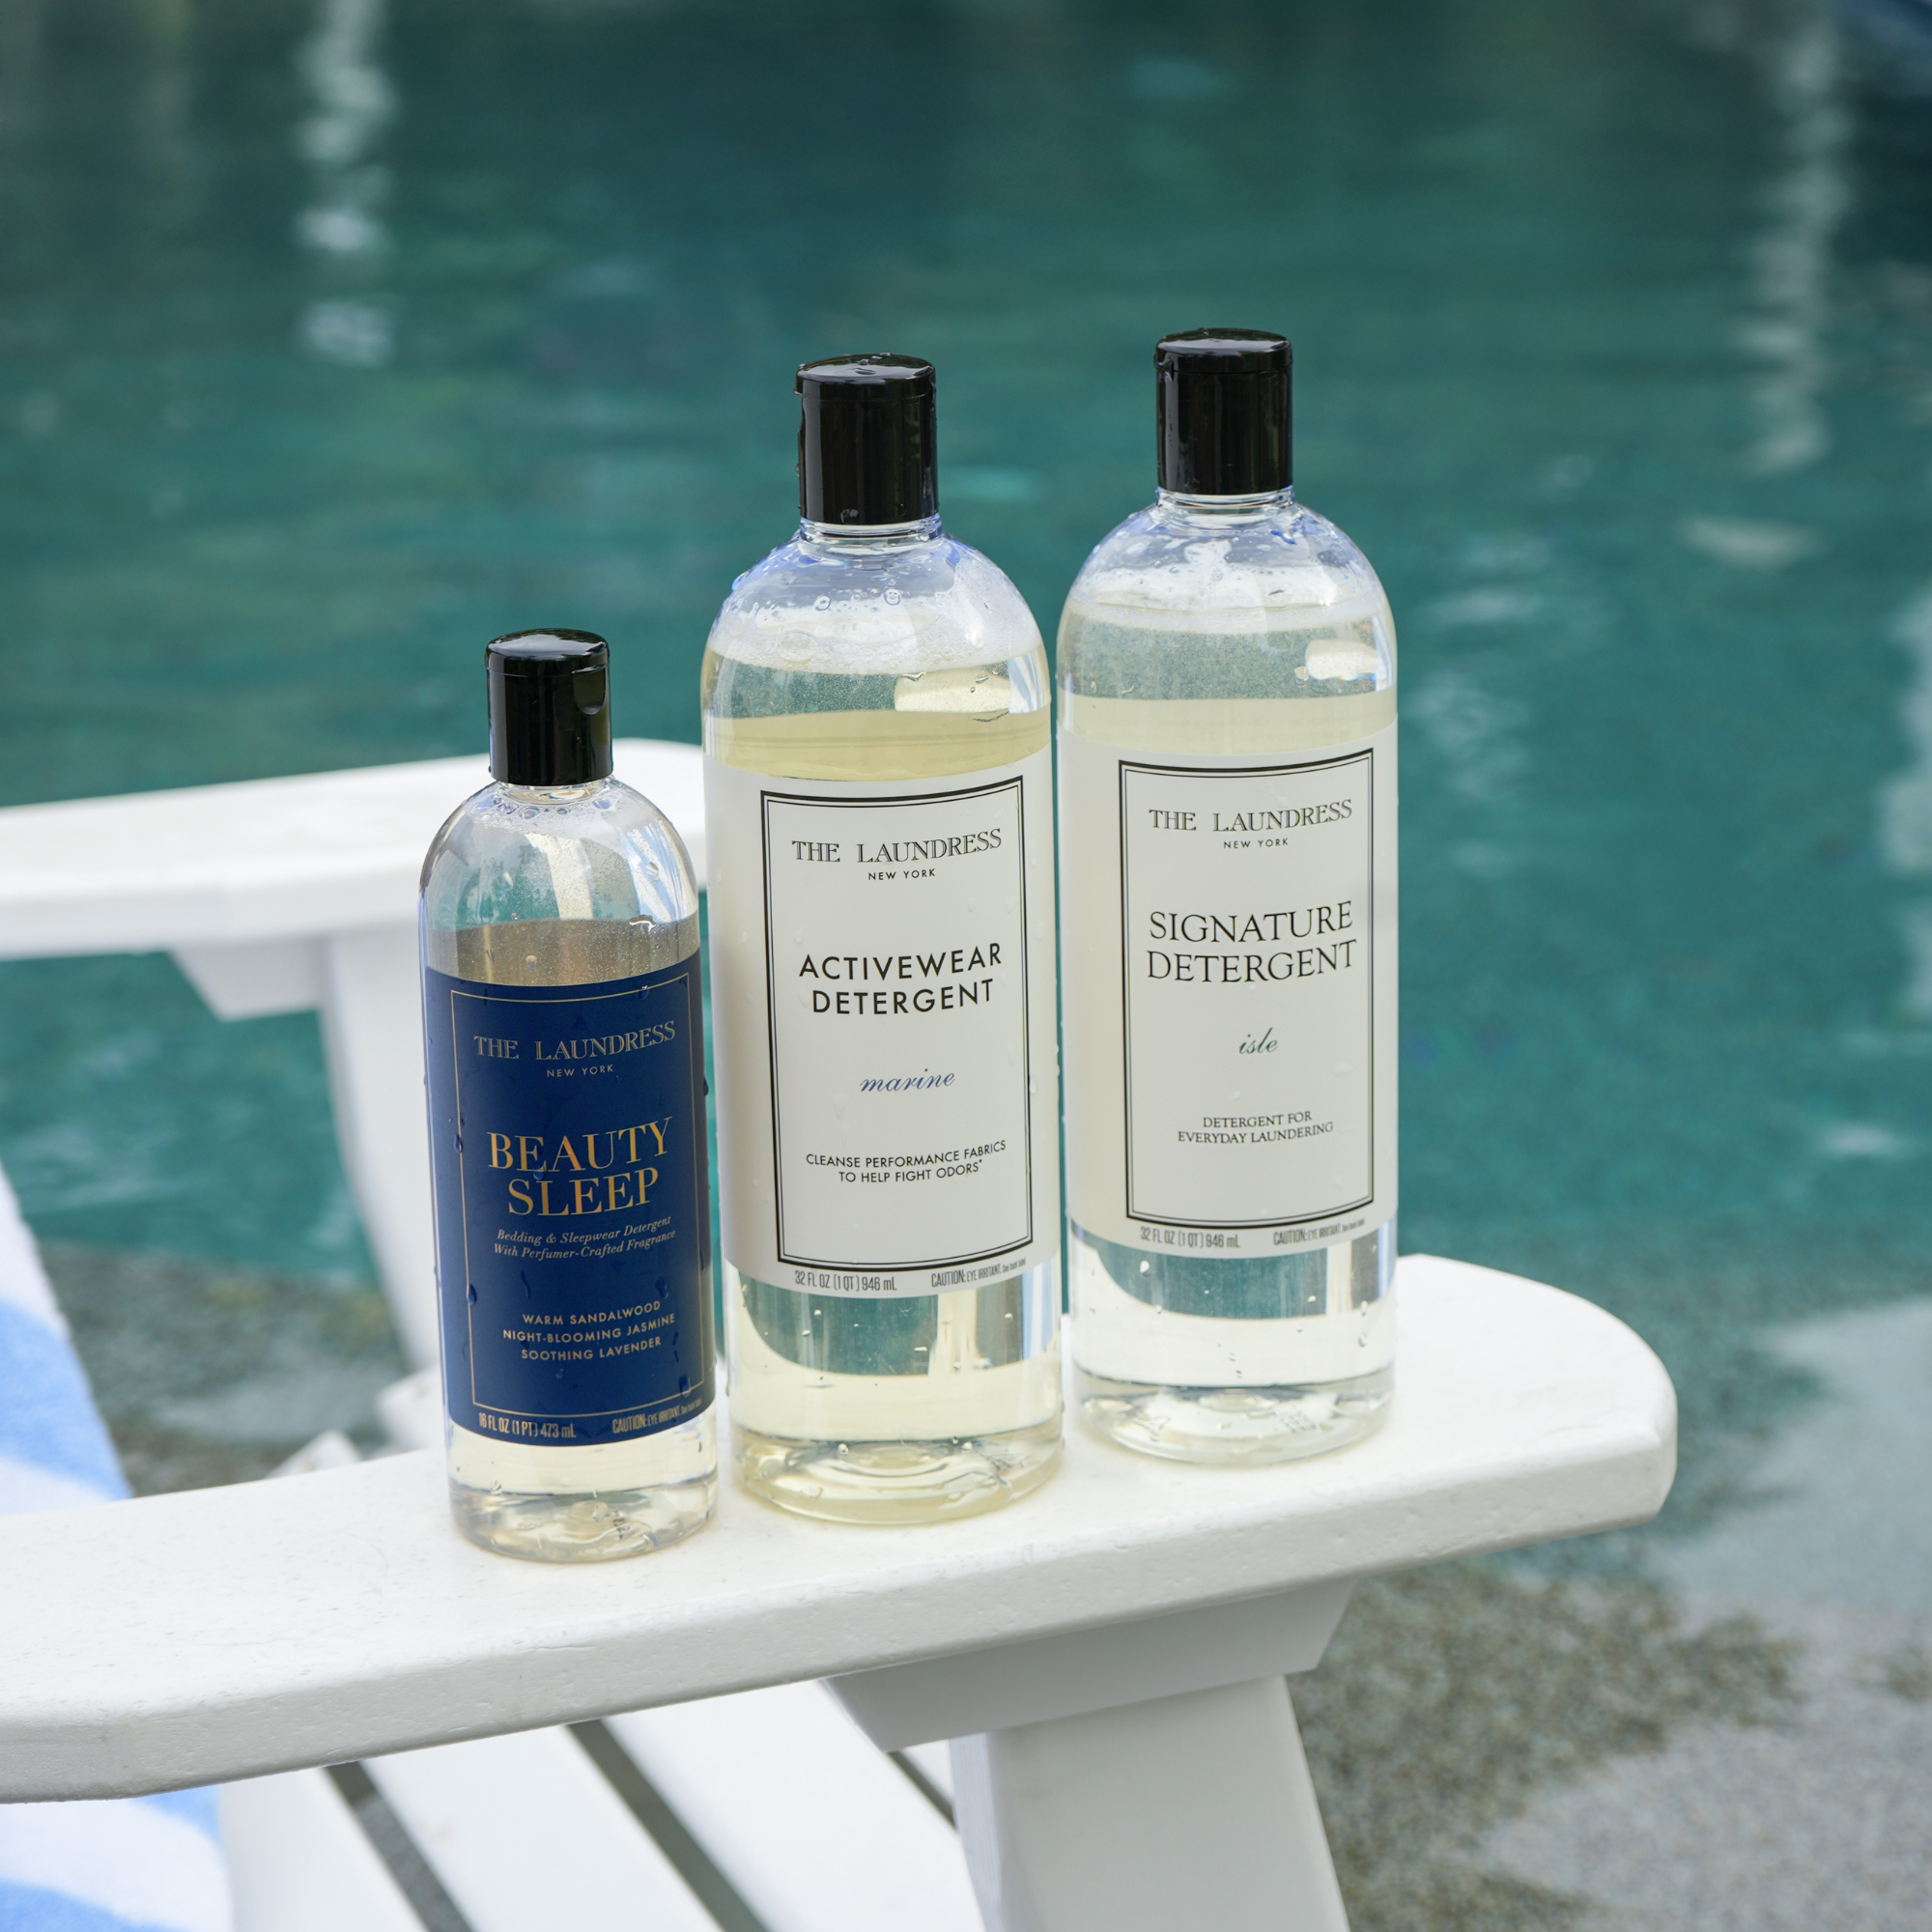
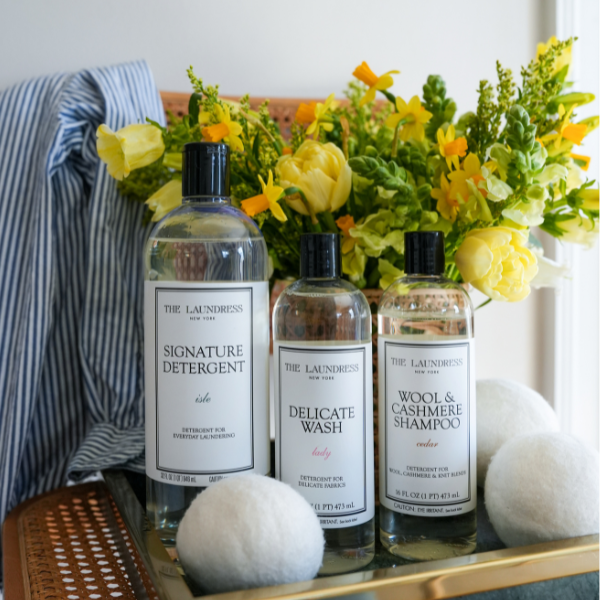
Sunshine in Every Wash
Bright summer scents to refresh every washday ritual this season.
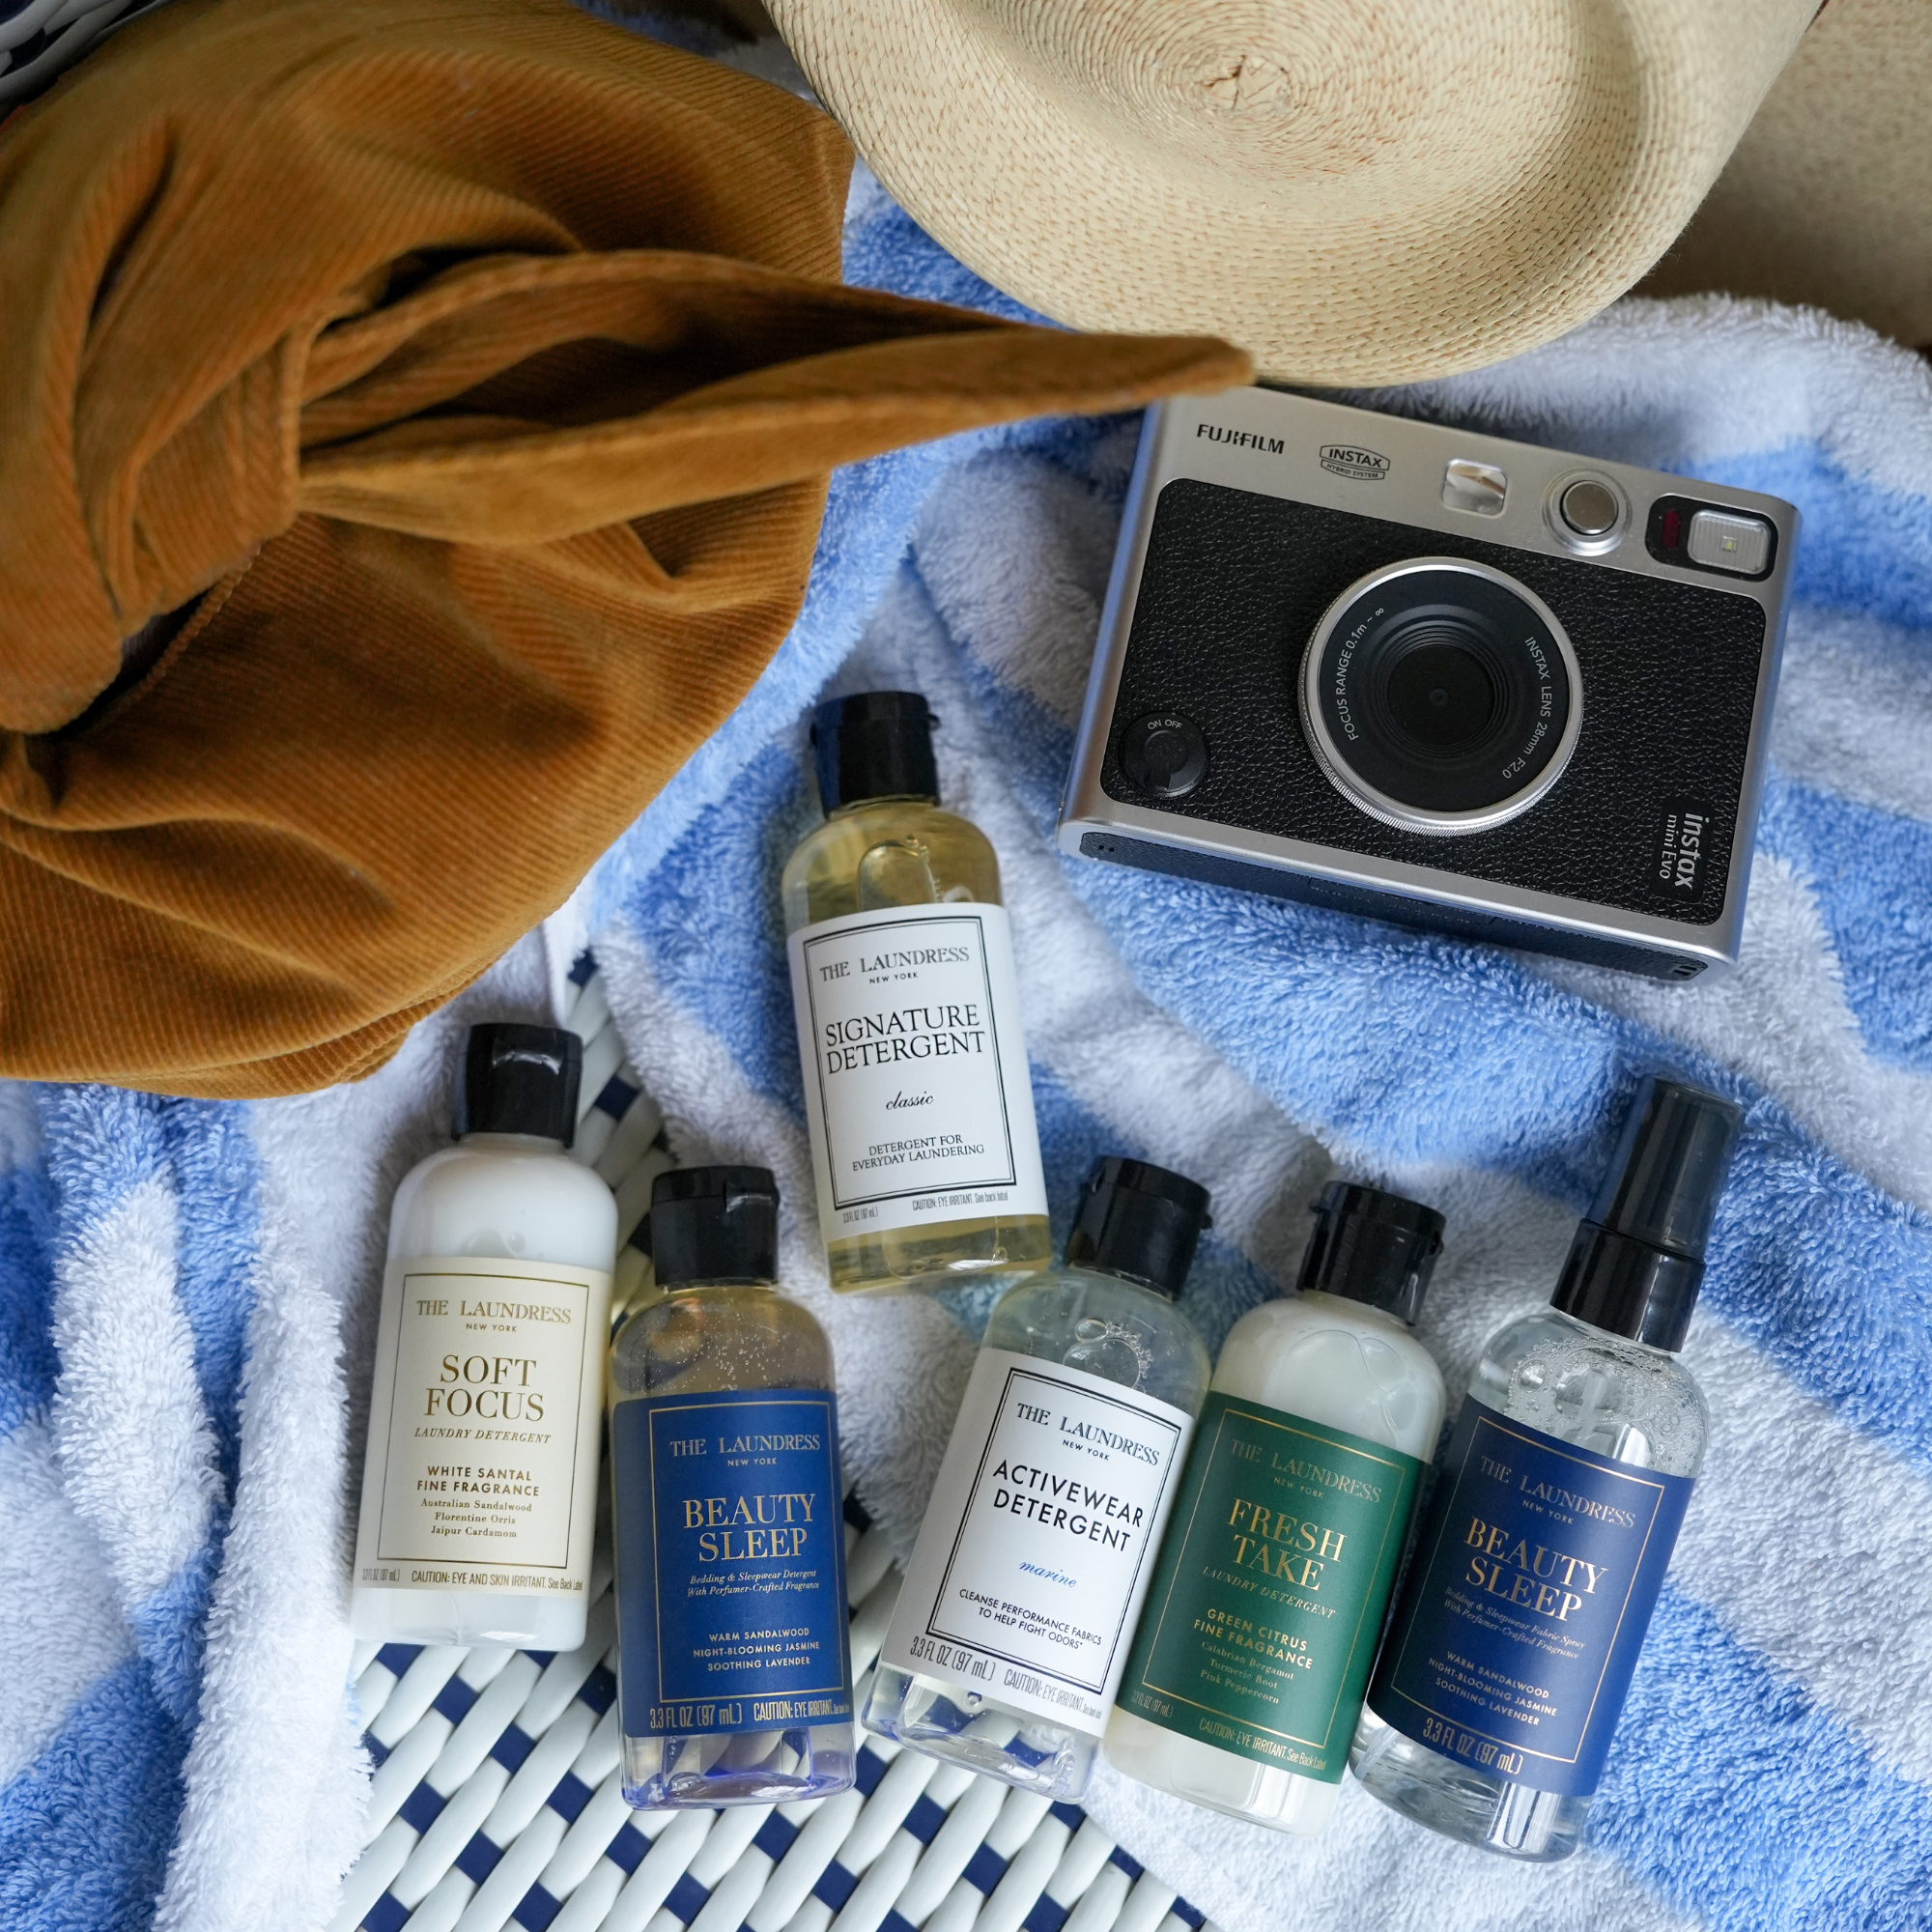
Get Out of Town
Travel-ready laundry care for fresh, clean clothes anywhere you go.
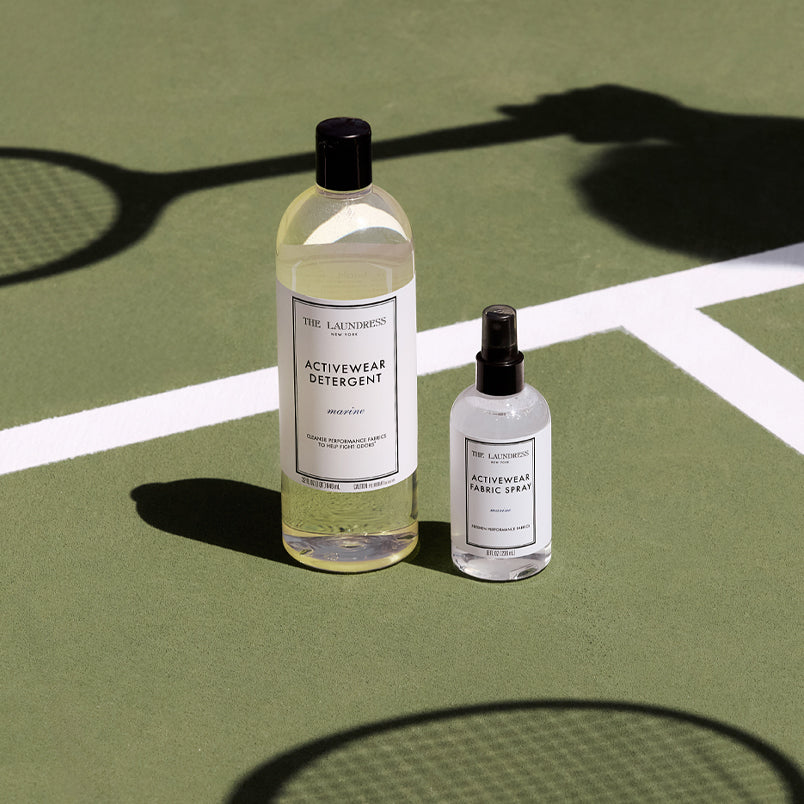
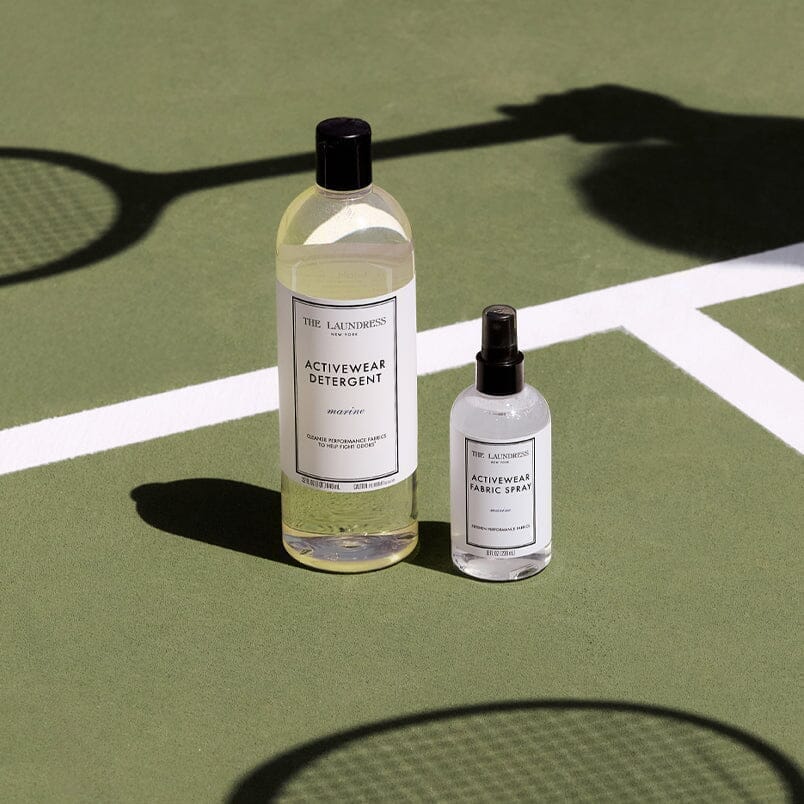
Smells Like Team Spirit
Activewear care designed to refresh every move you make.
Sunshine in Every Wash
Bright summer scents to refresh every washday ritual this season.
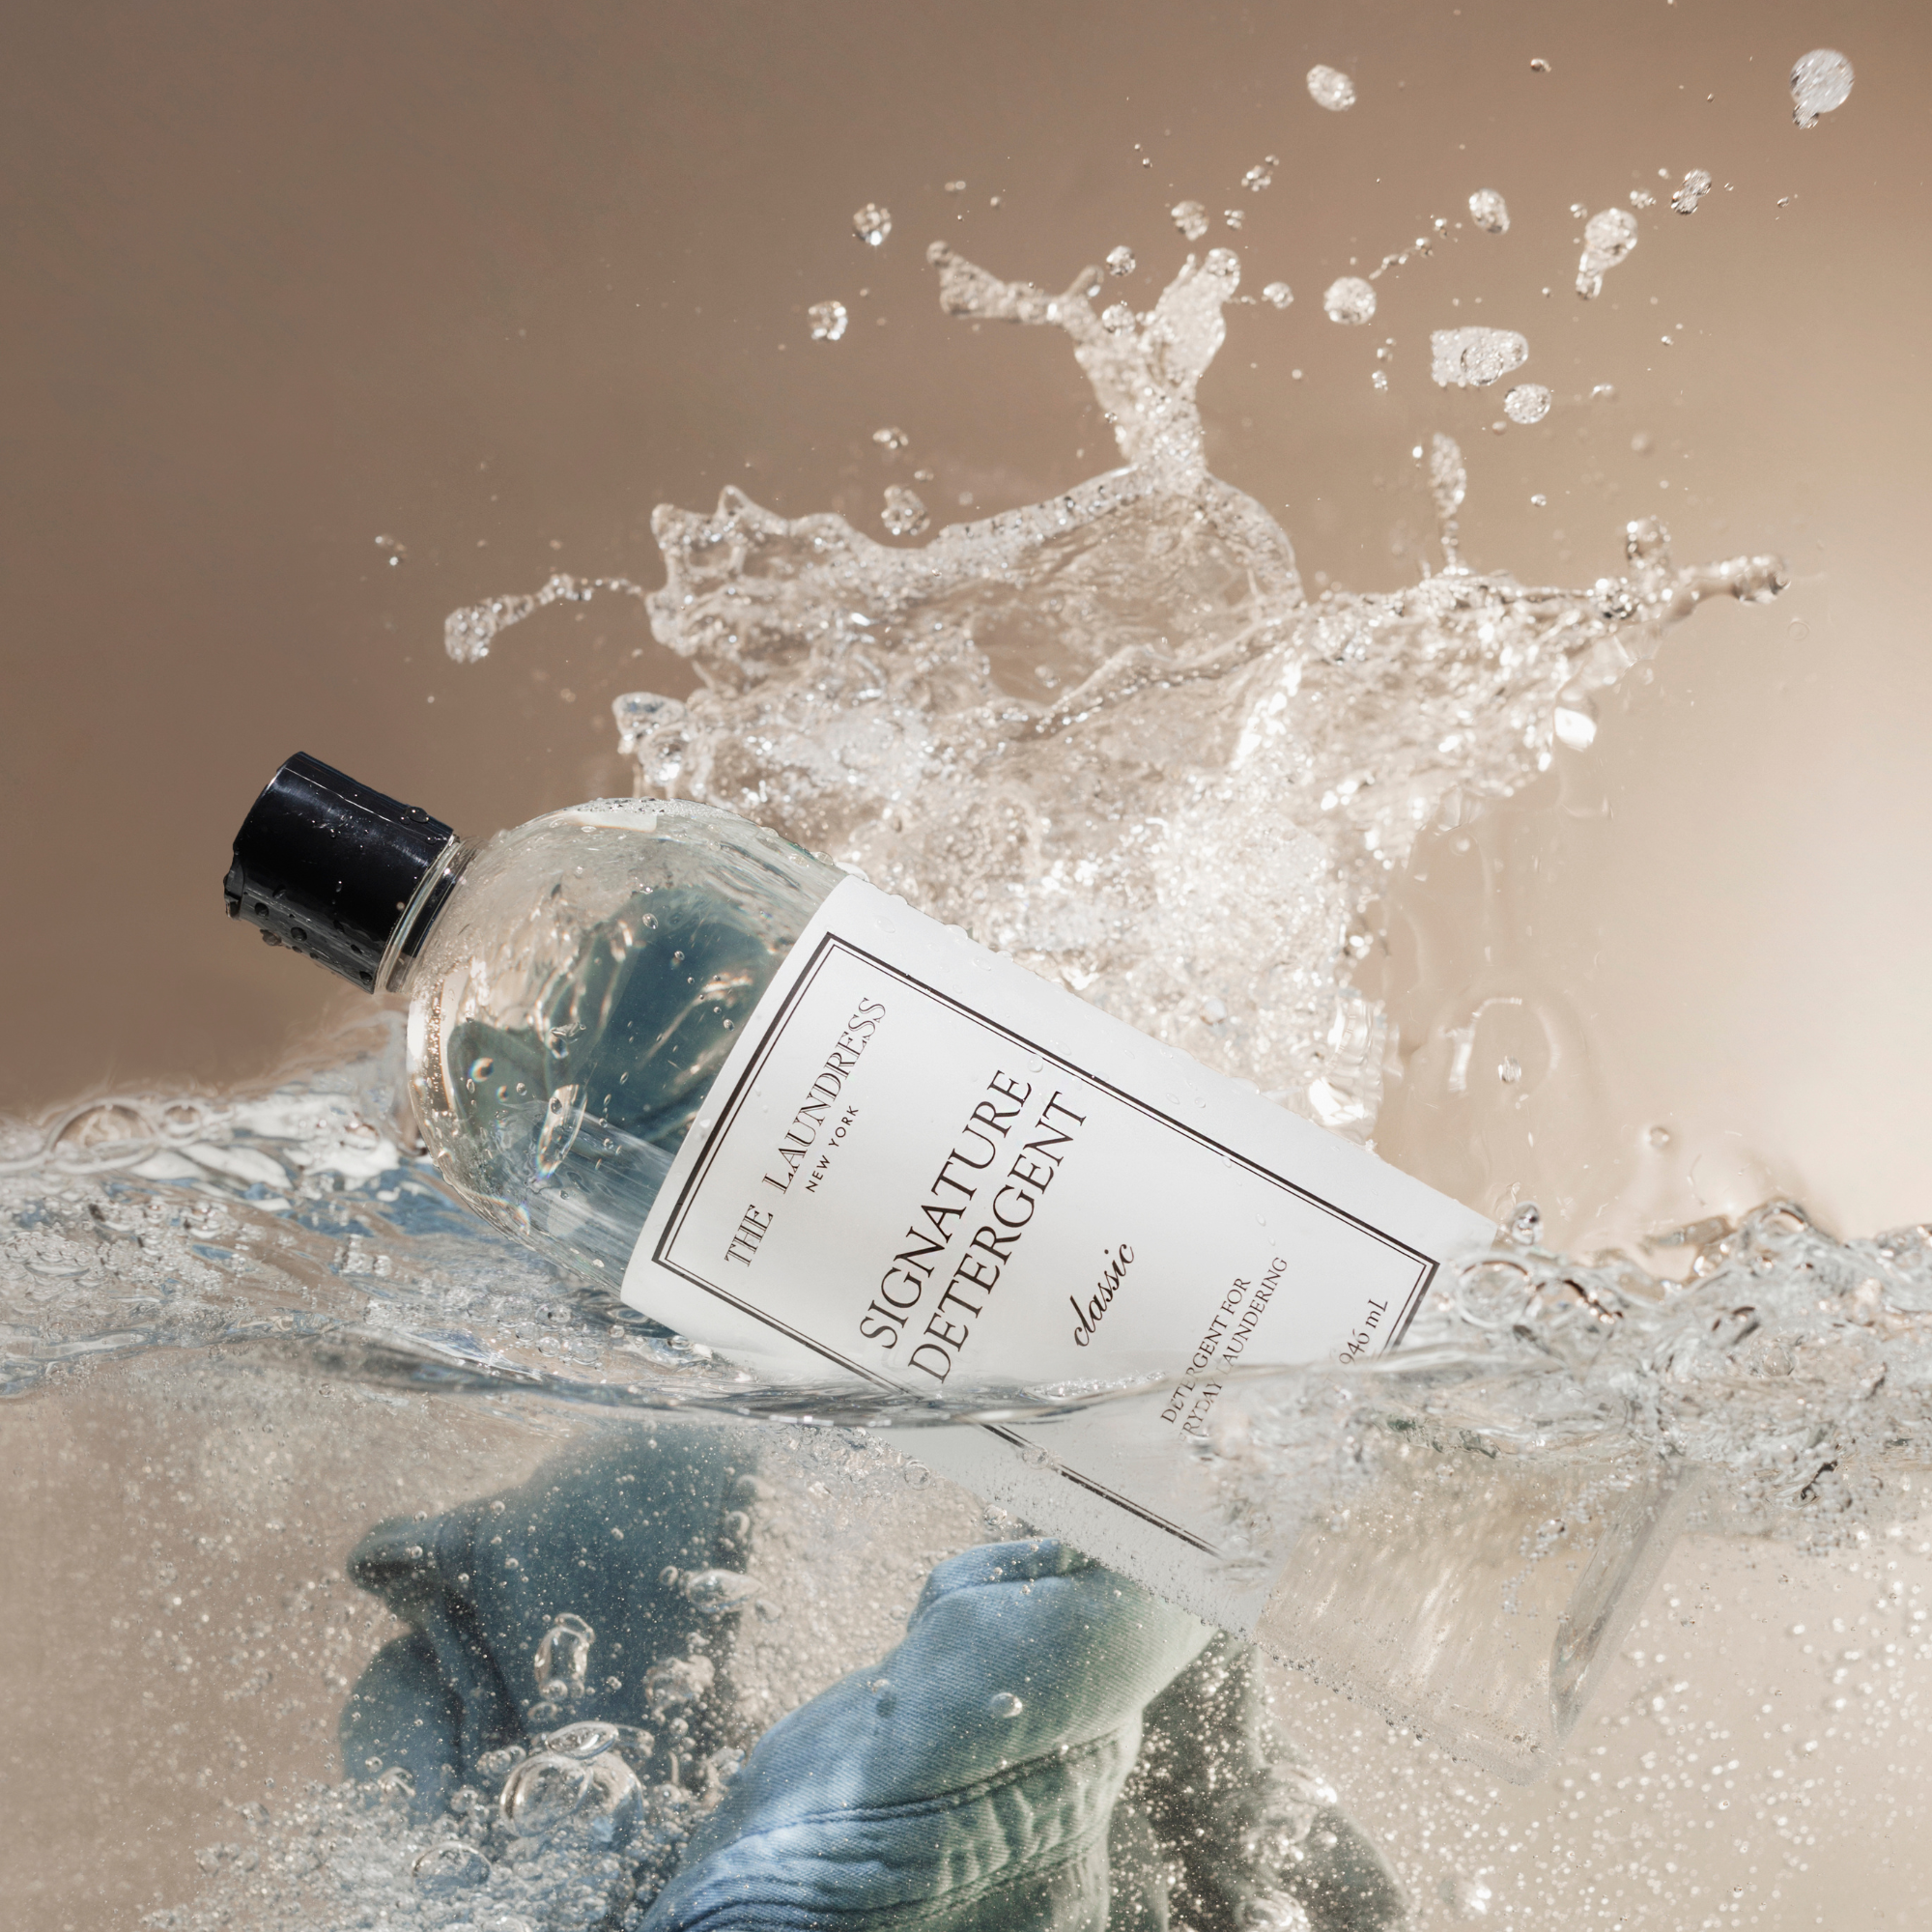
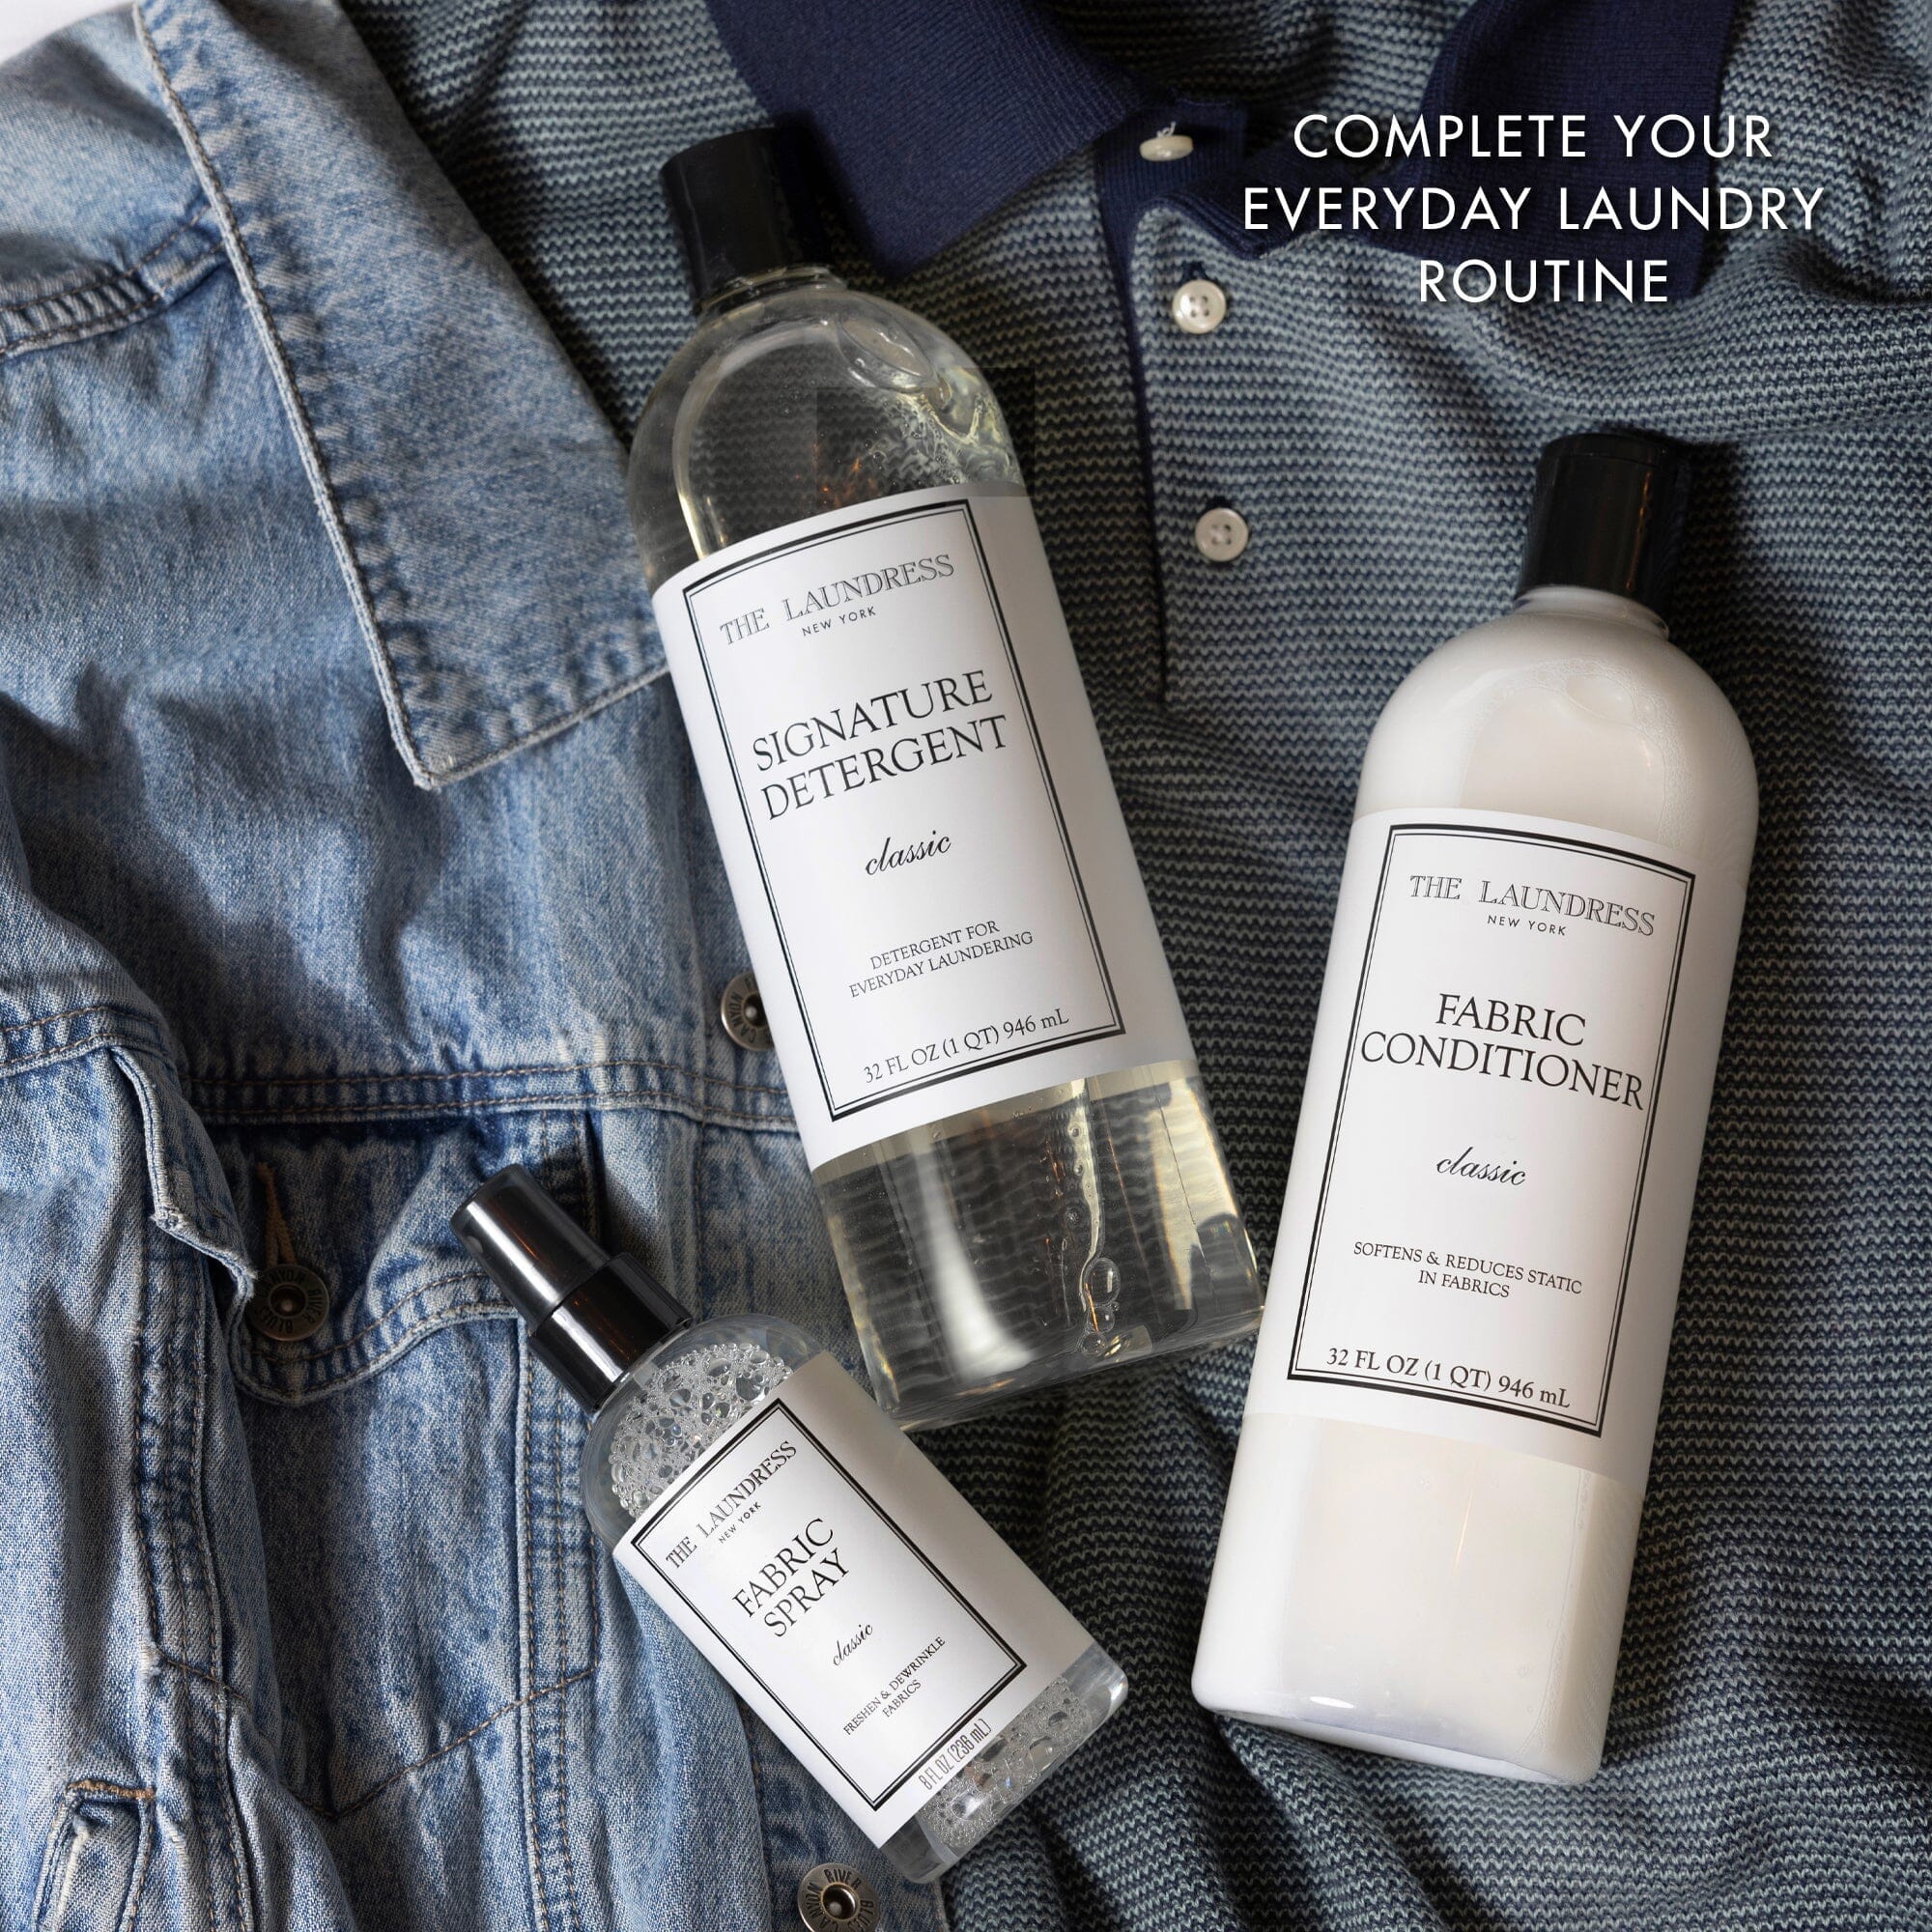
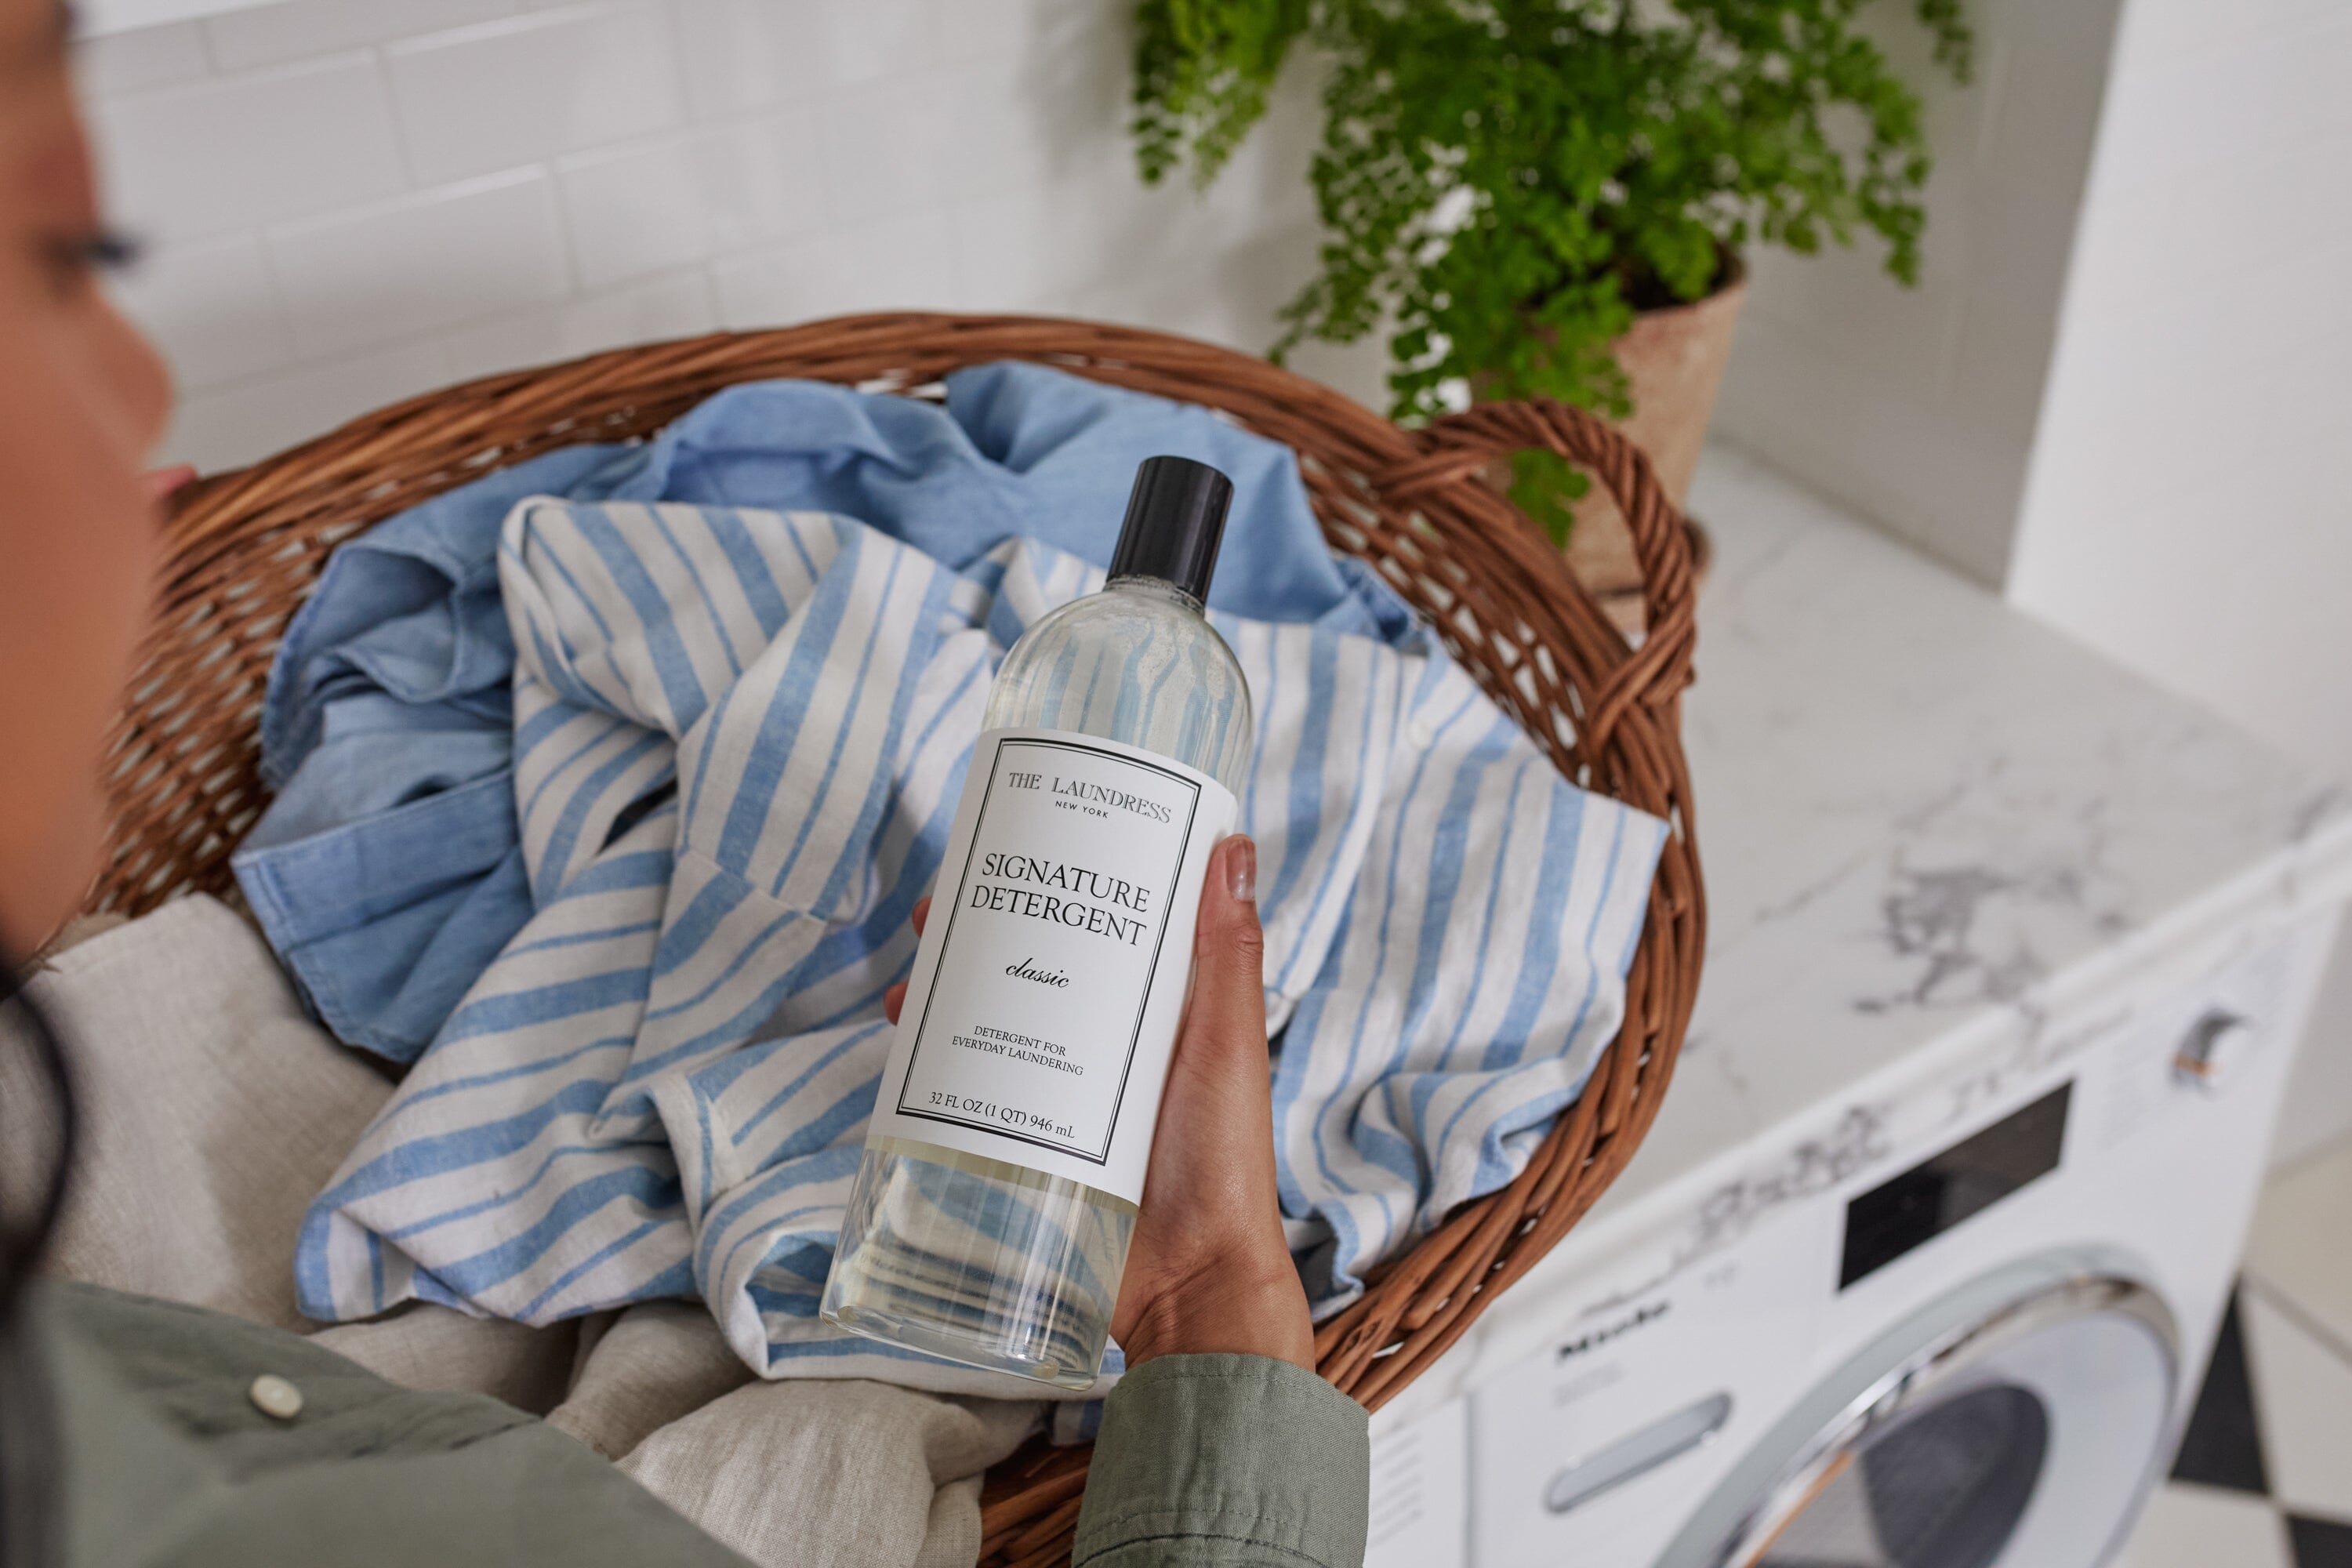
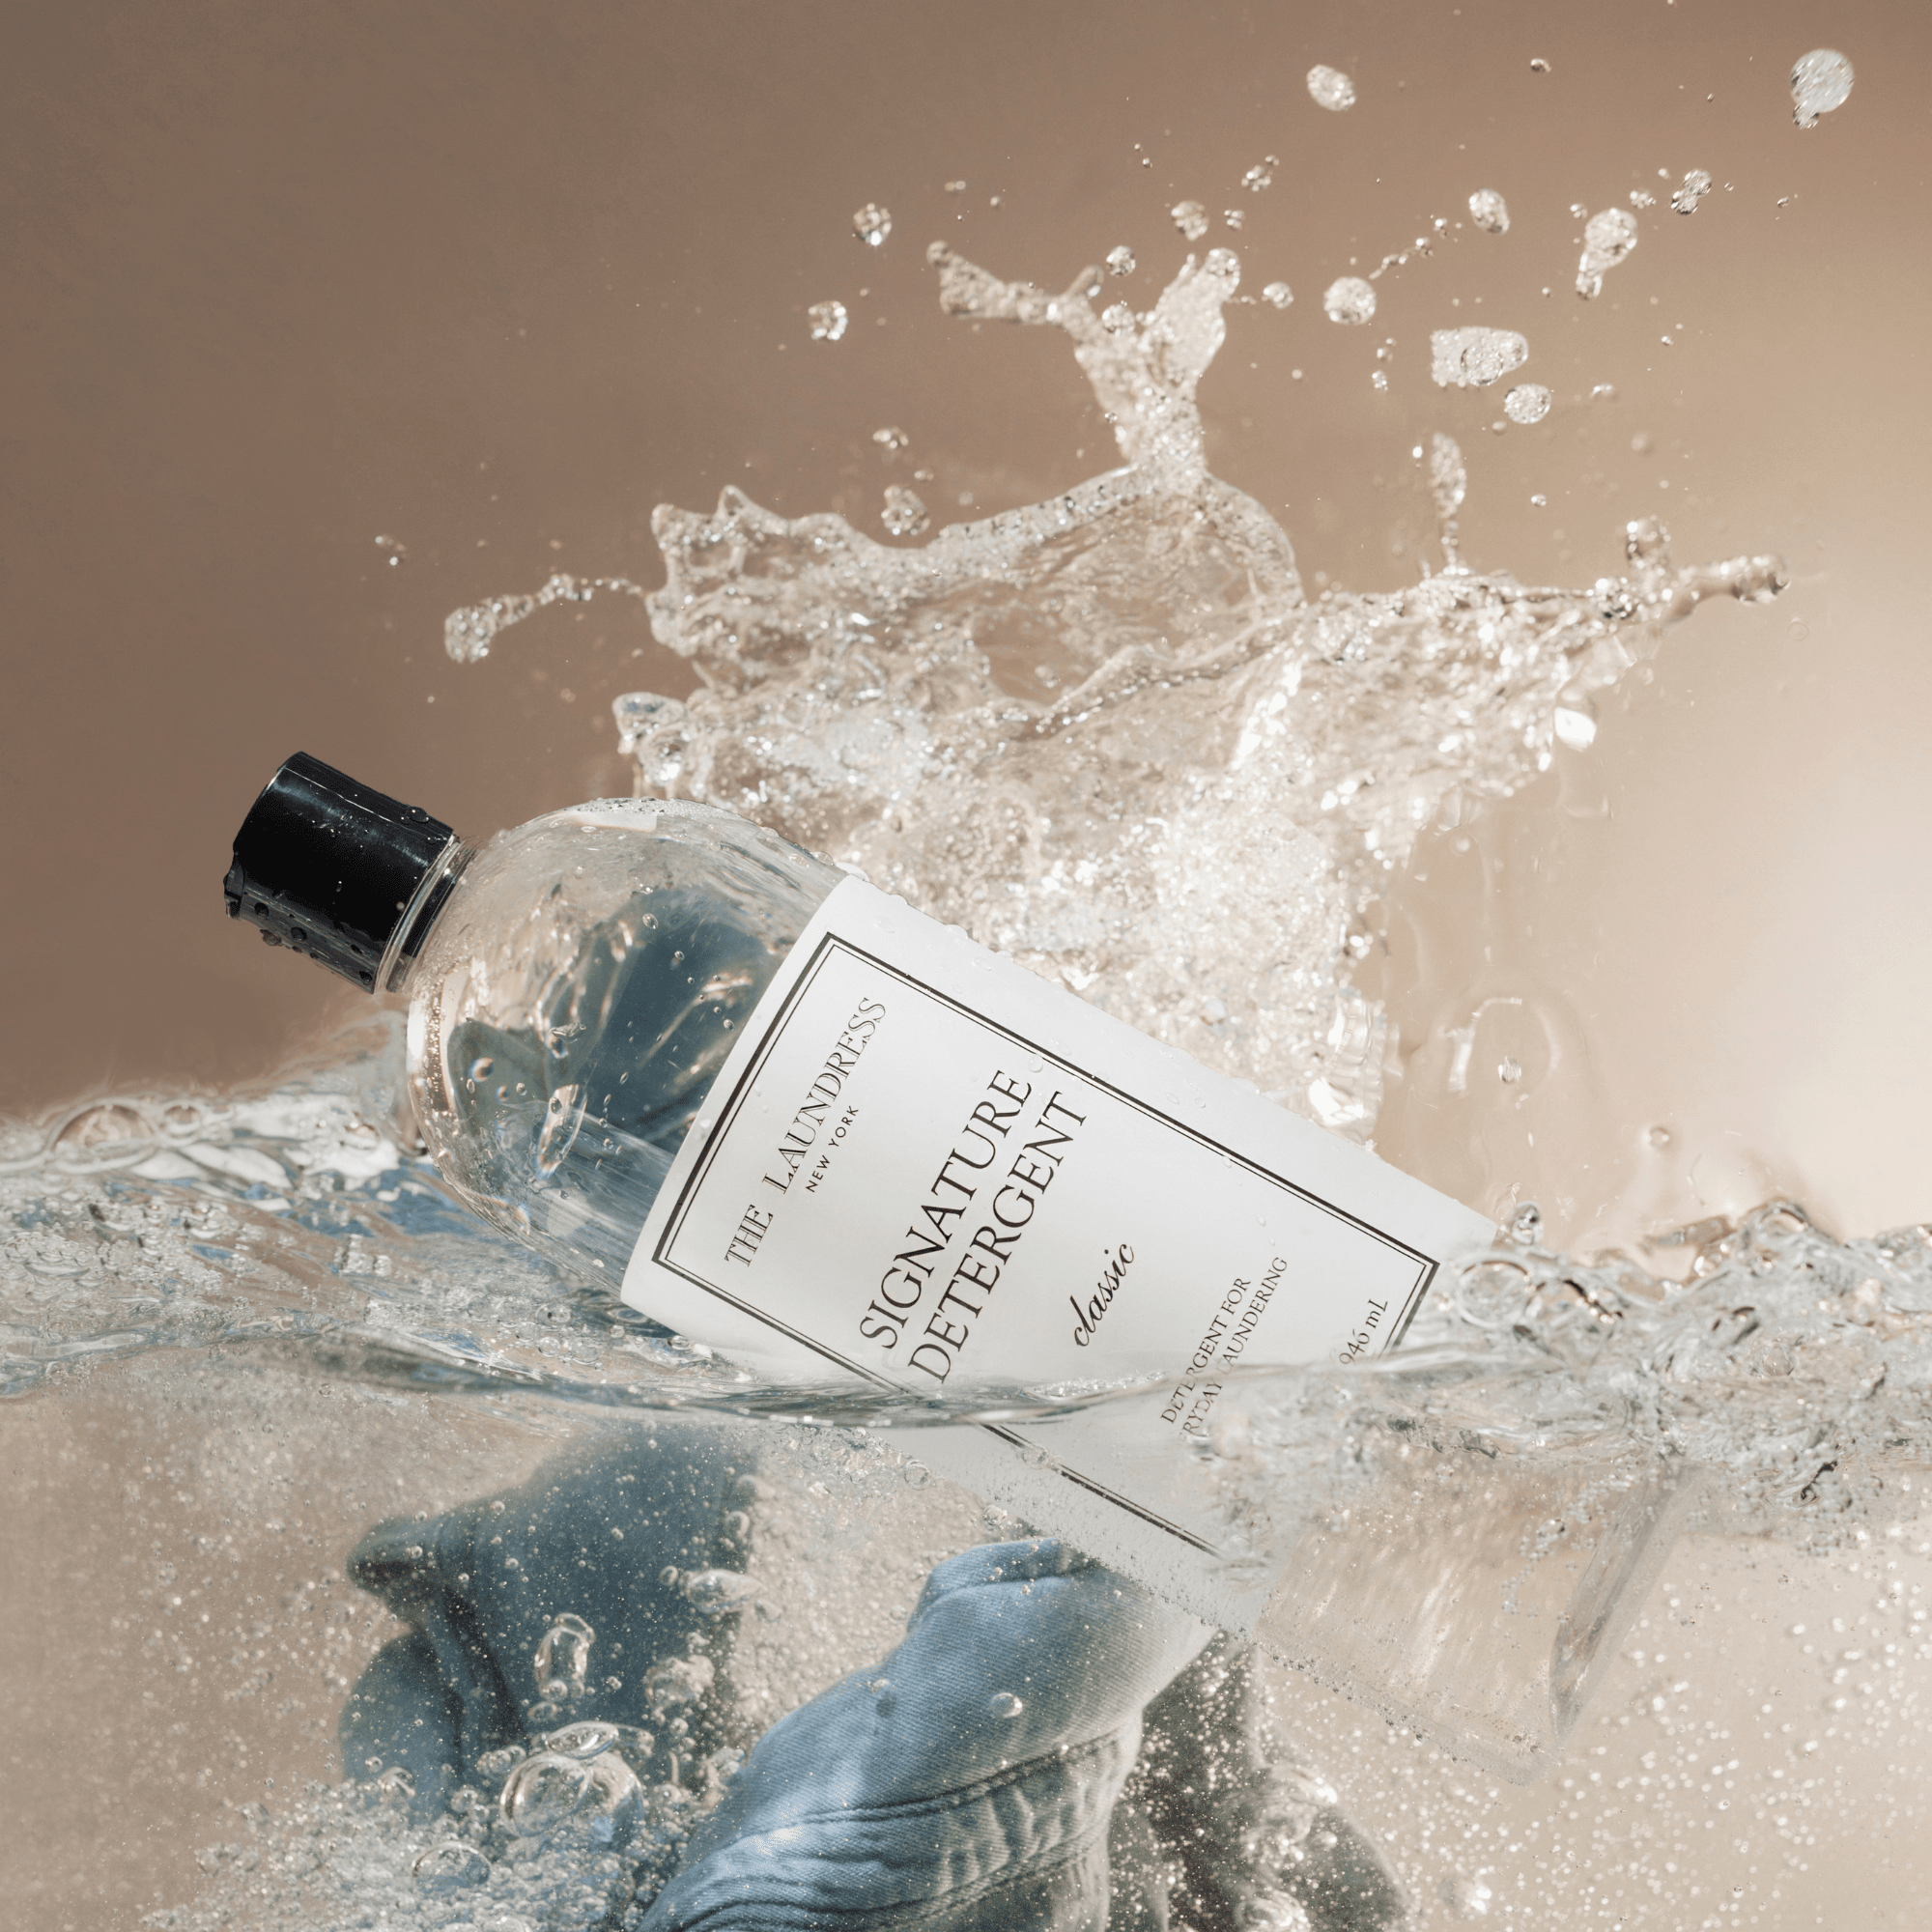
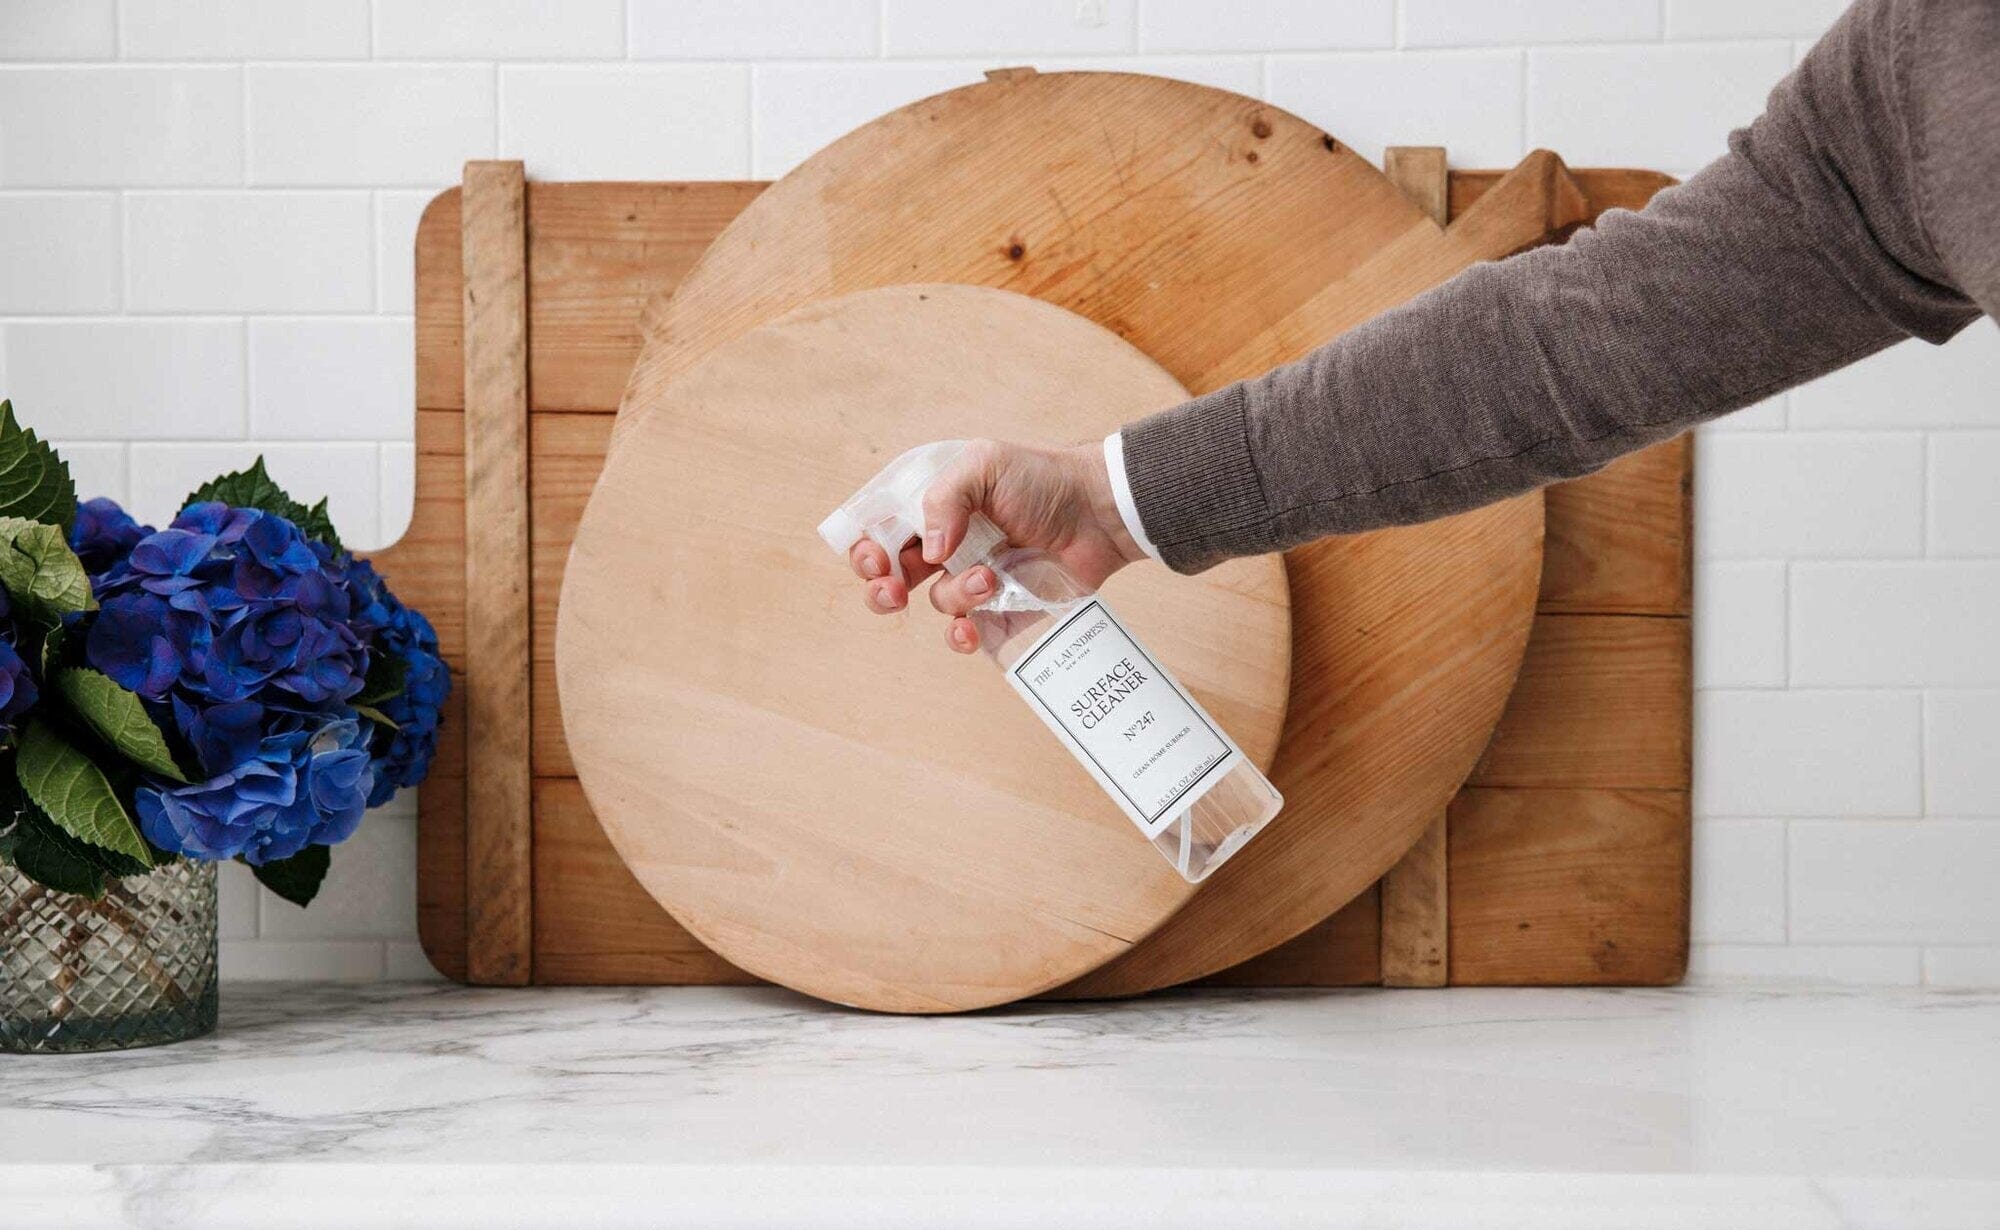
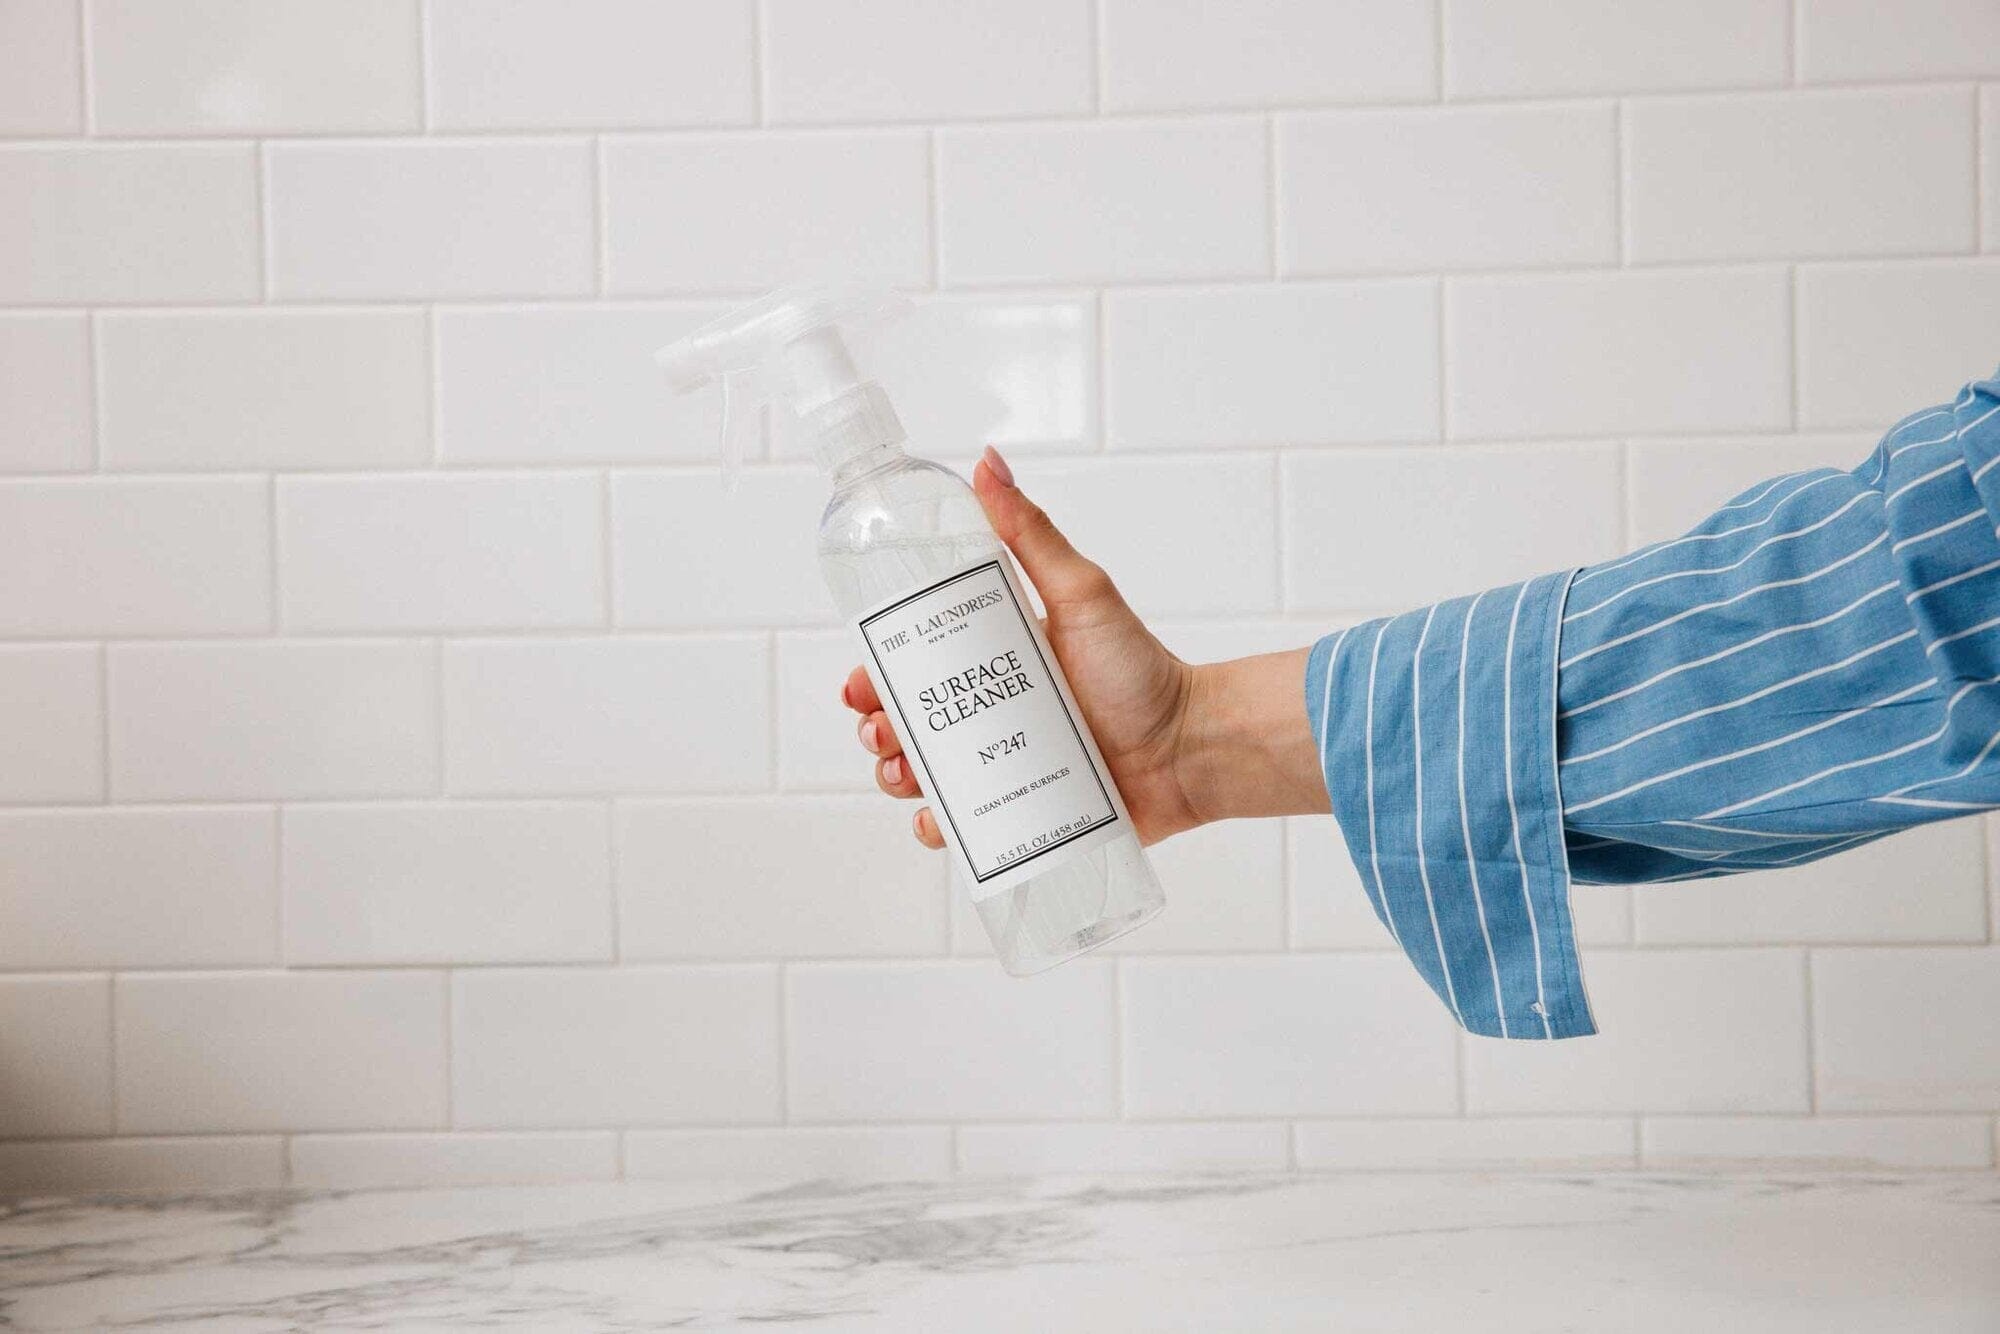
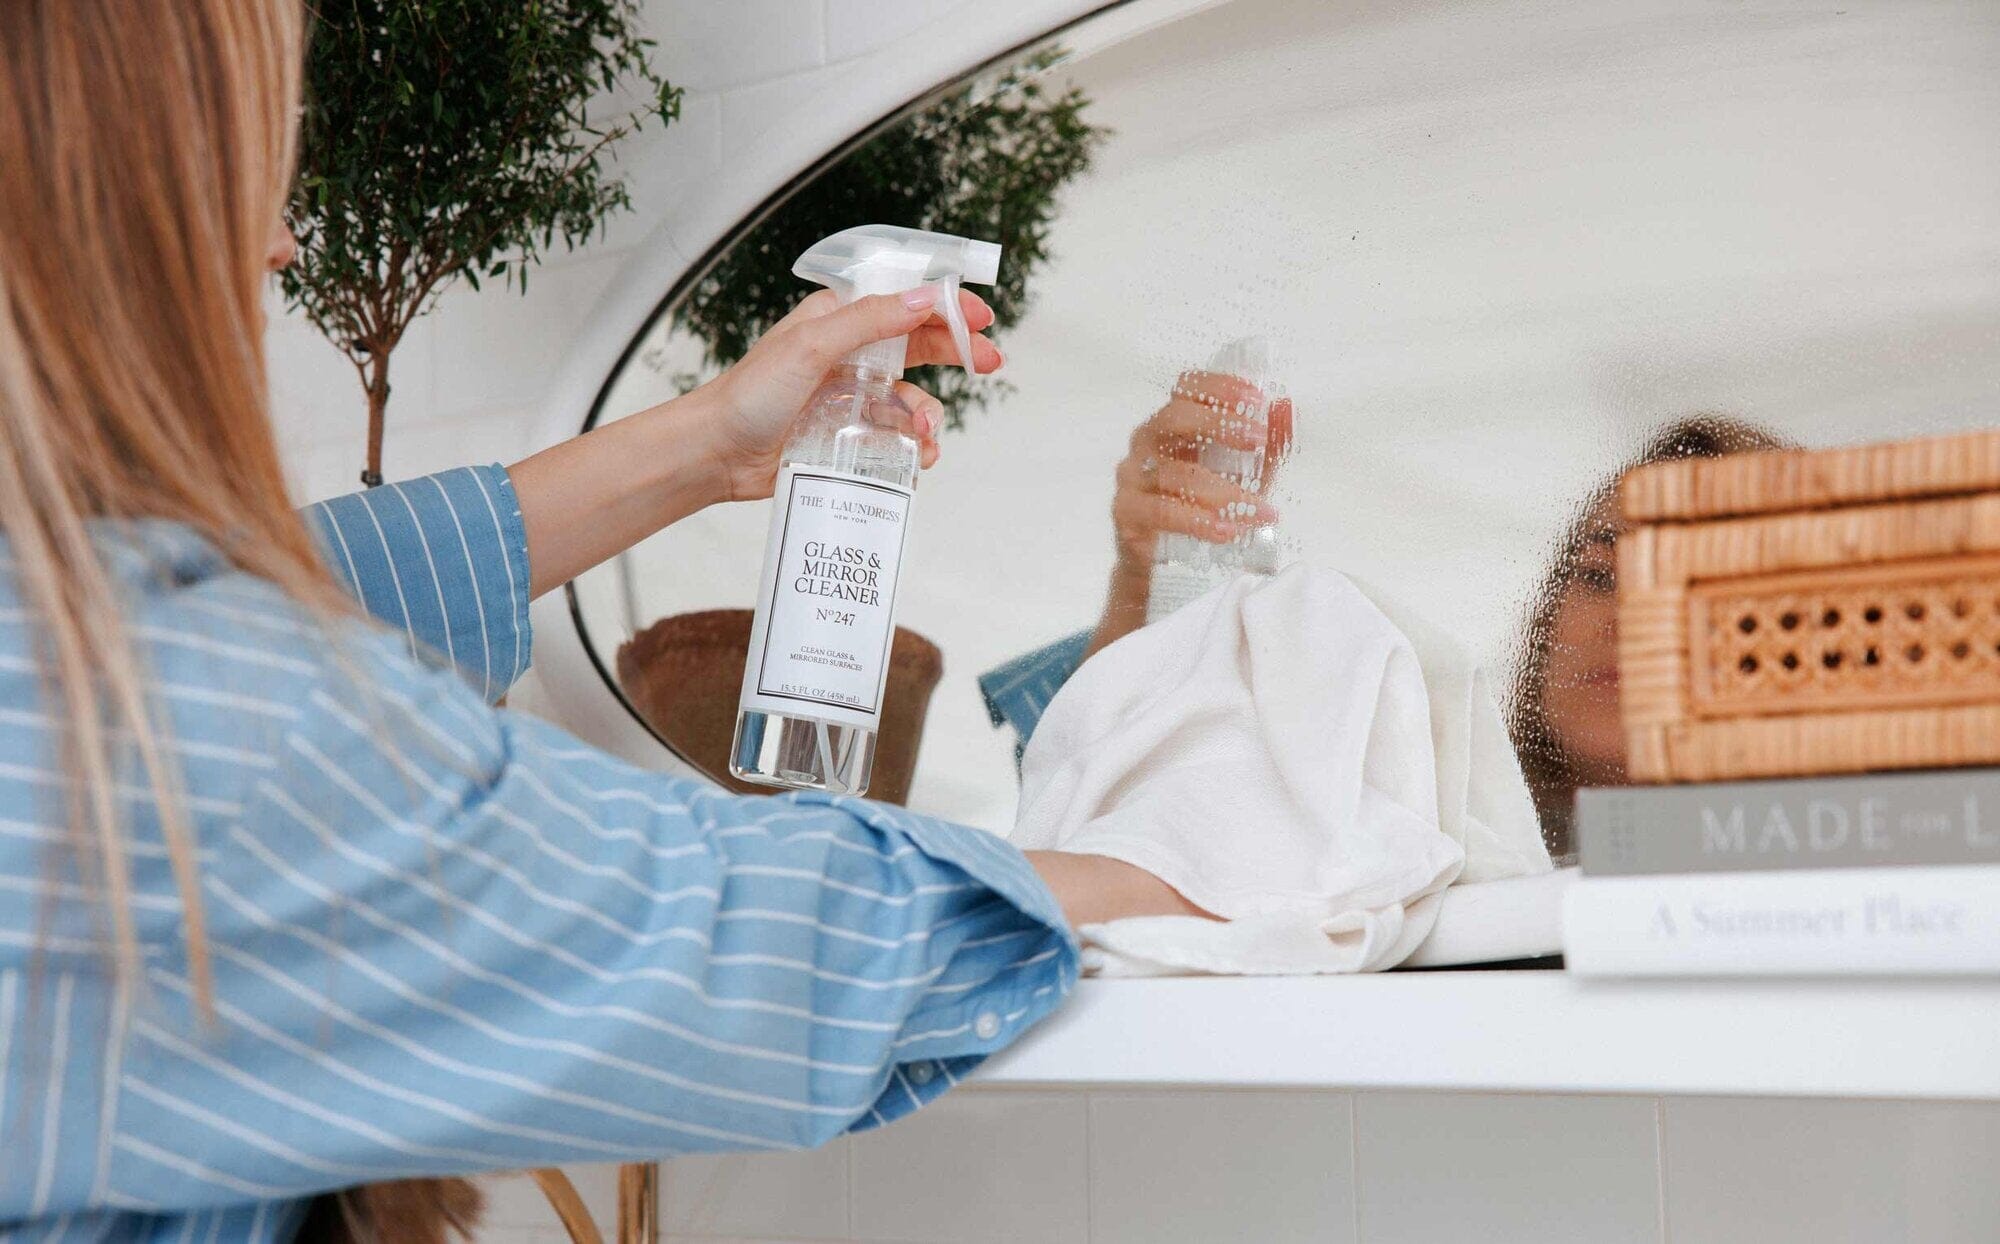
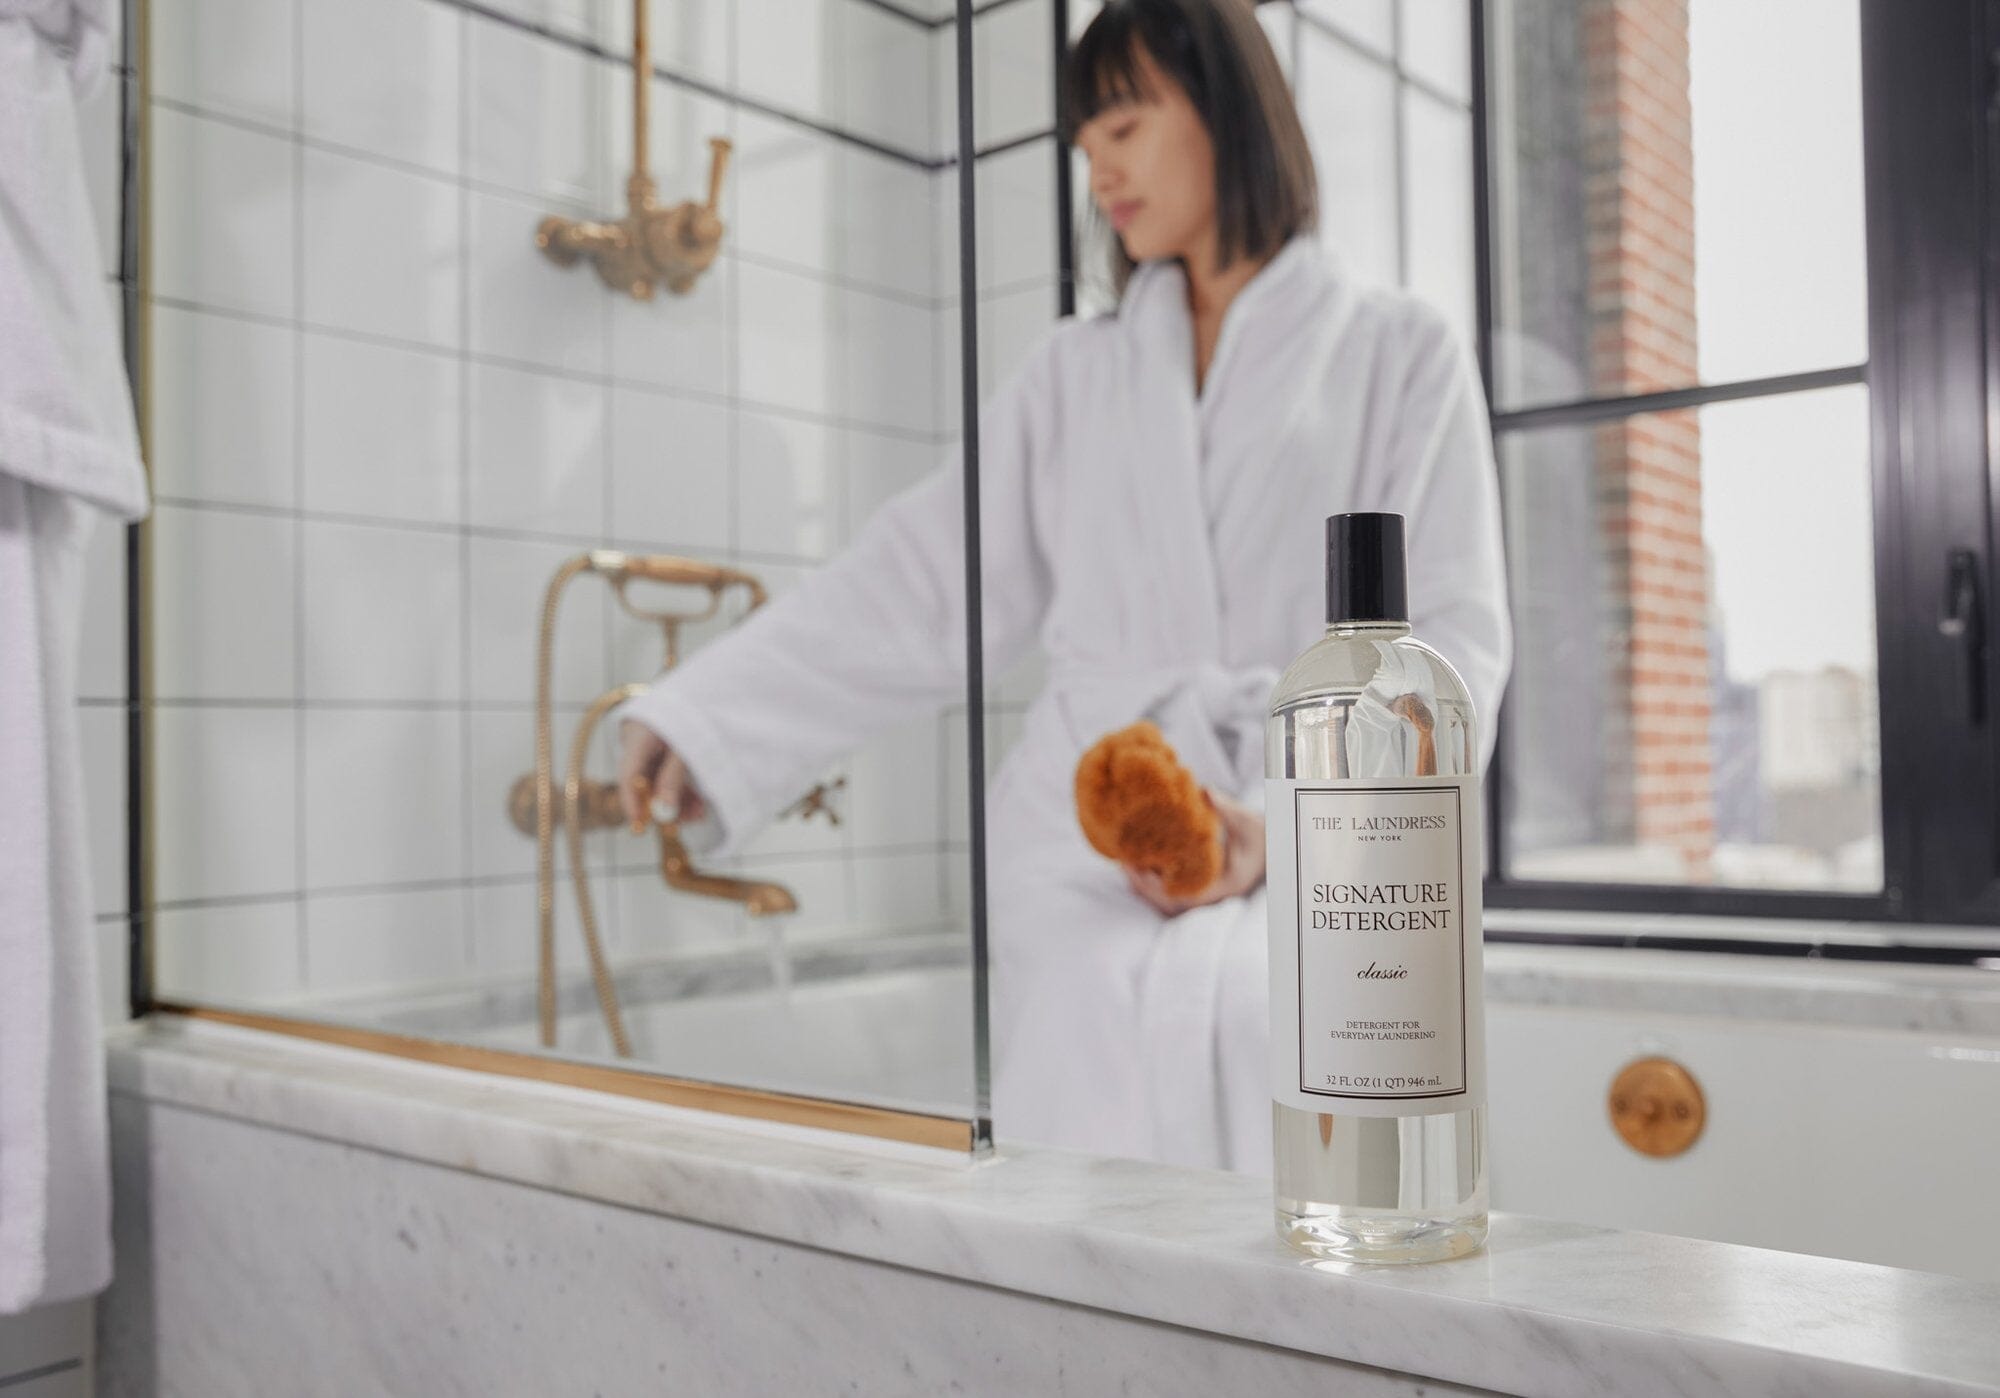
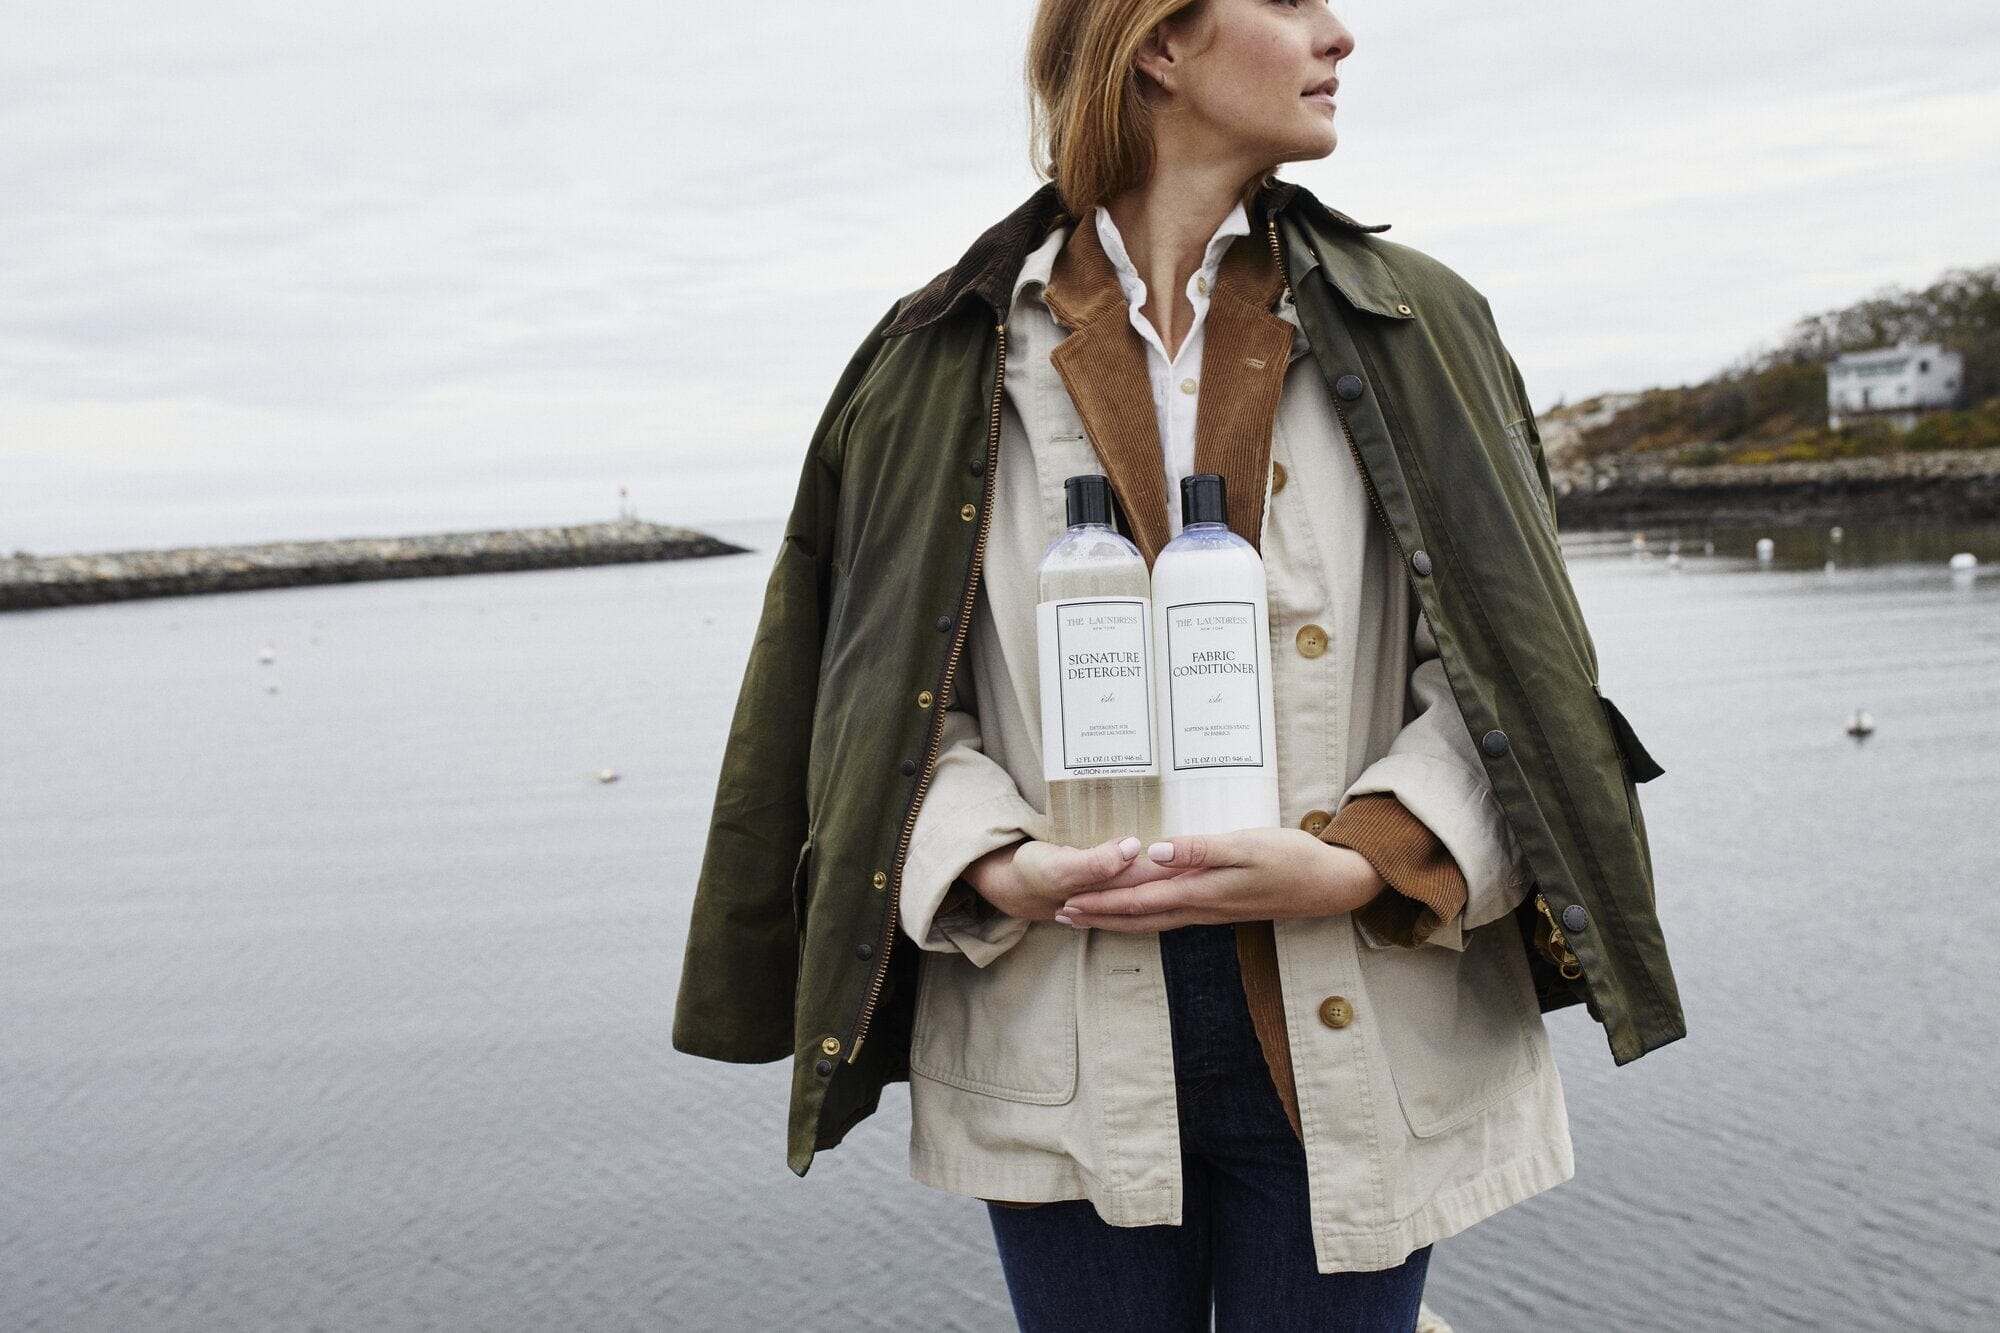
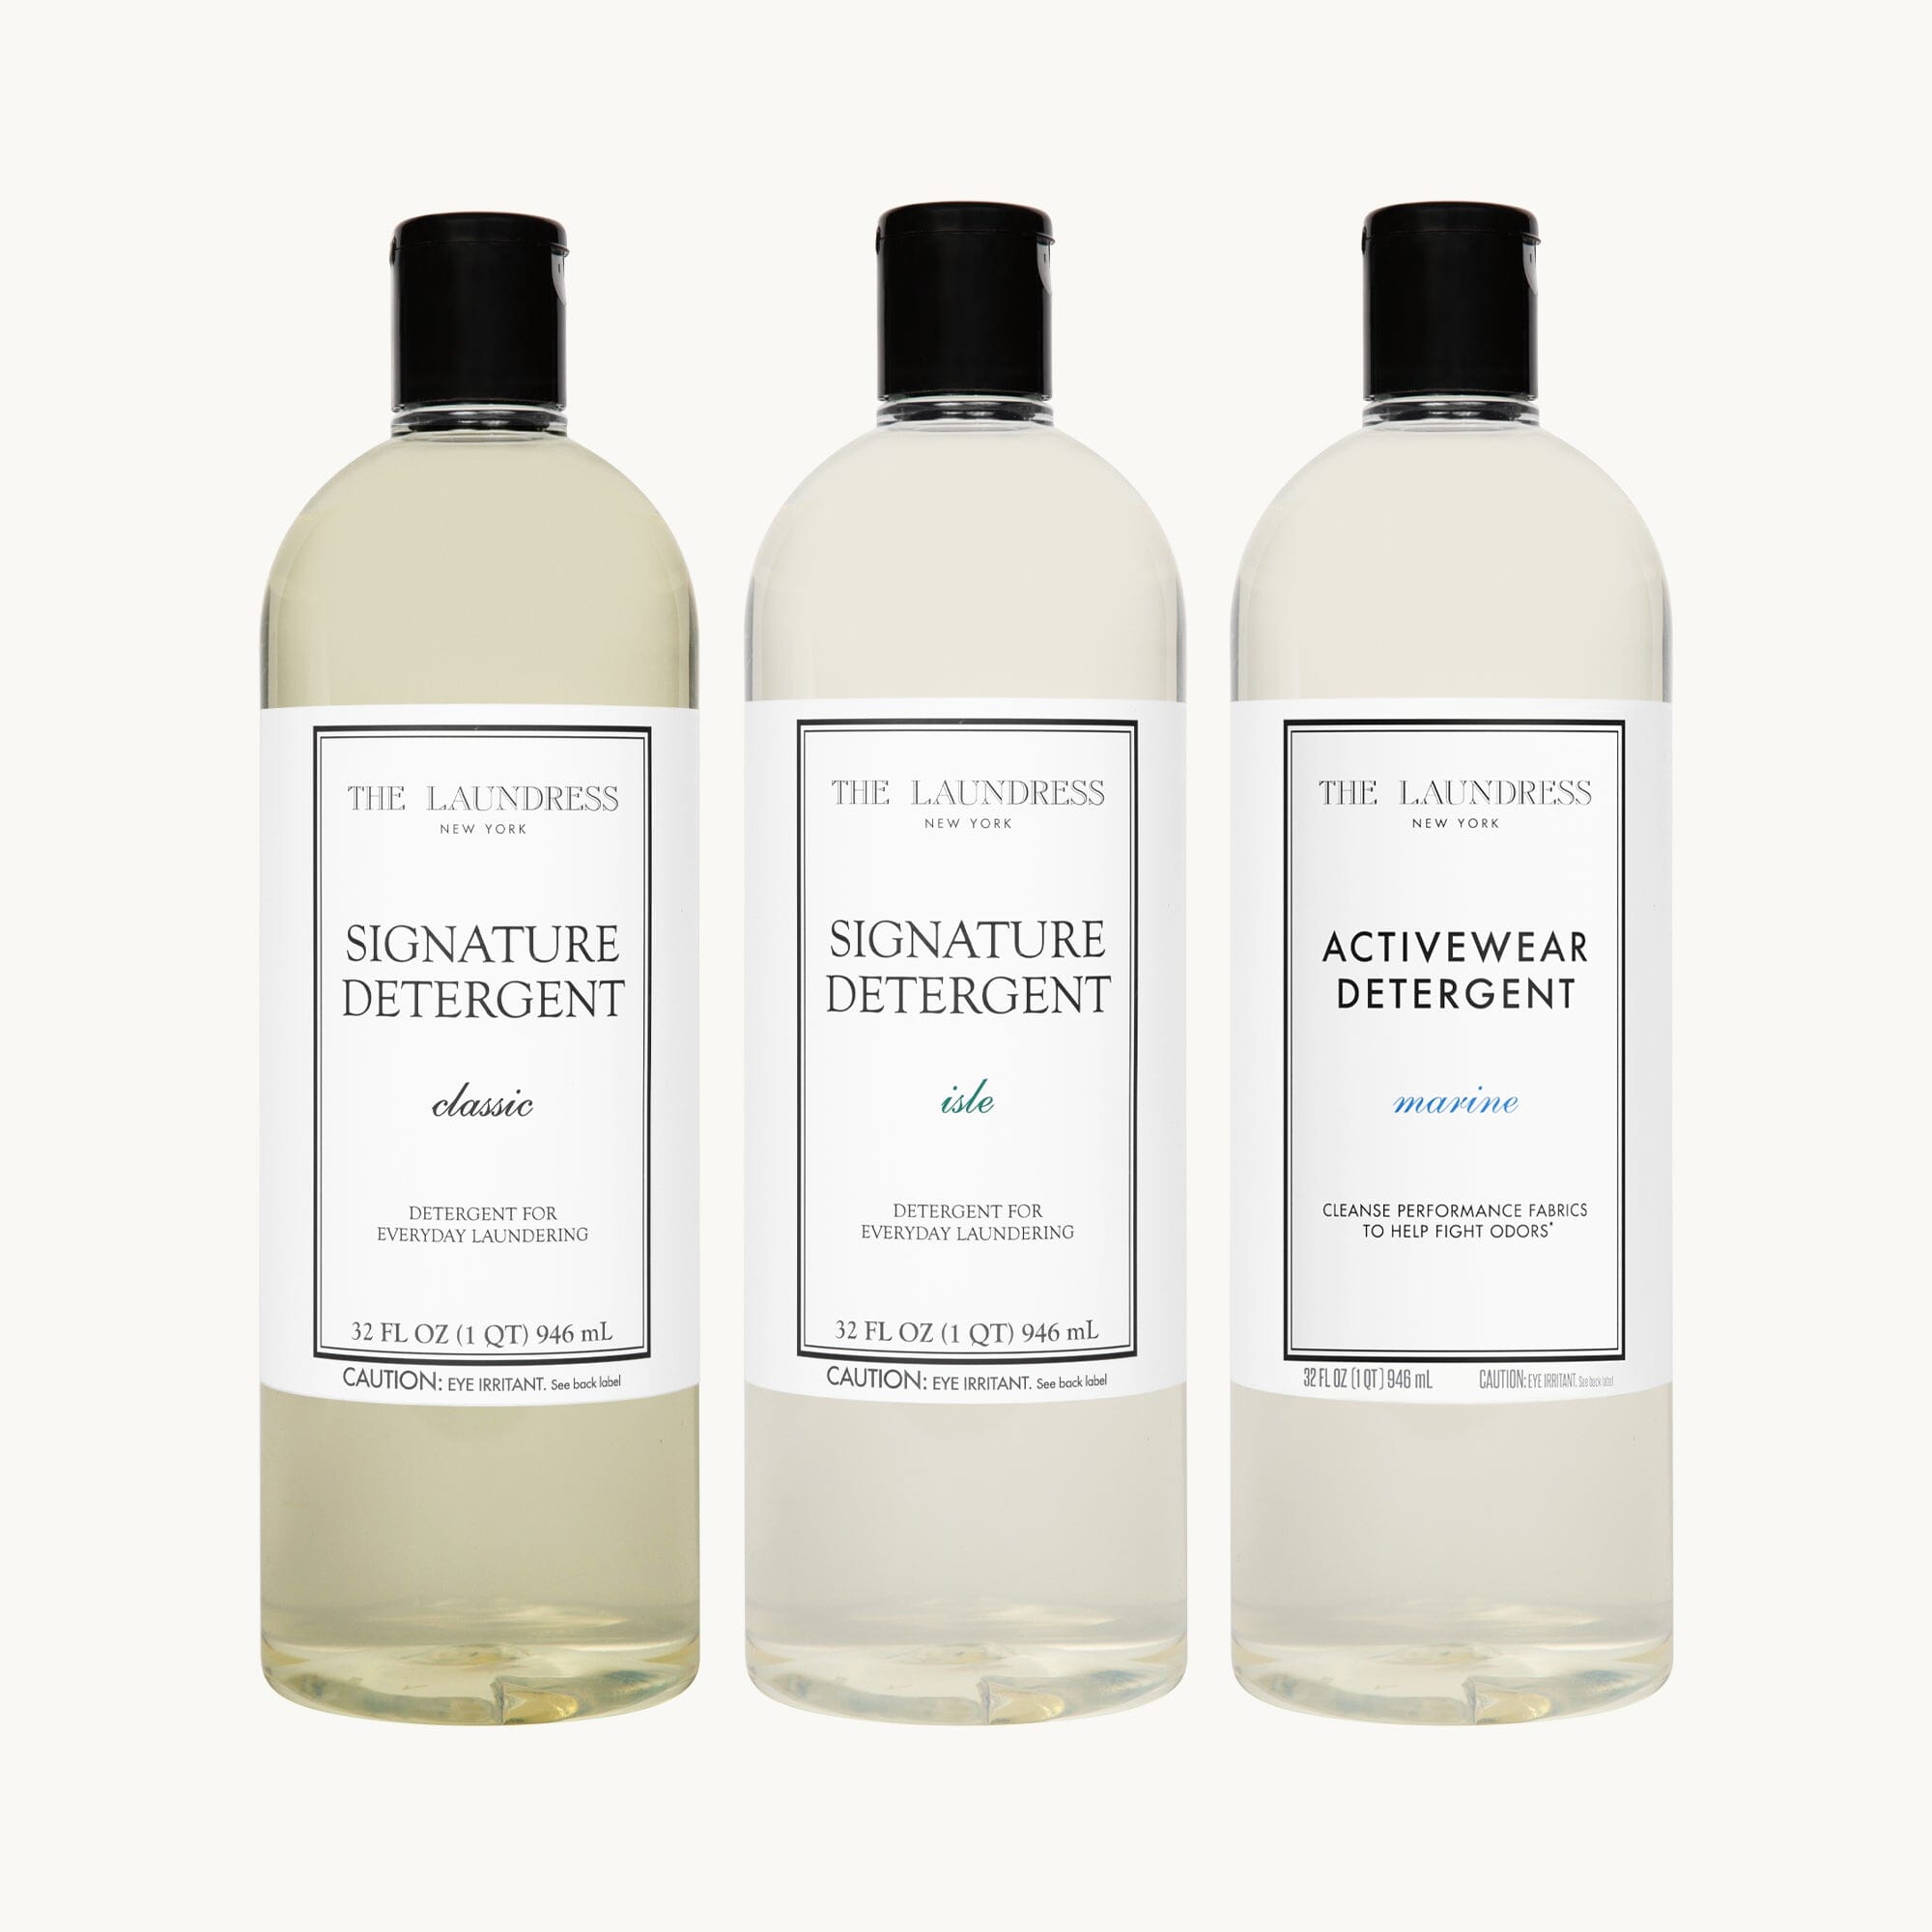
The Art of a Classic Clean
A timeless signature scent for a refined laundry experience, every wash day.
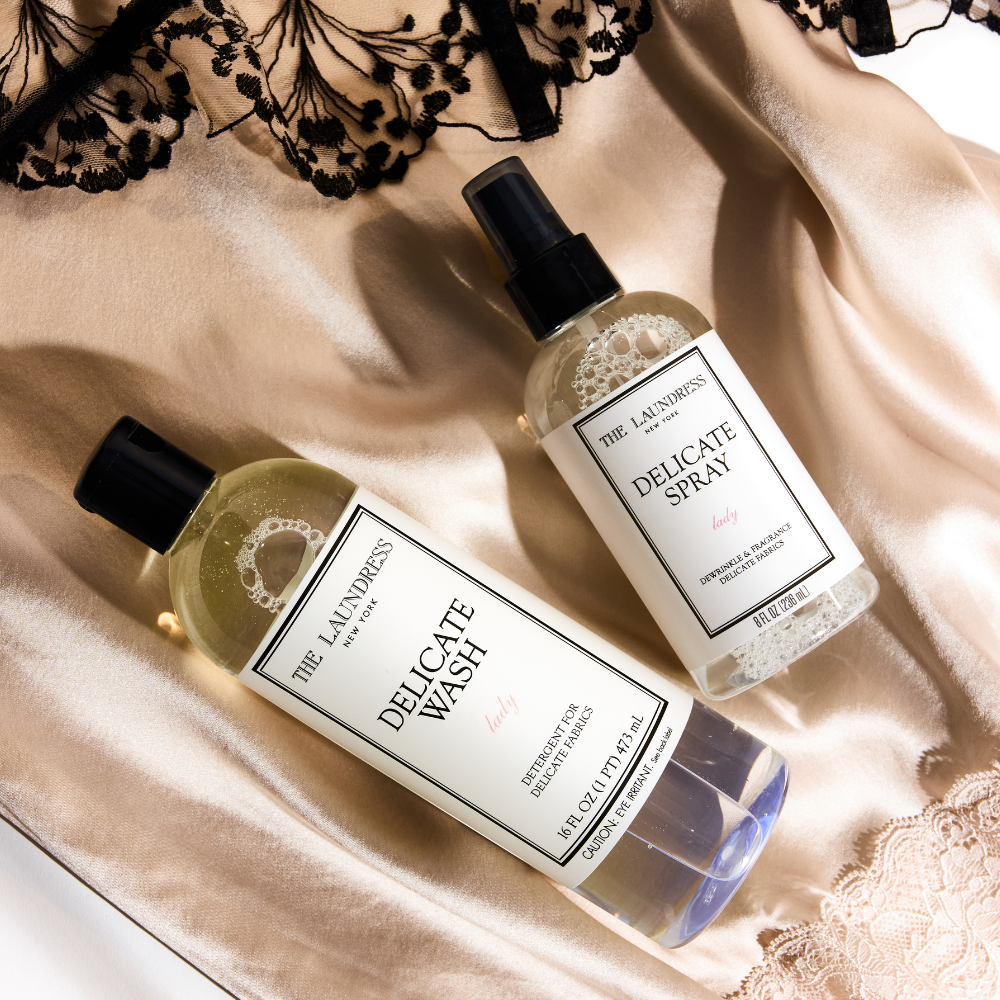
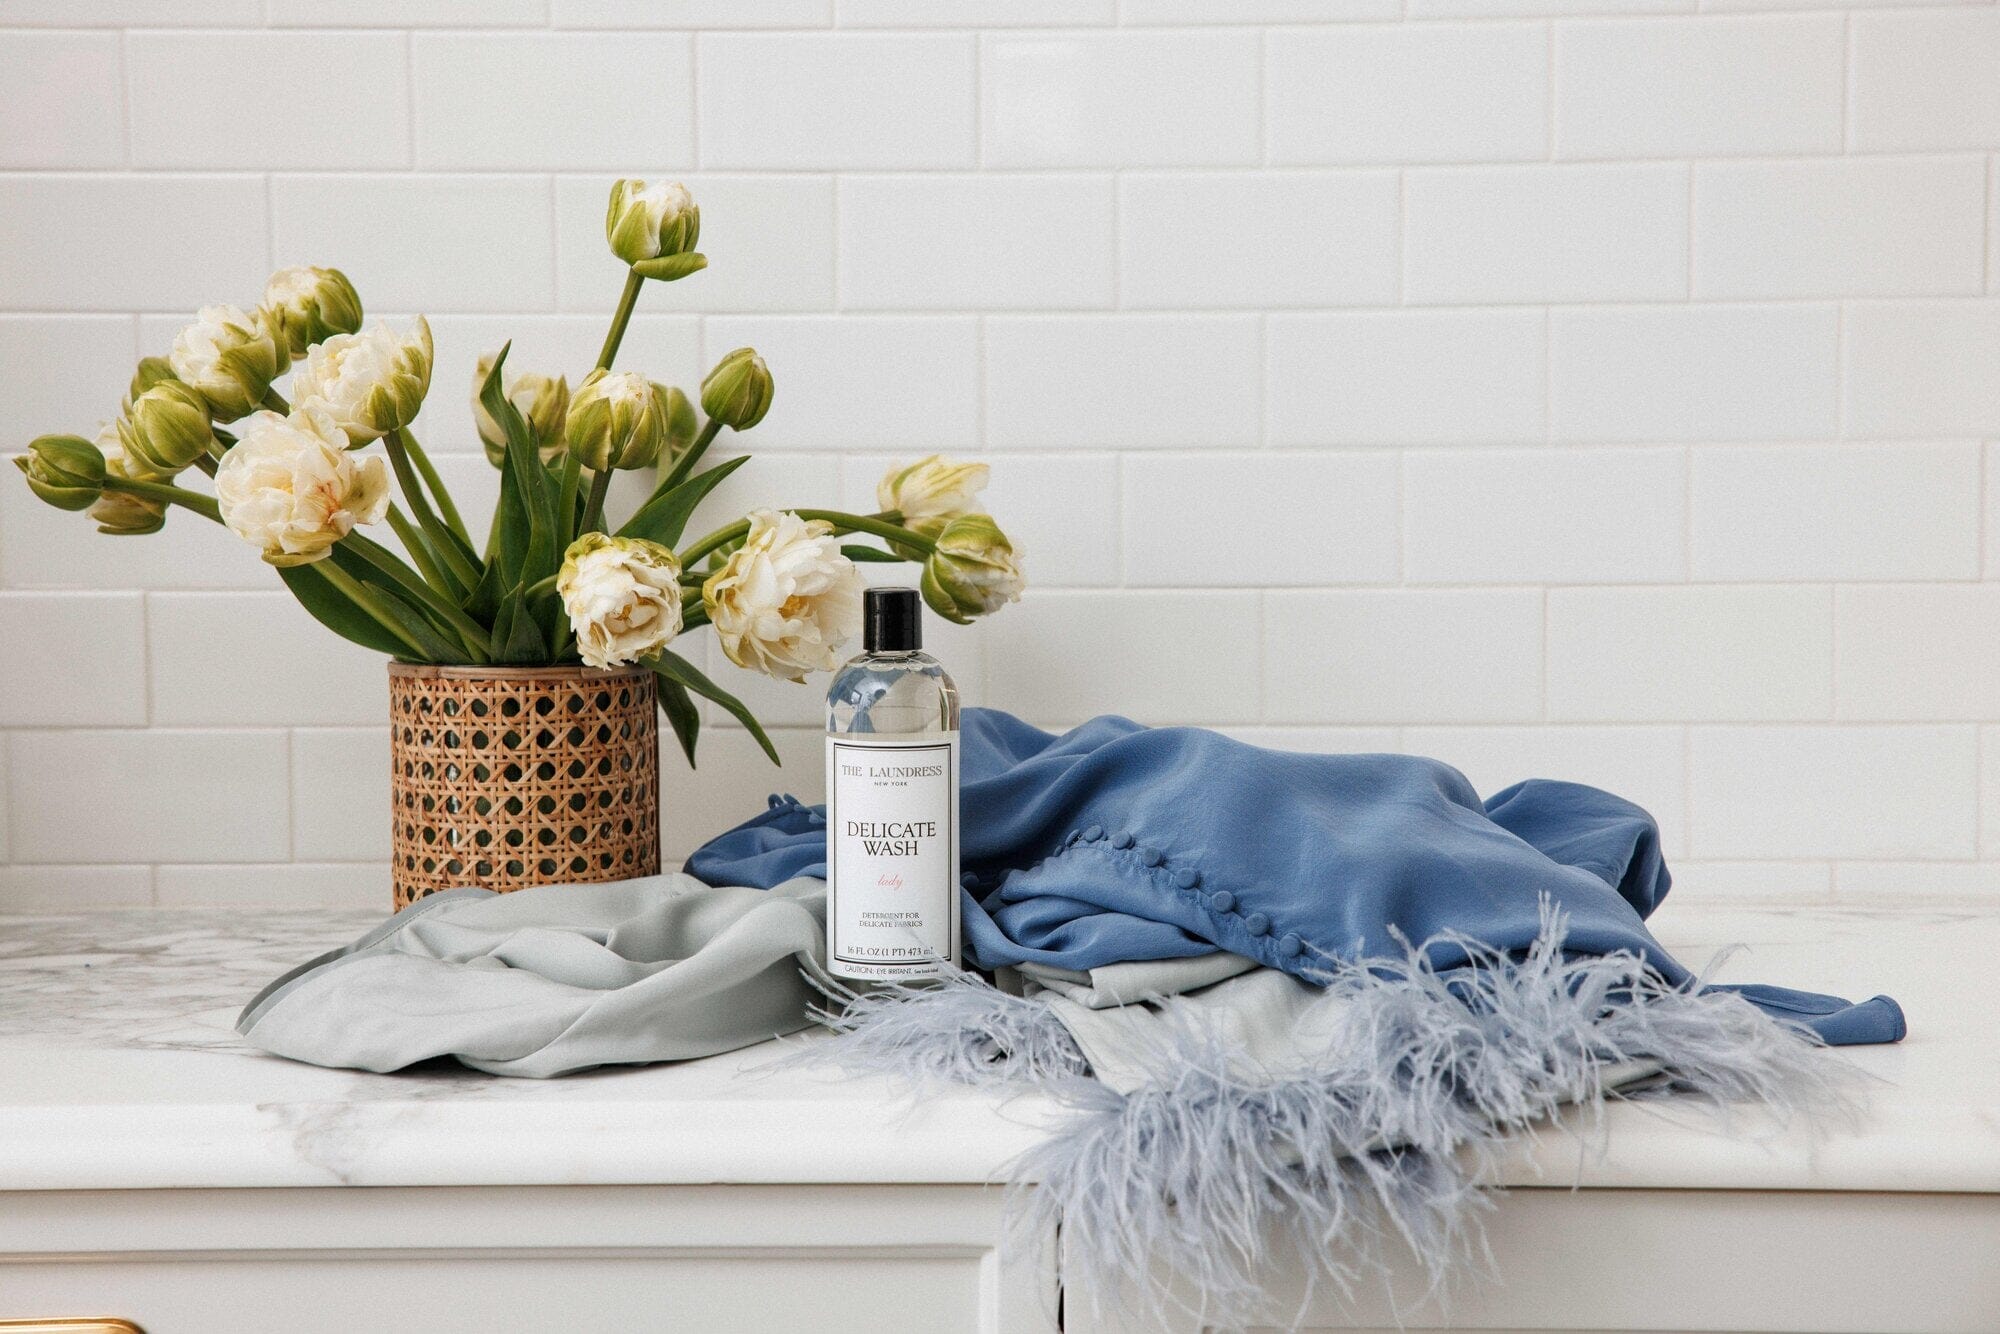
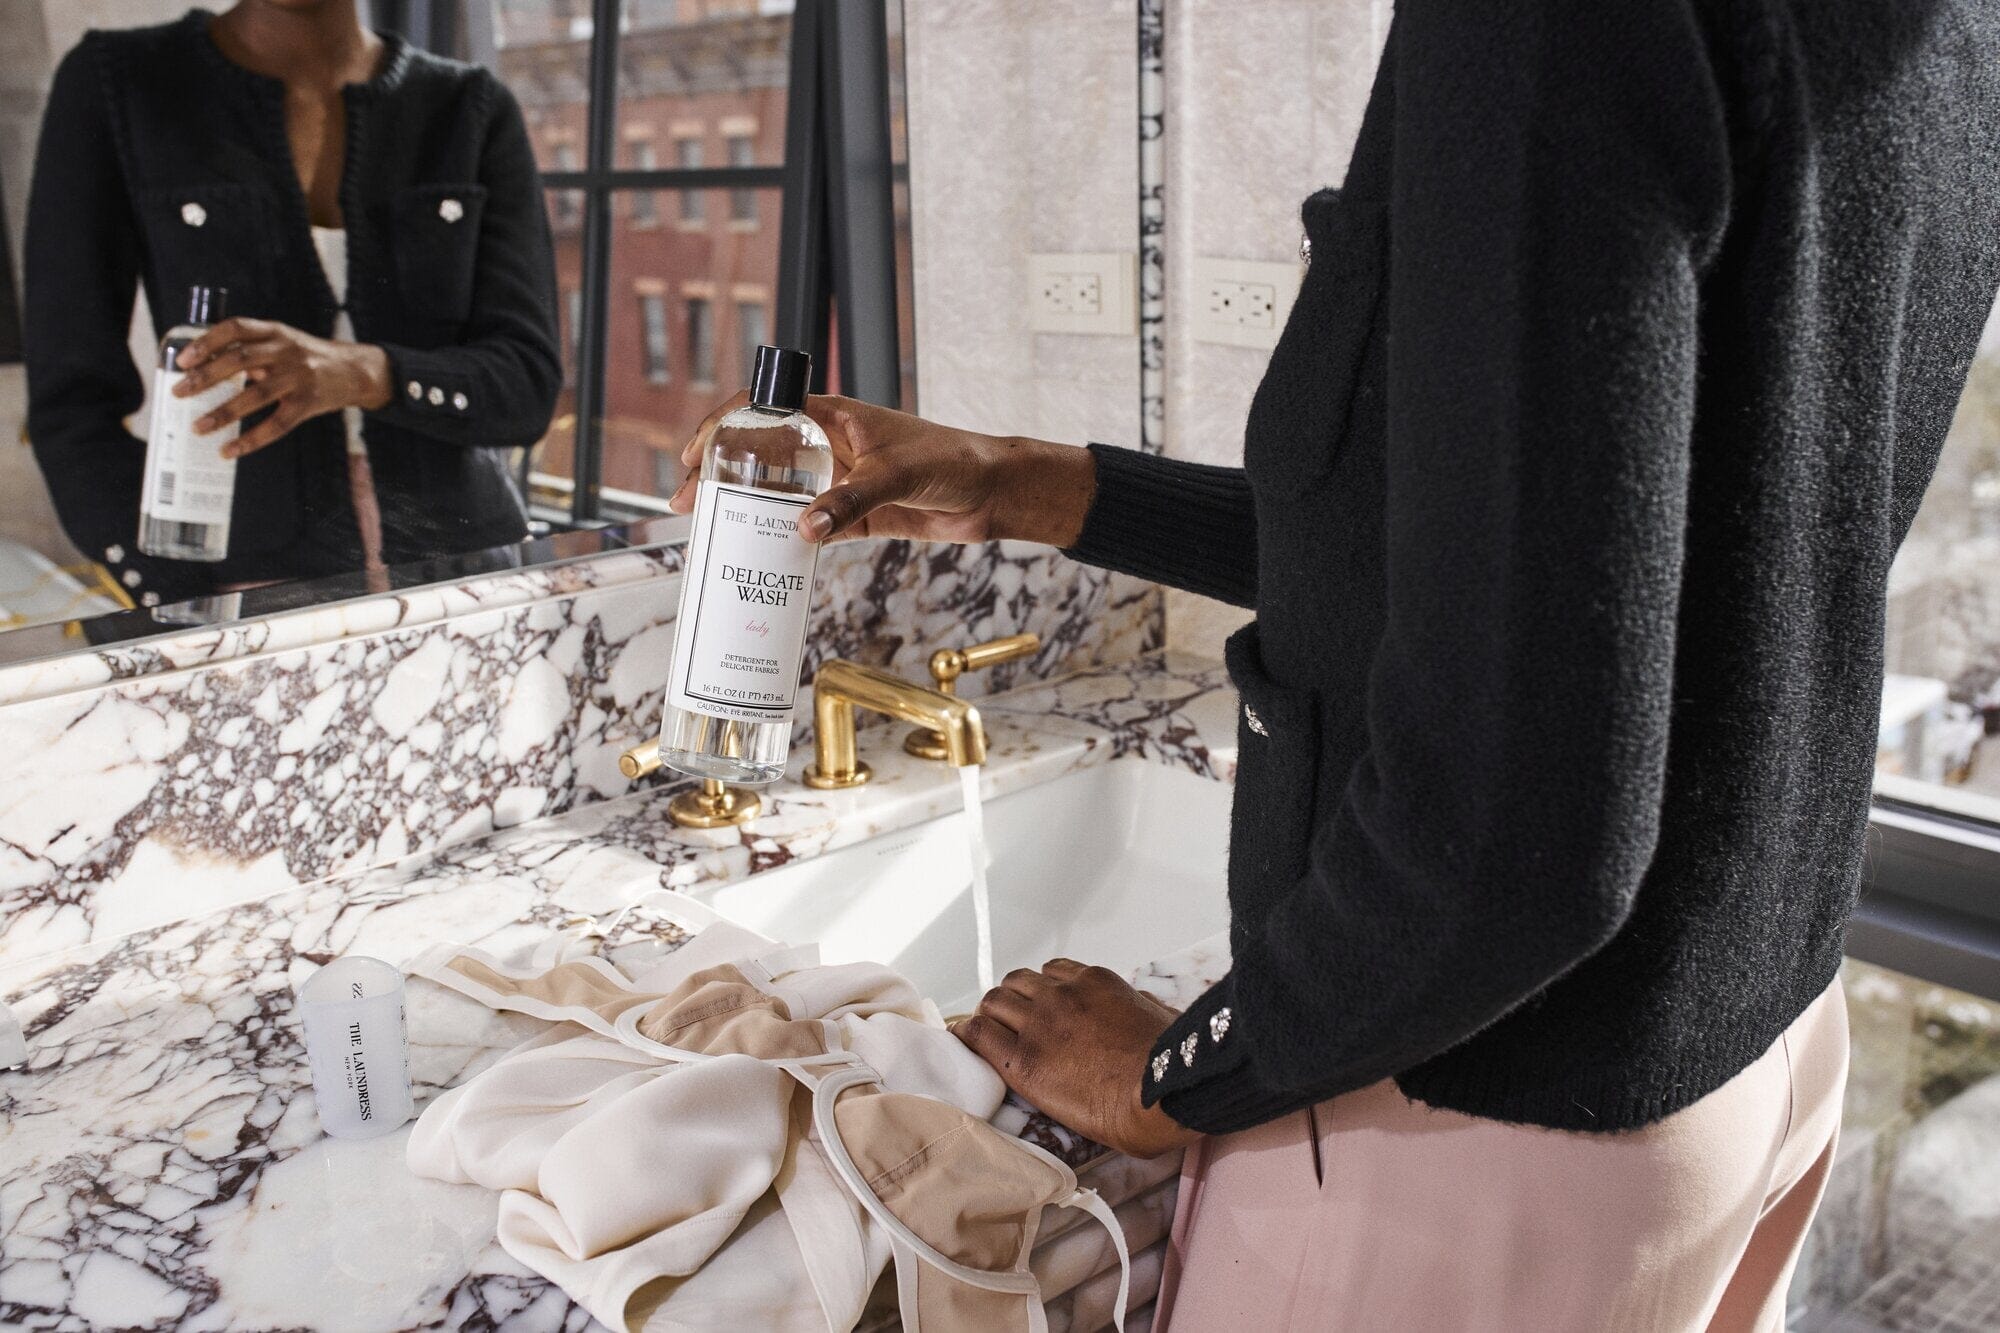
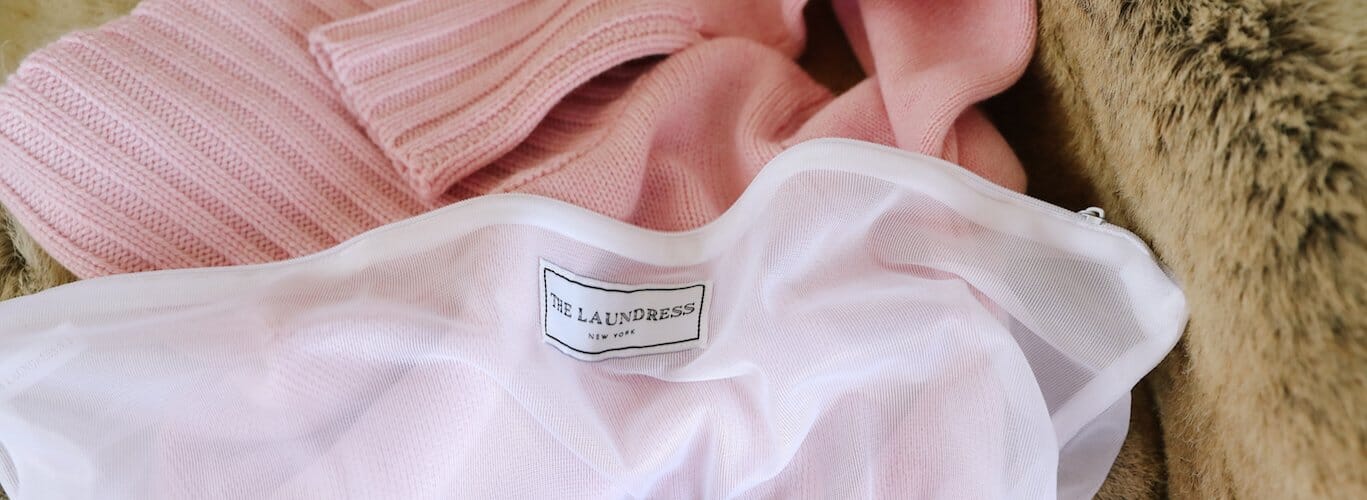
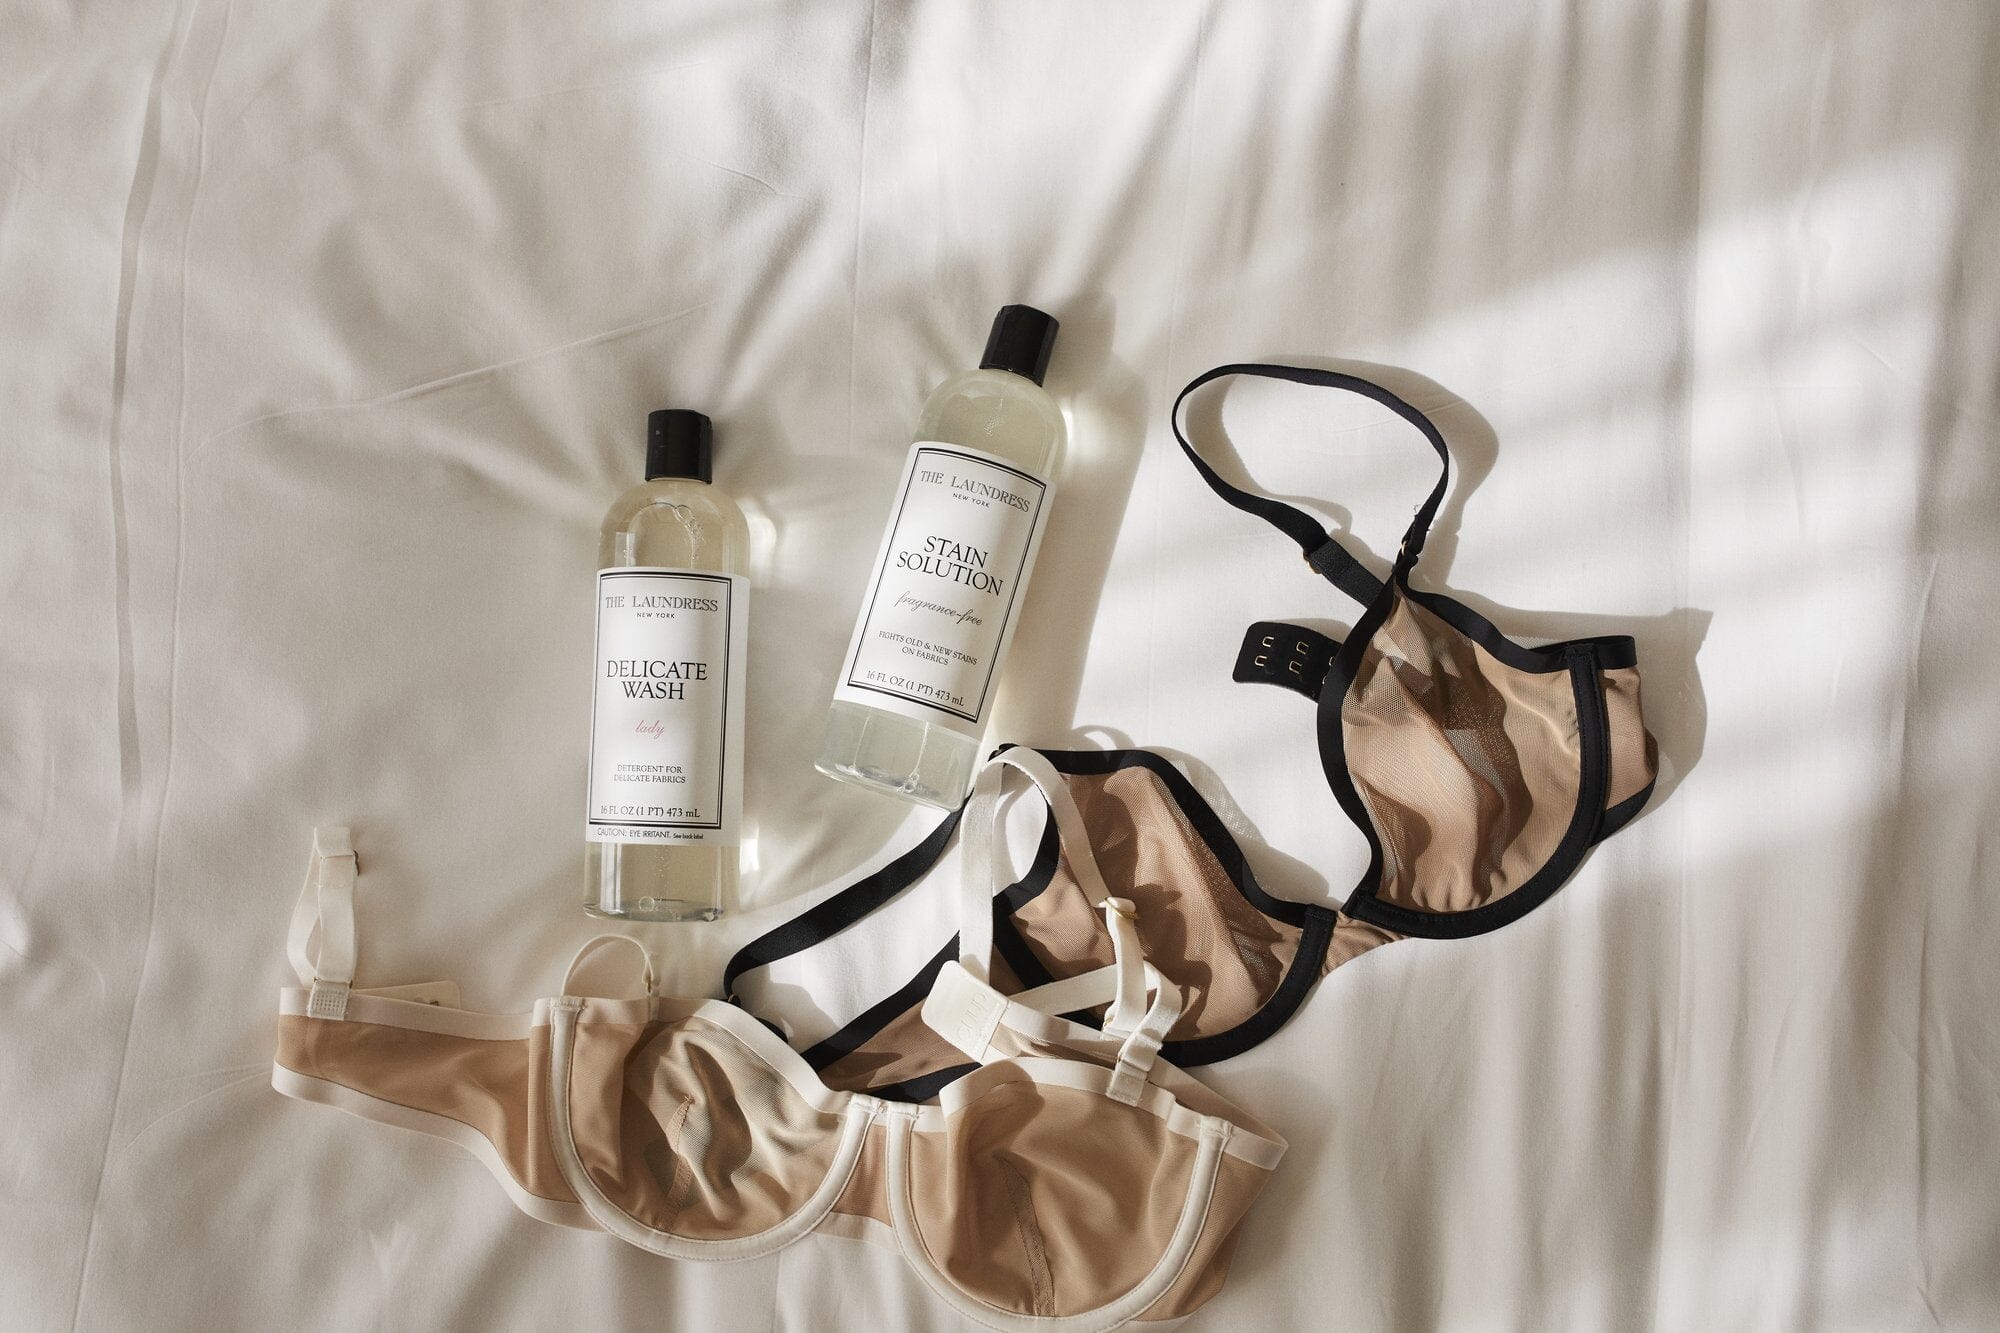
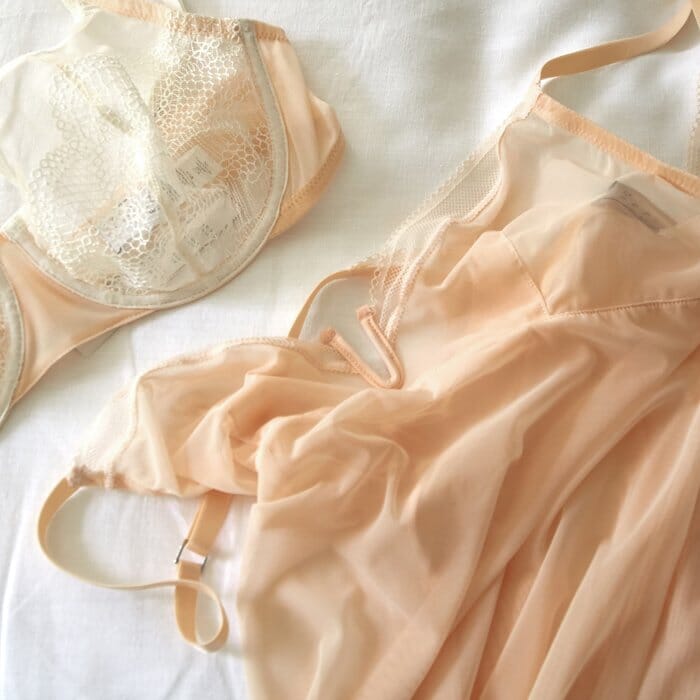
Soft on Silks. Big on Love.
The pieces you love deserve elevated care always!
Soft on Silks. Big on Love.
The pieces you love deserve elevated care always!
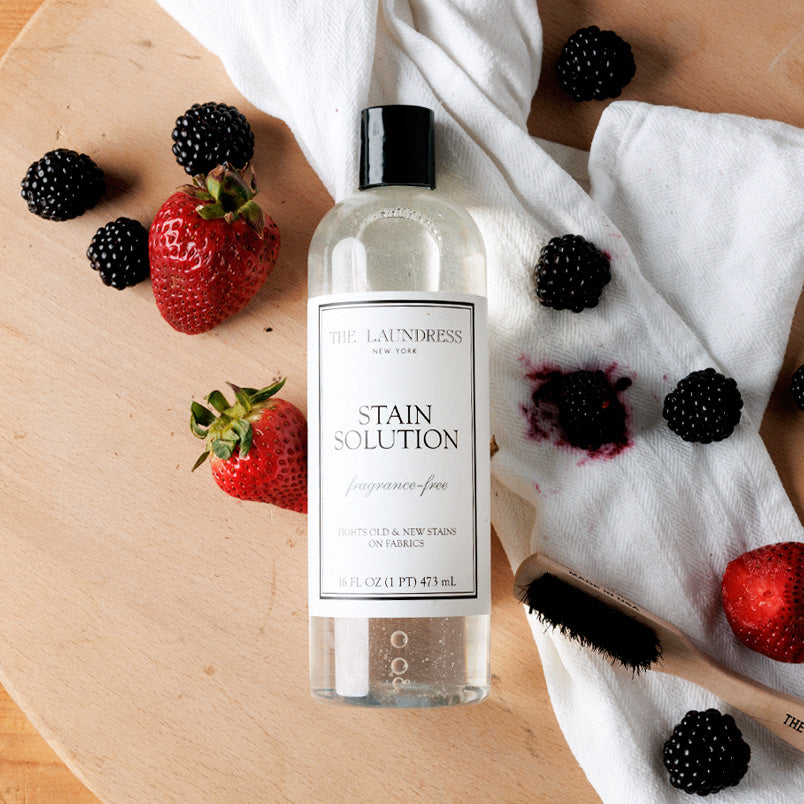
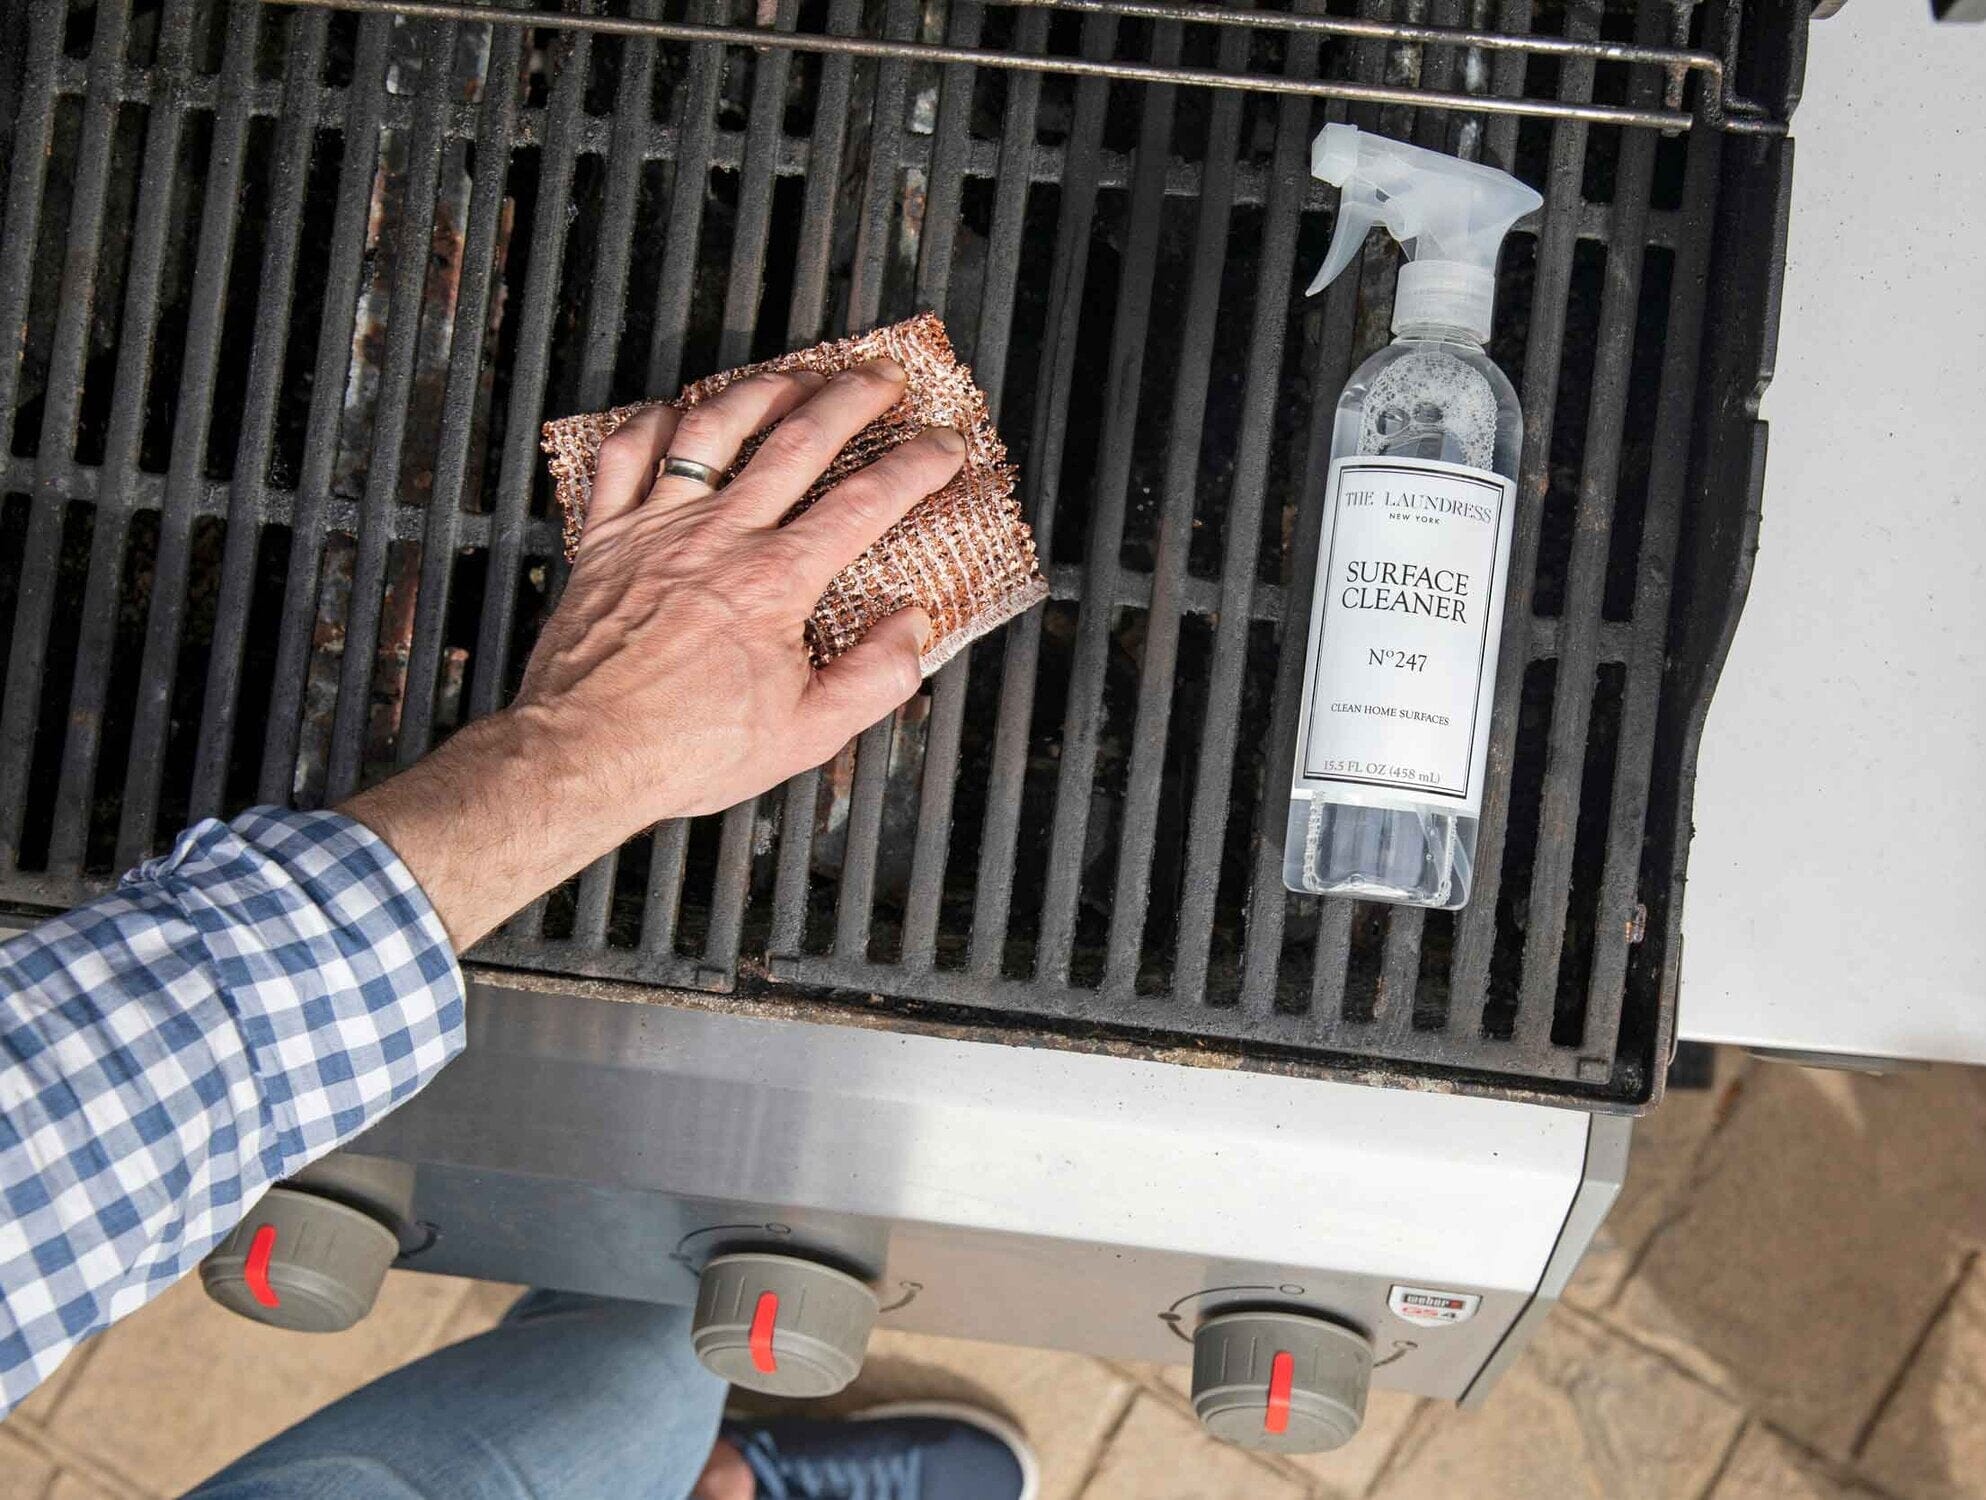
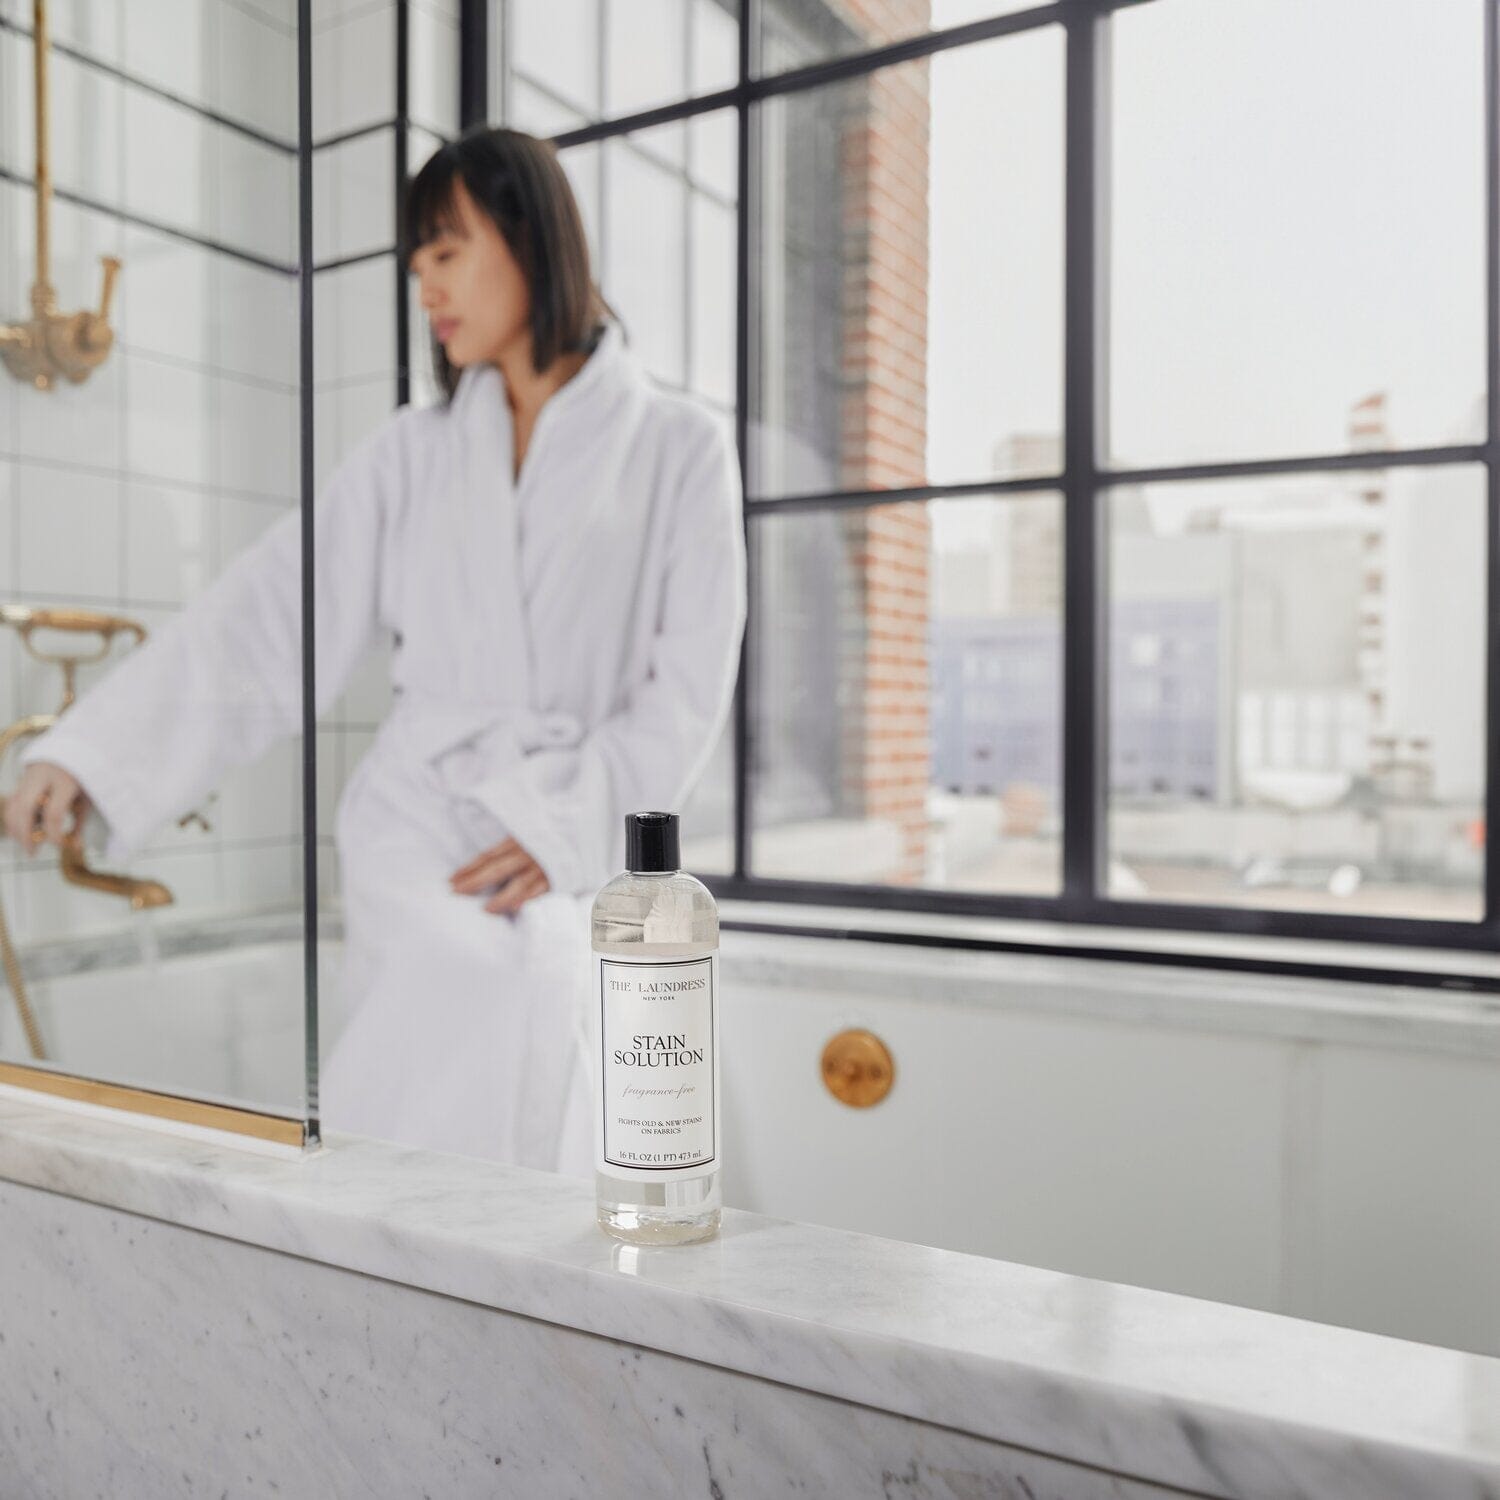
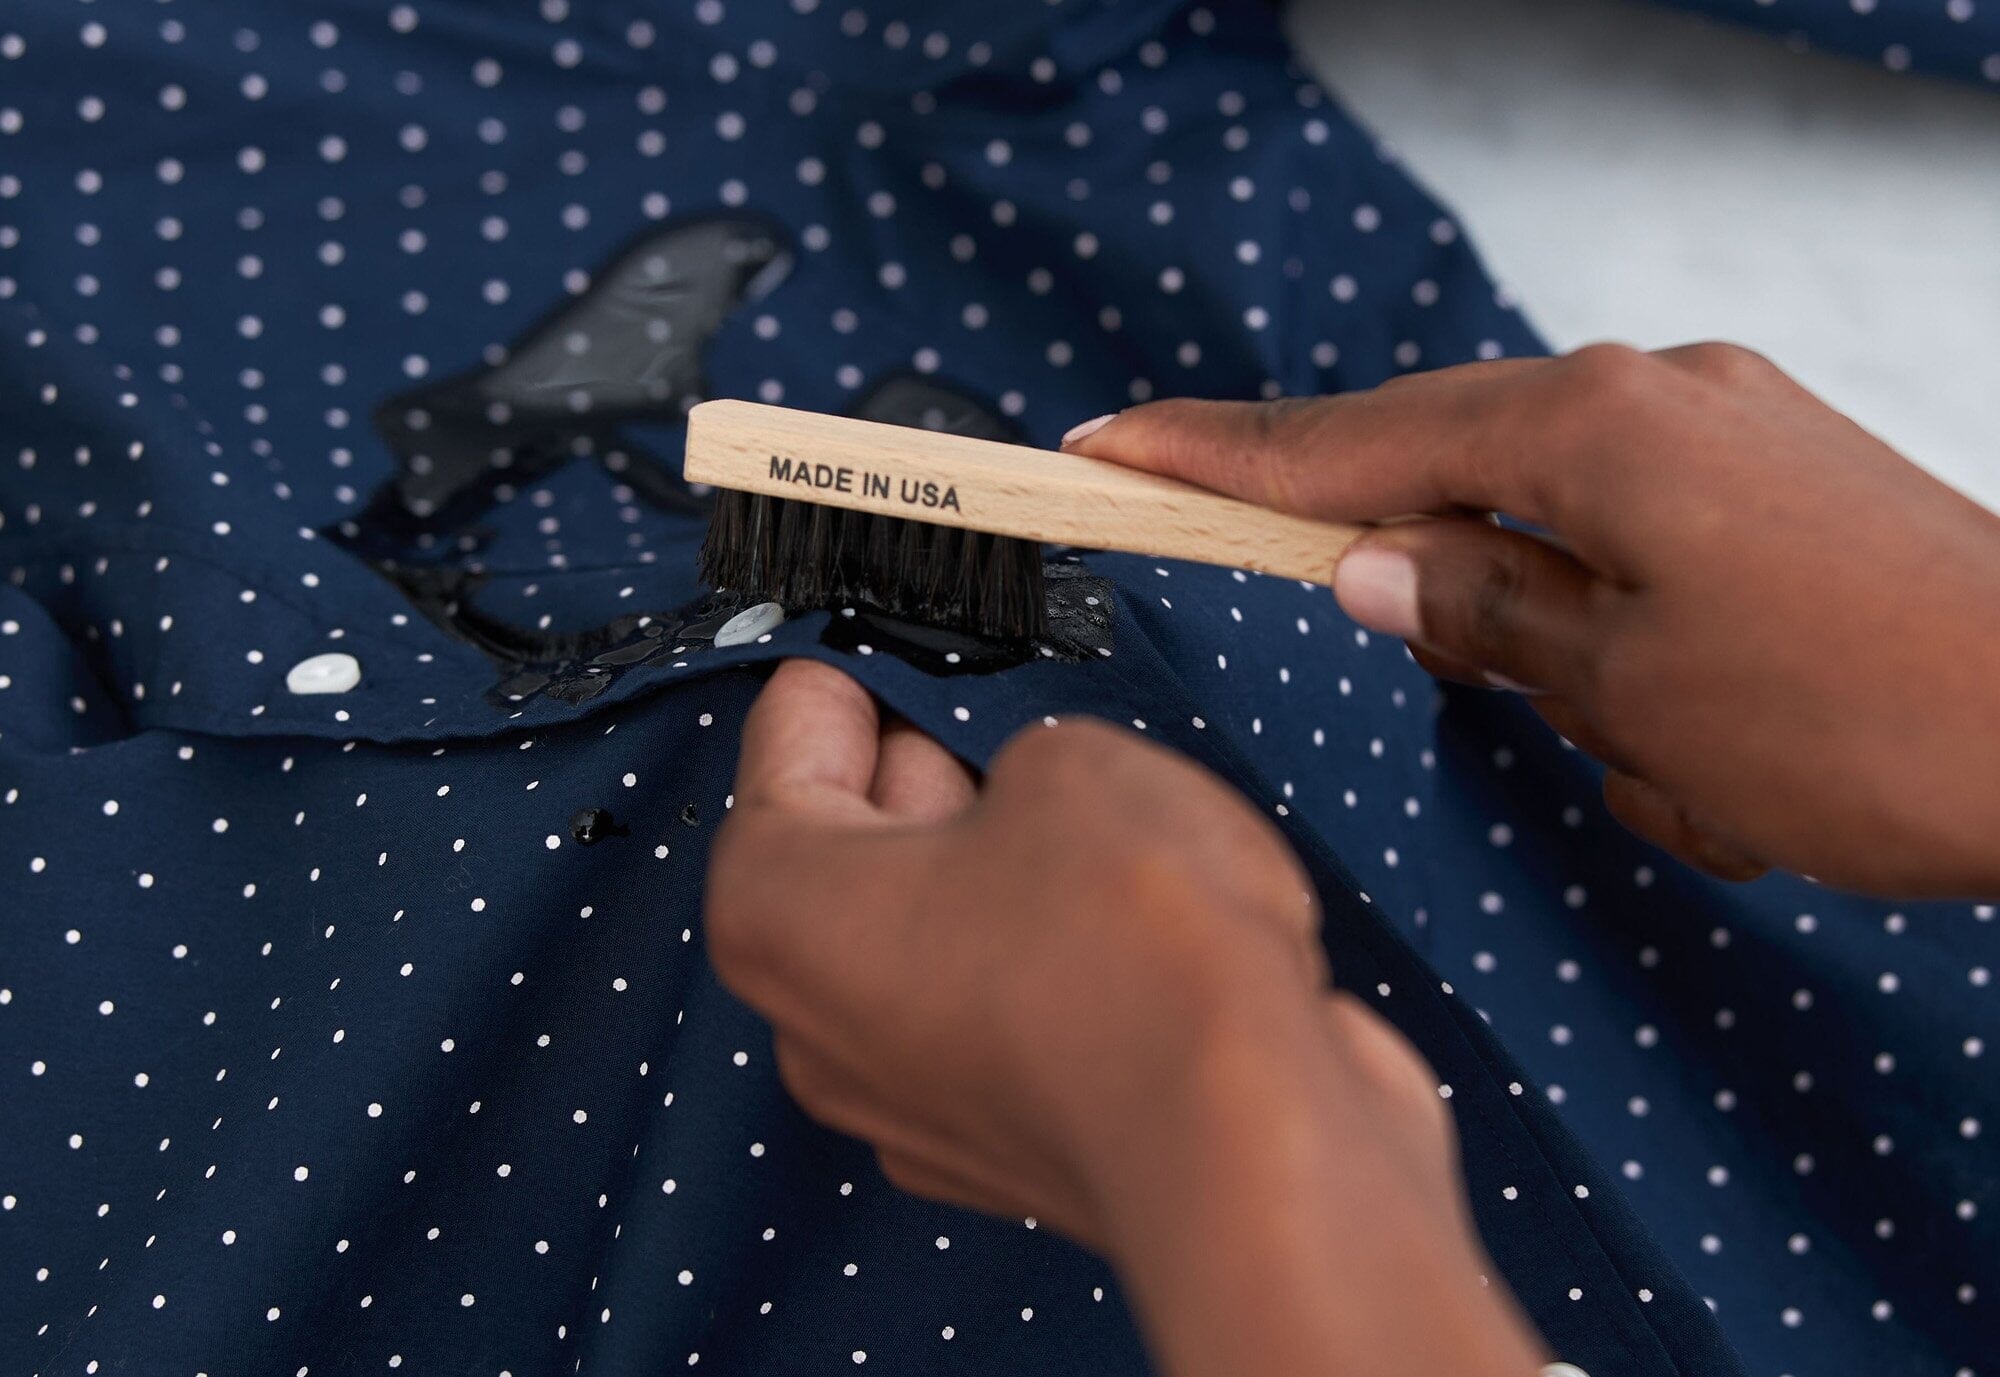
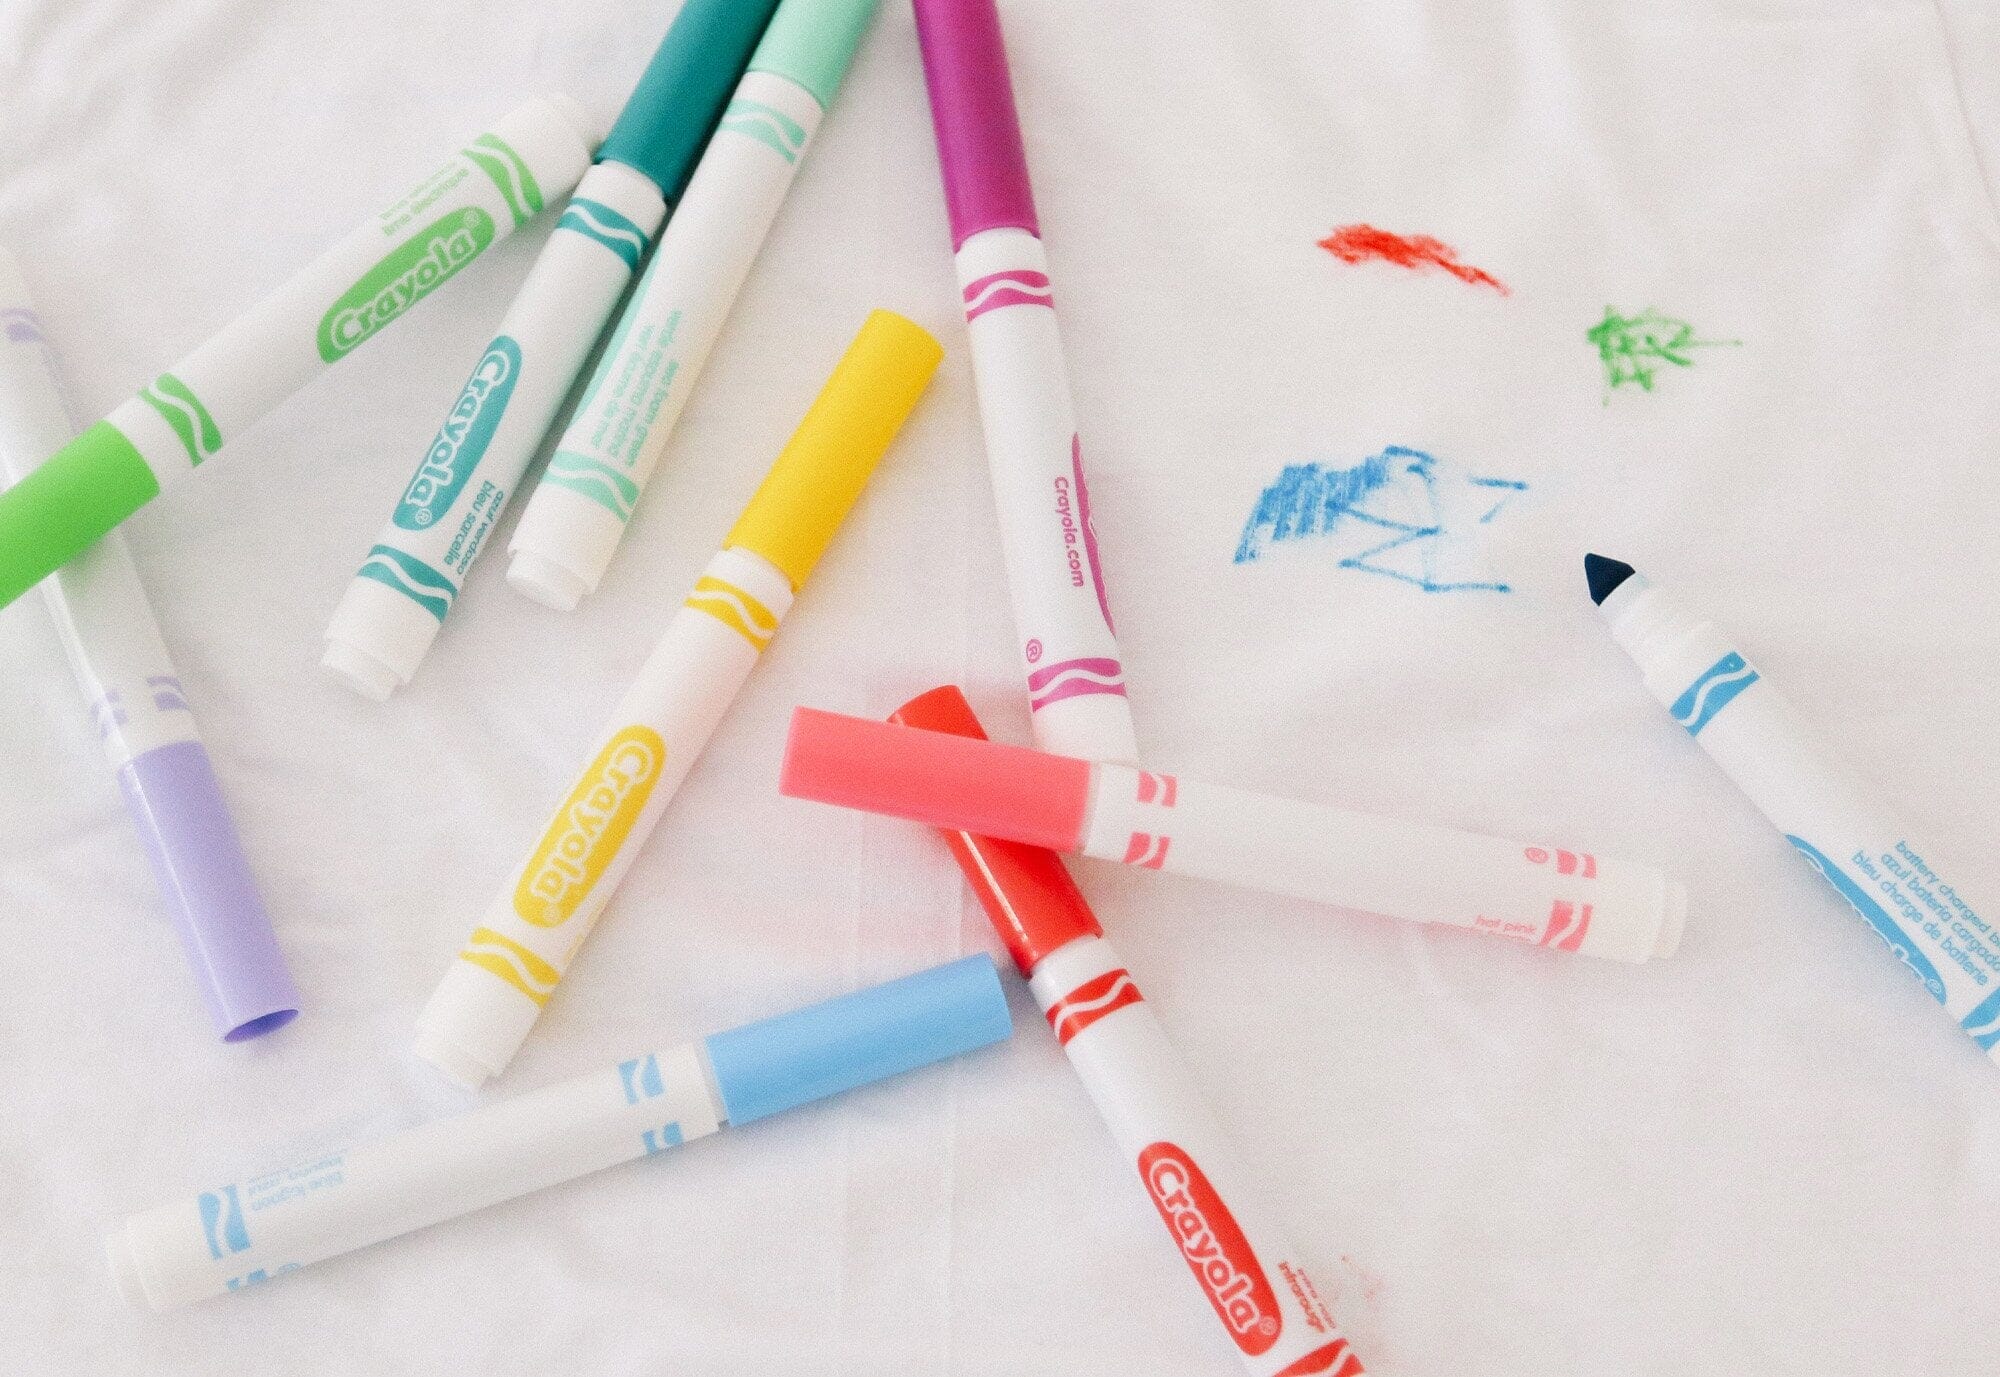
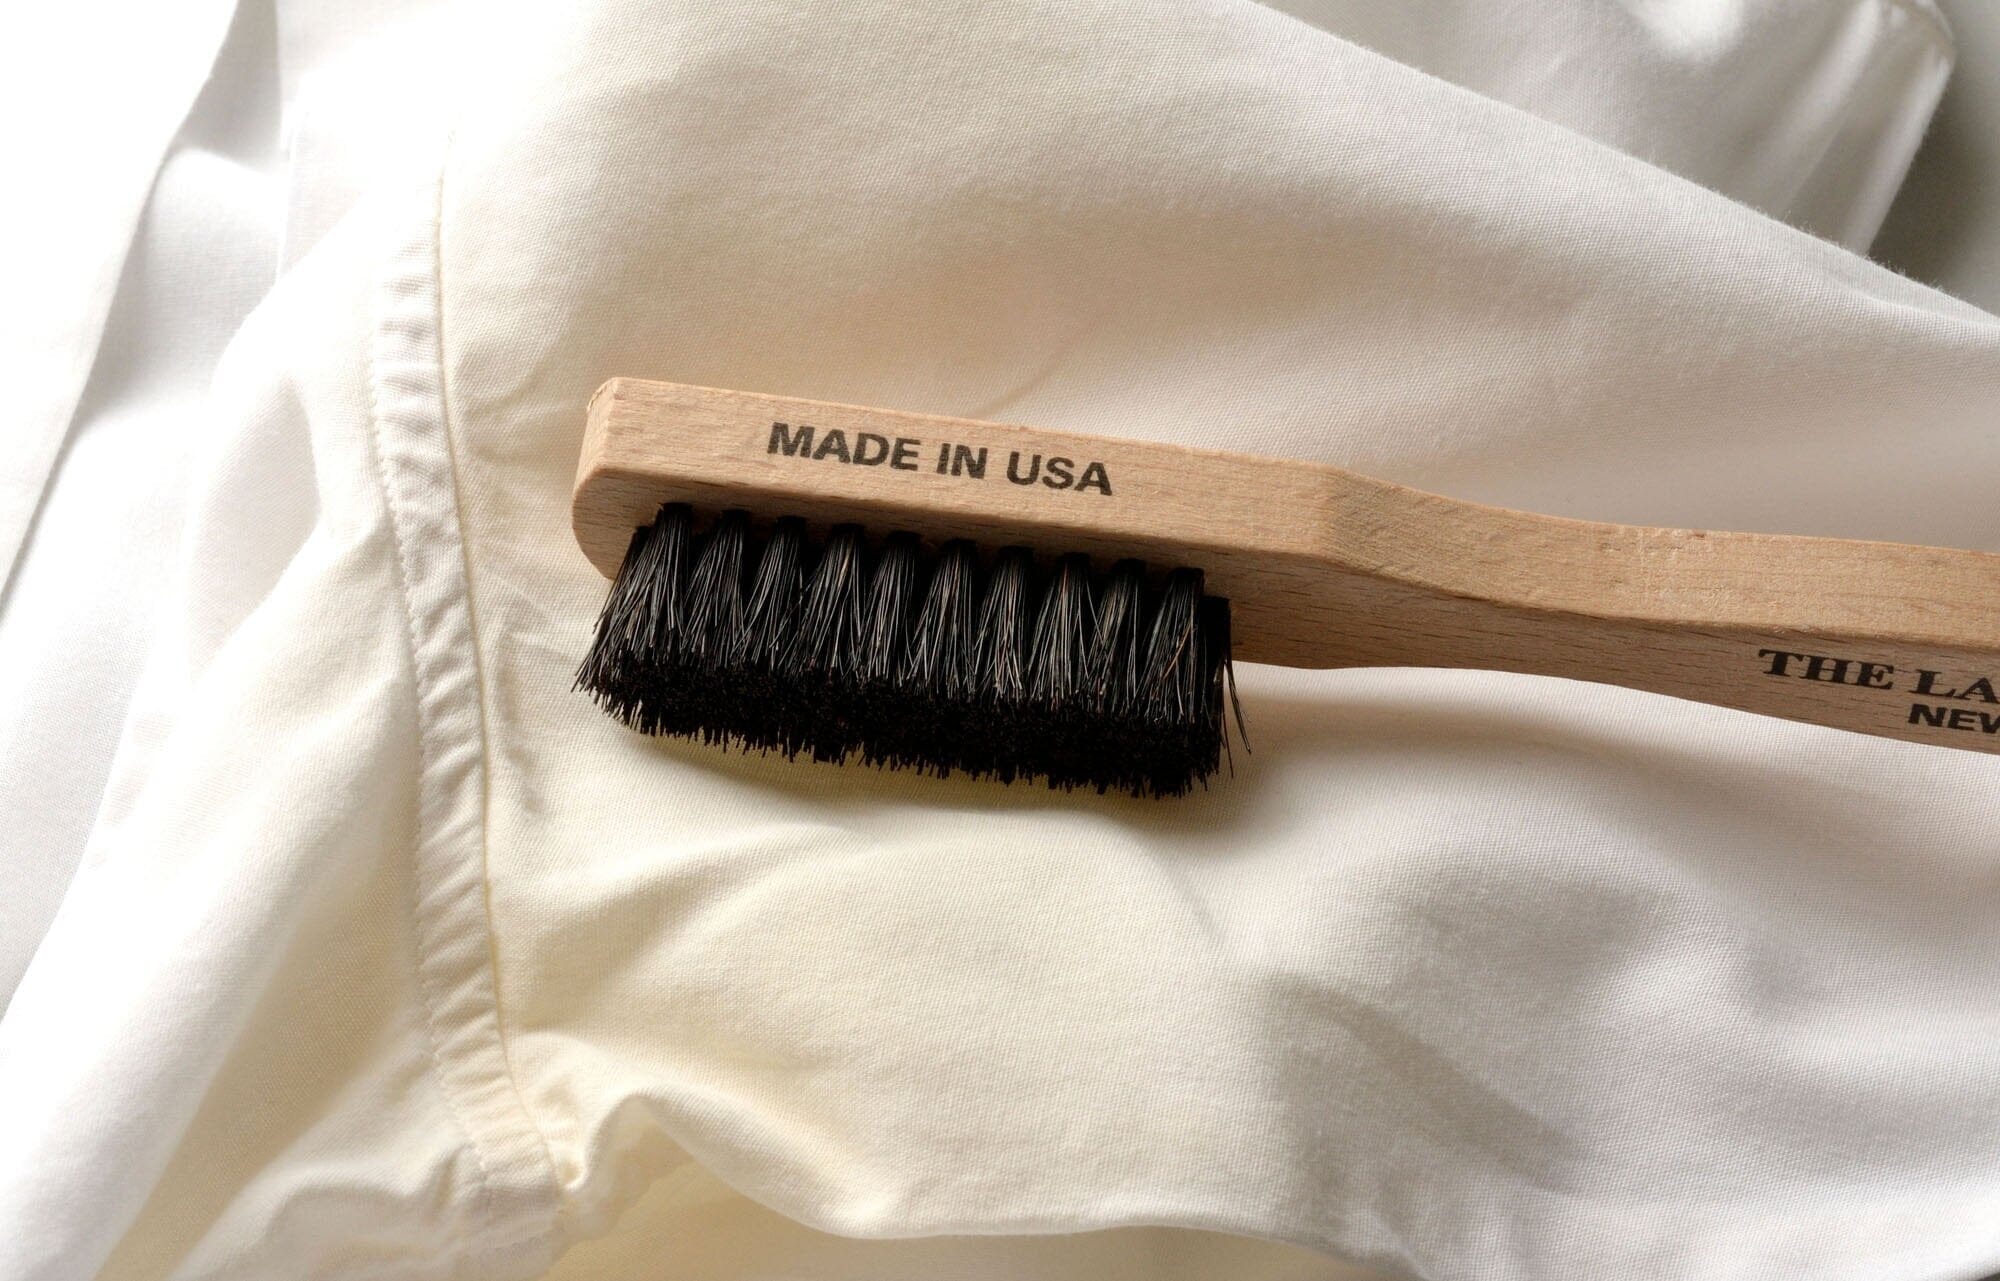
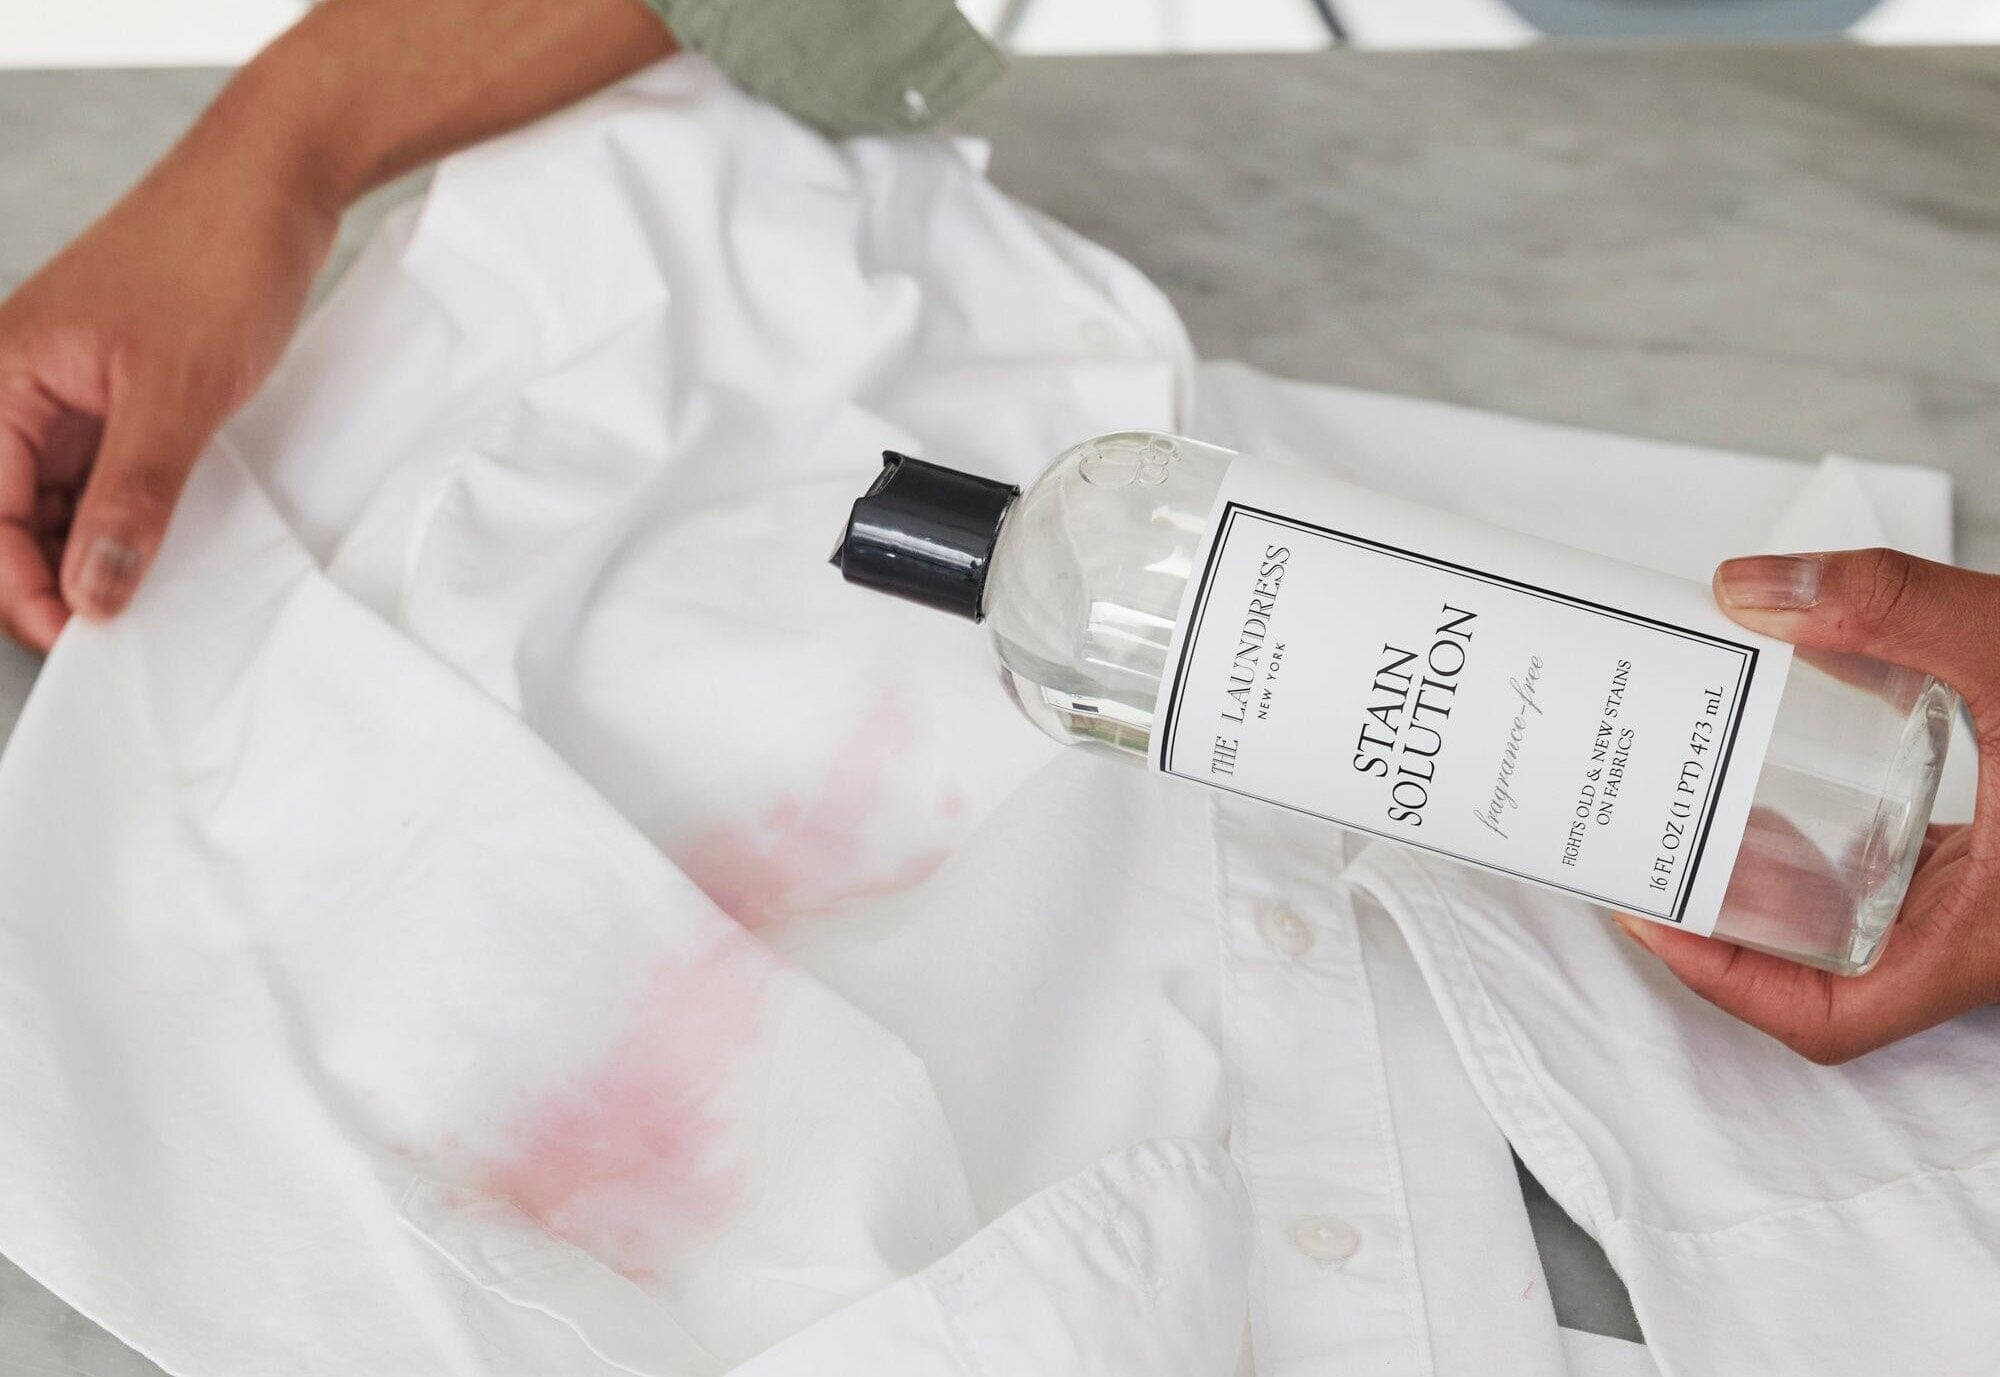
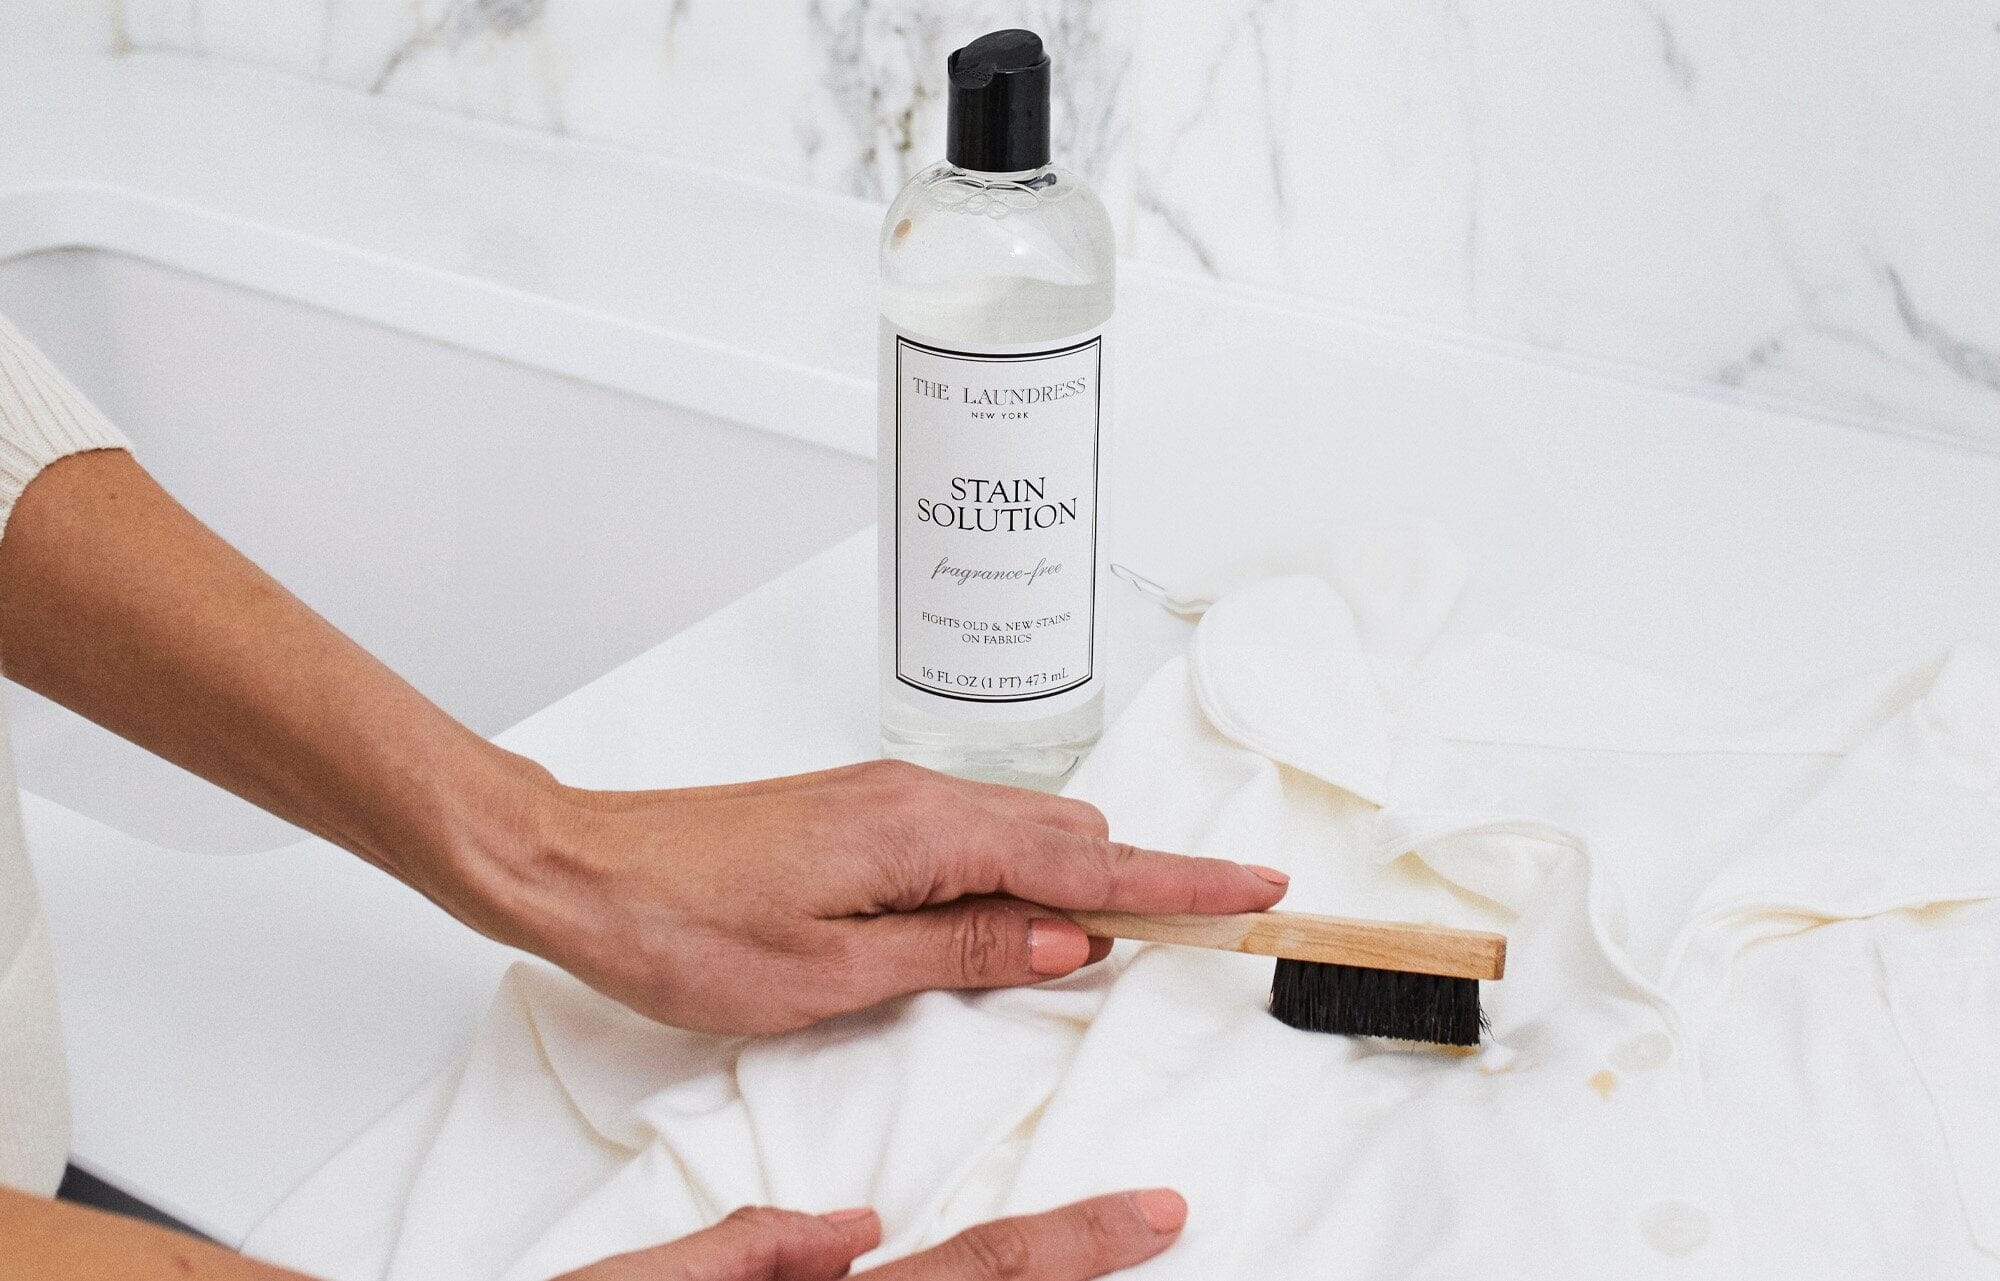
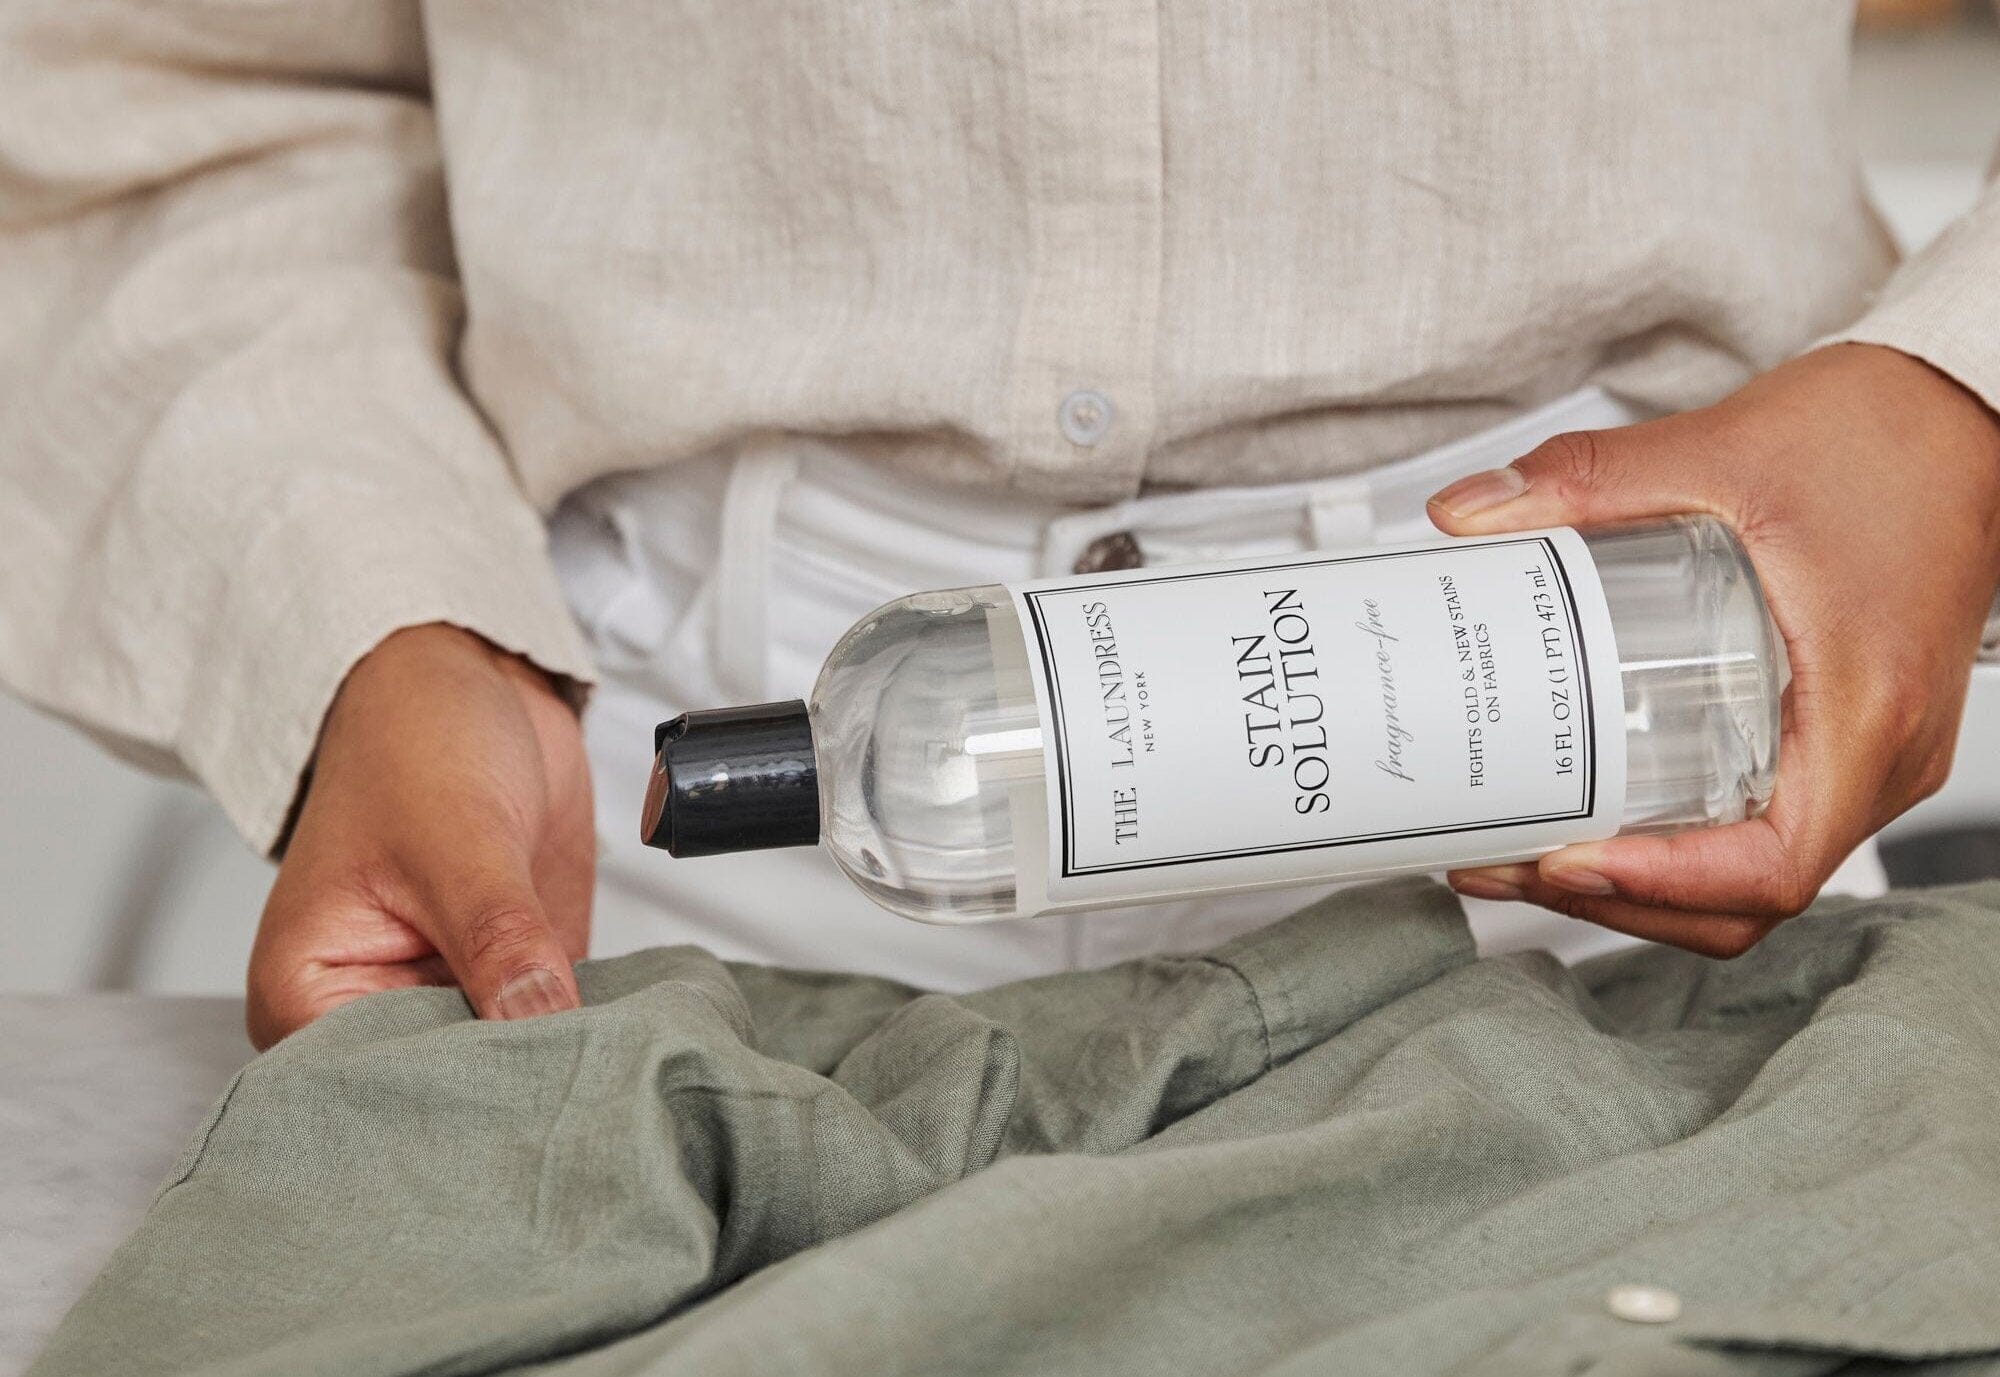
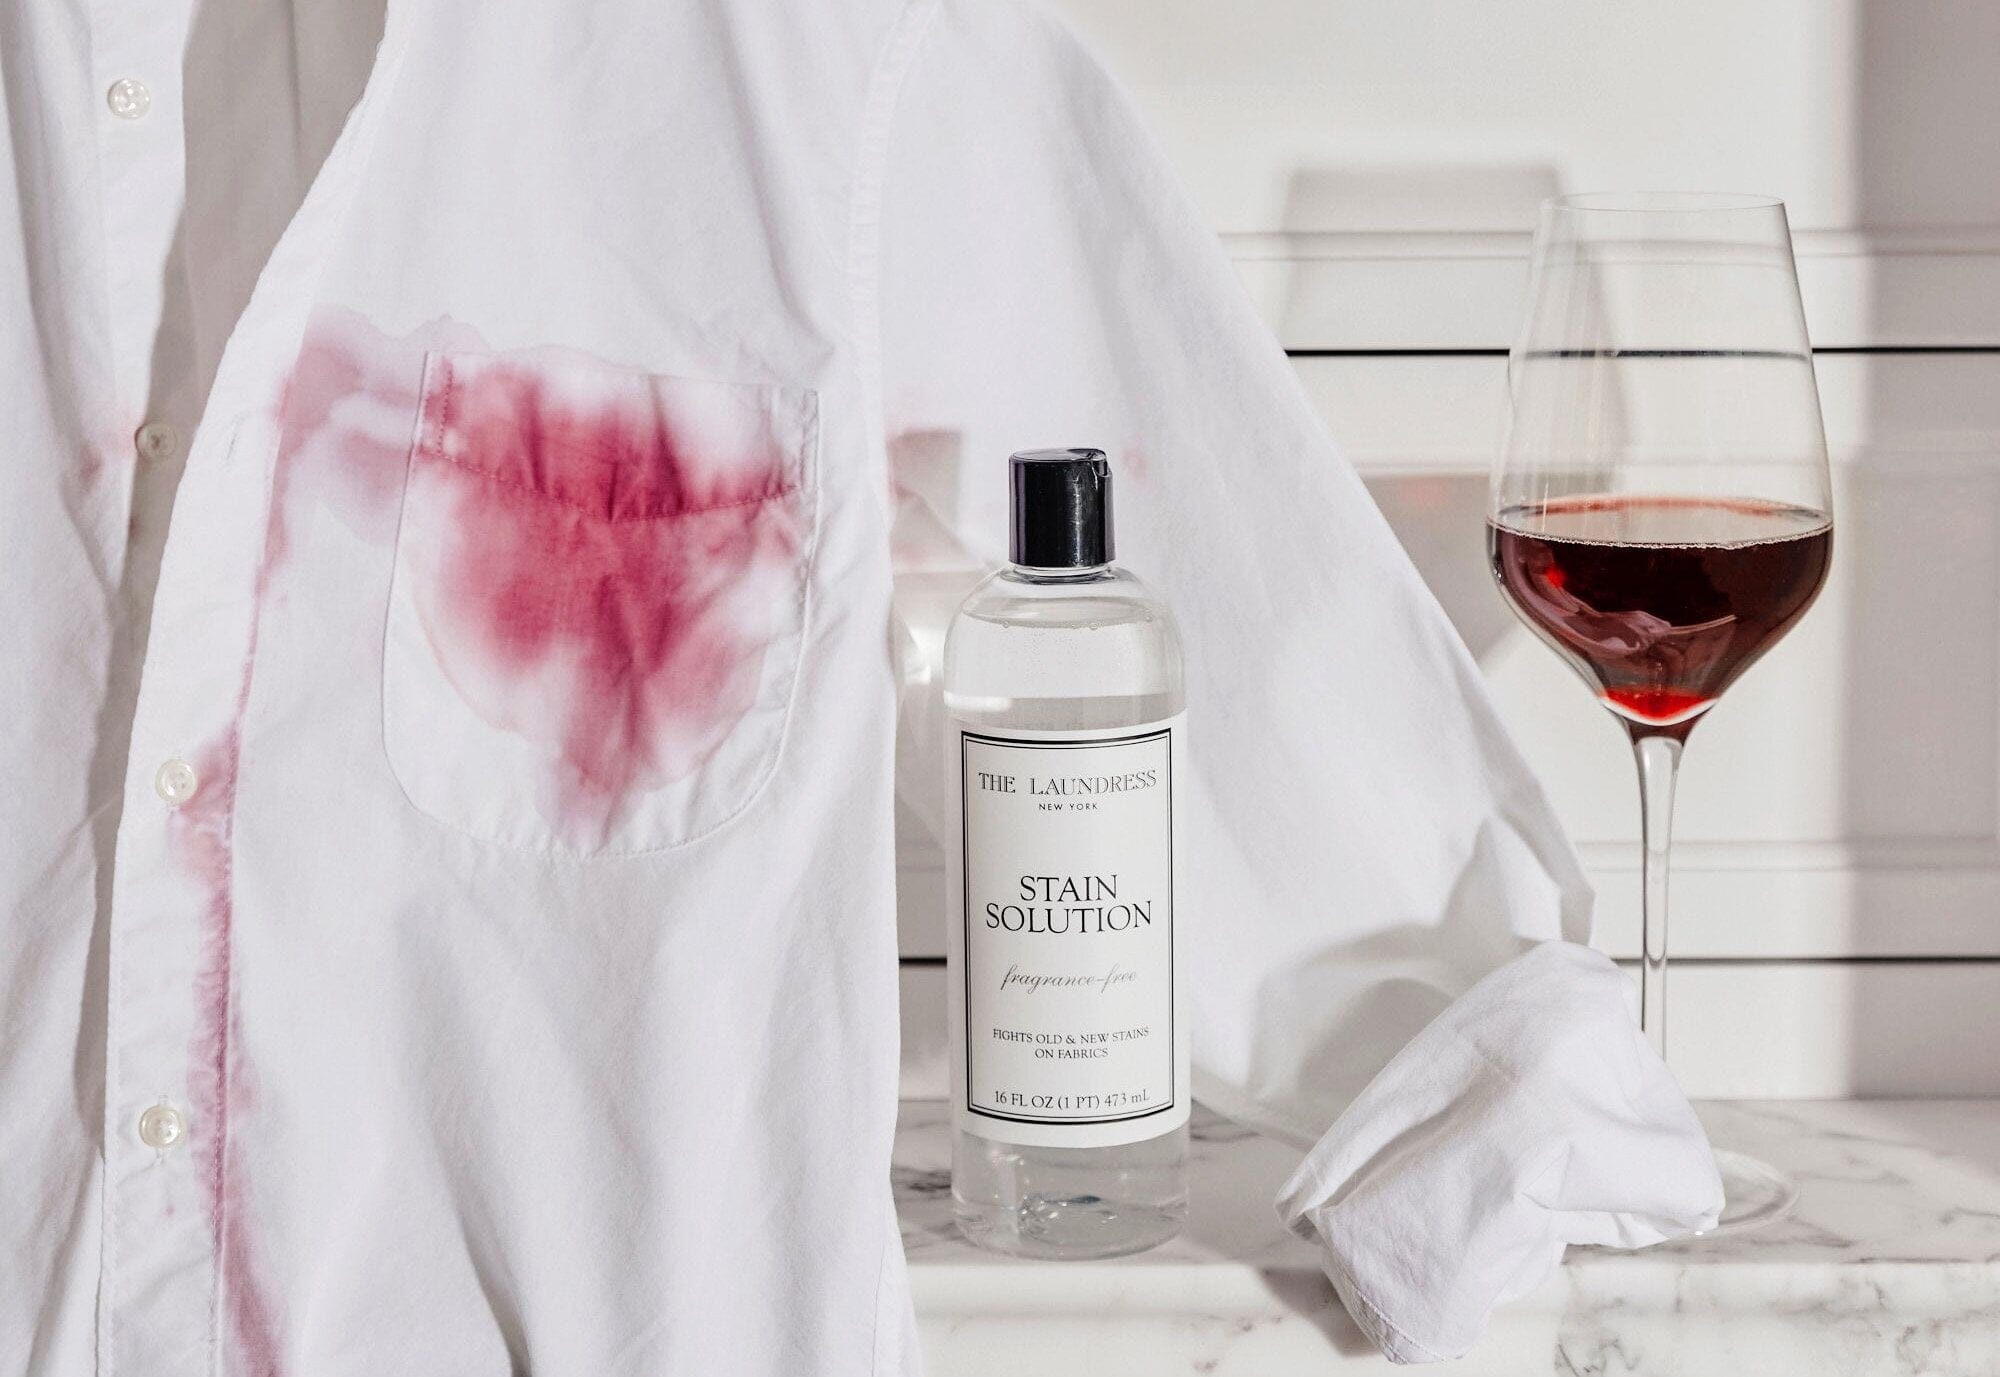
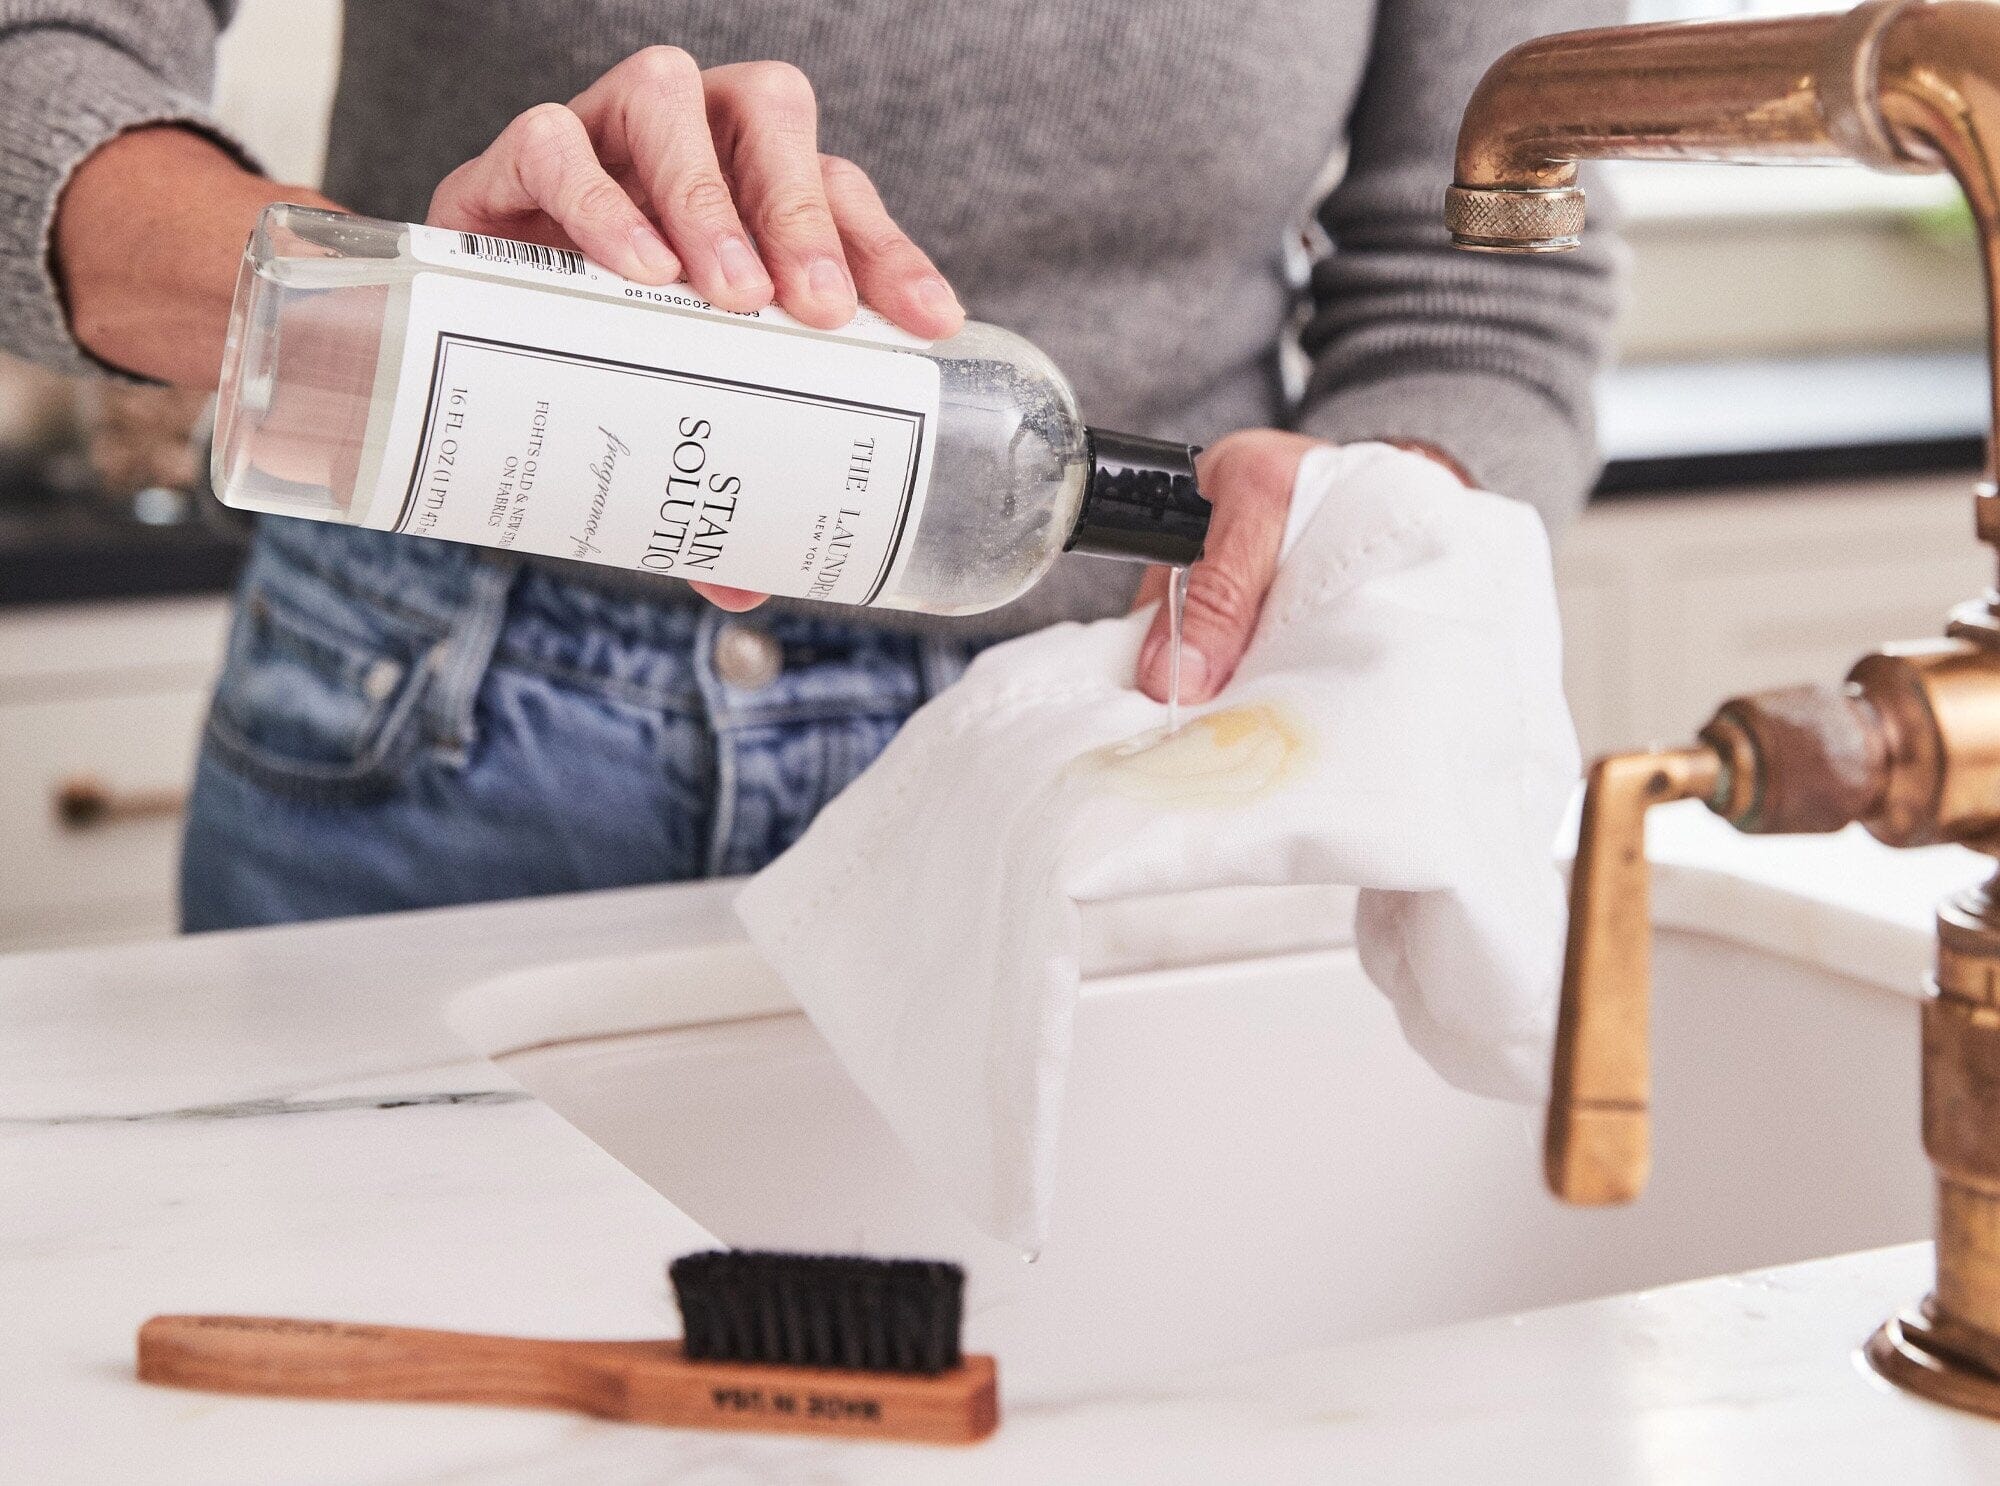
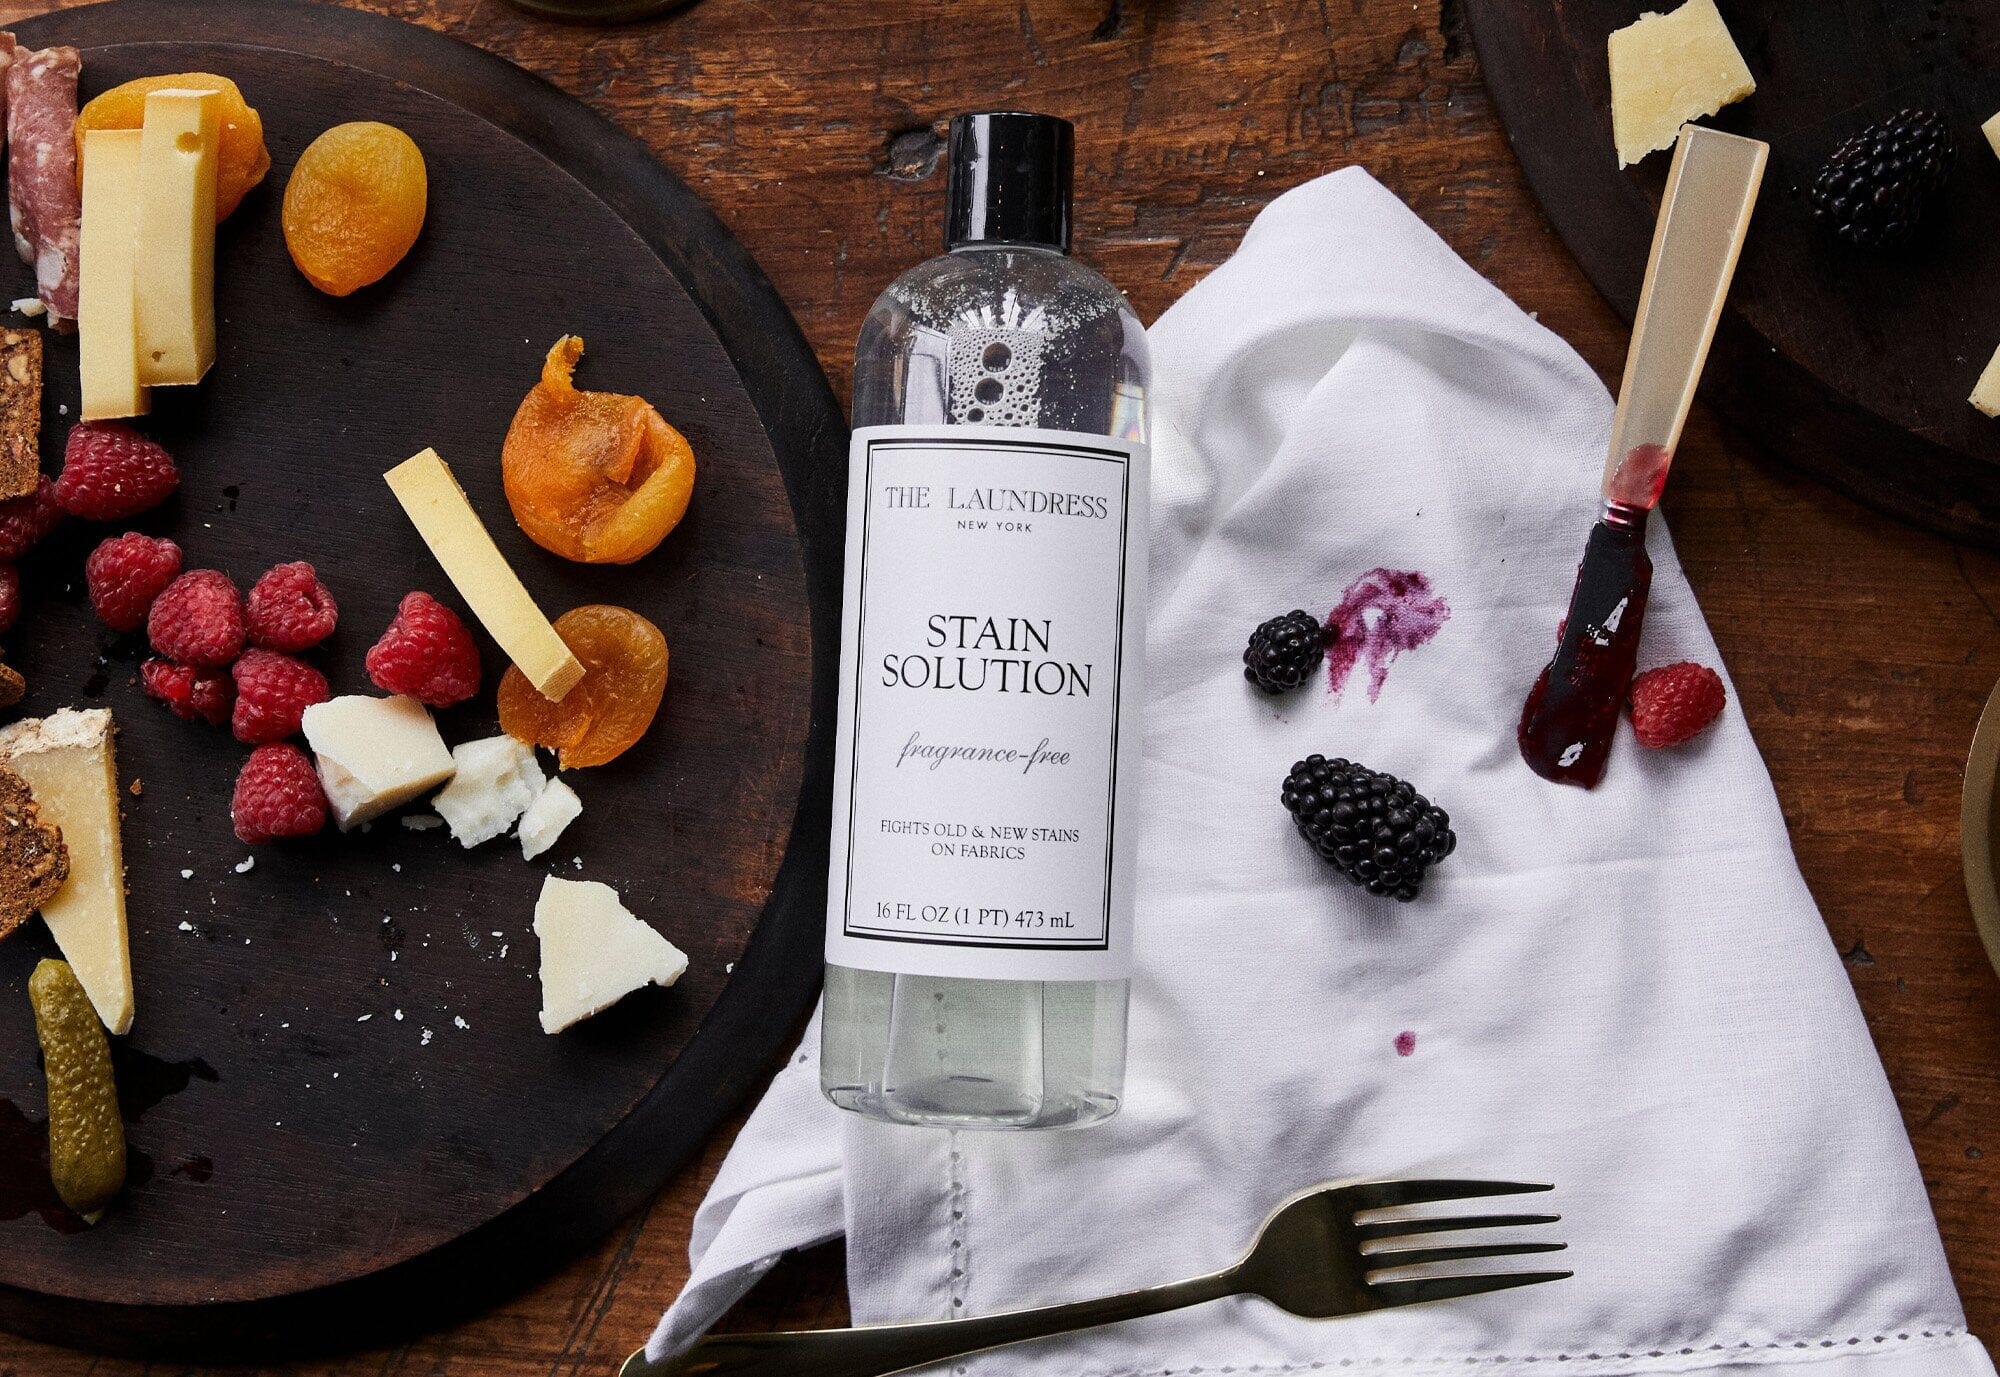
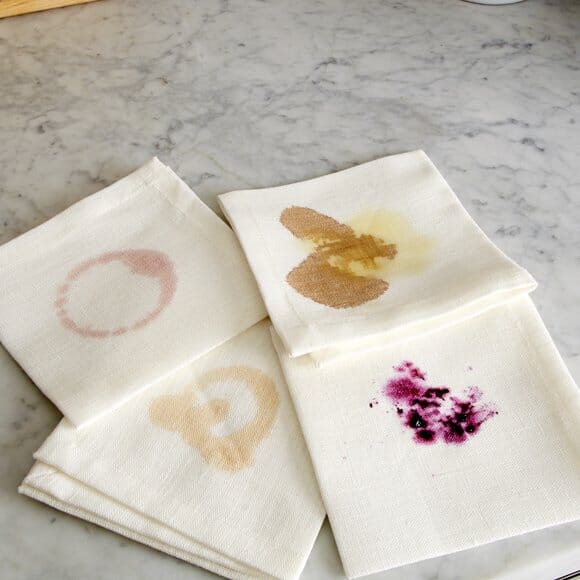
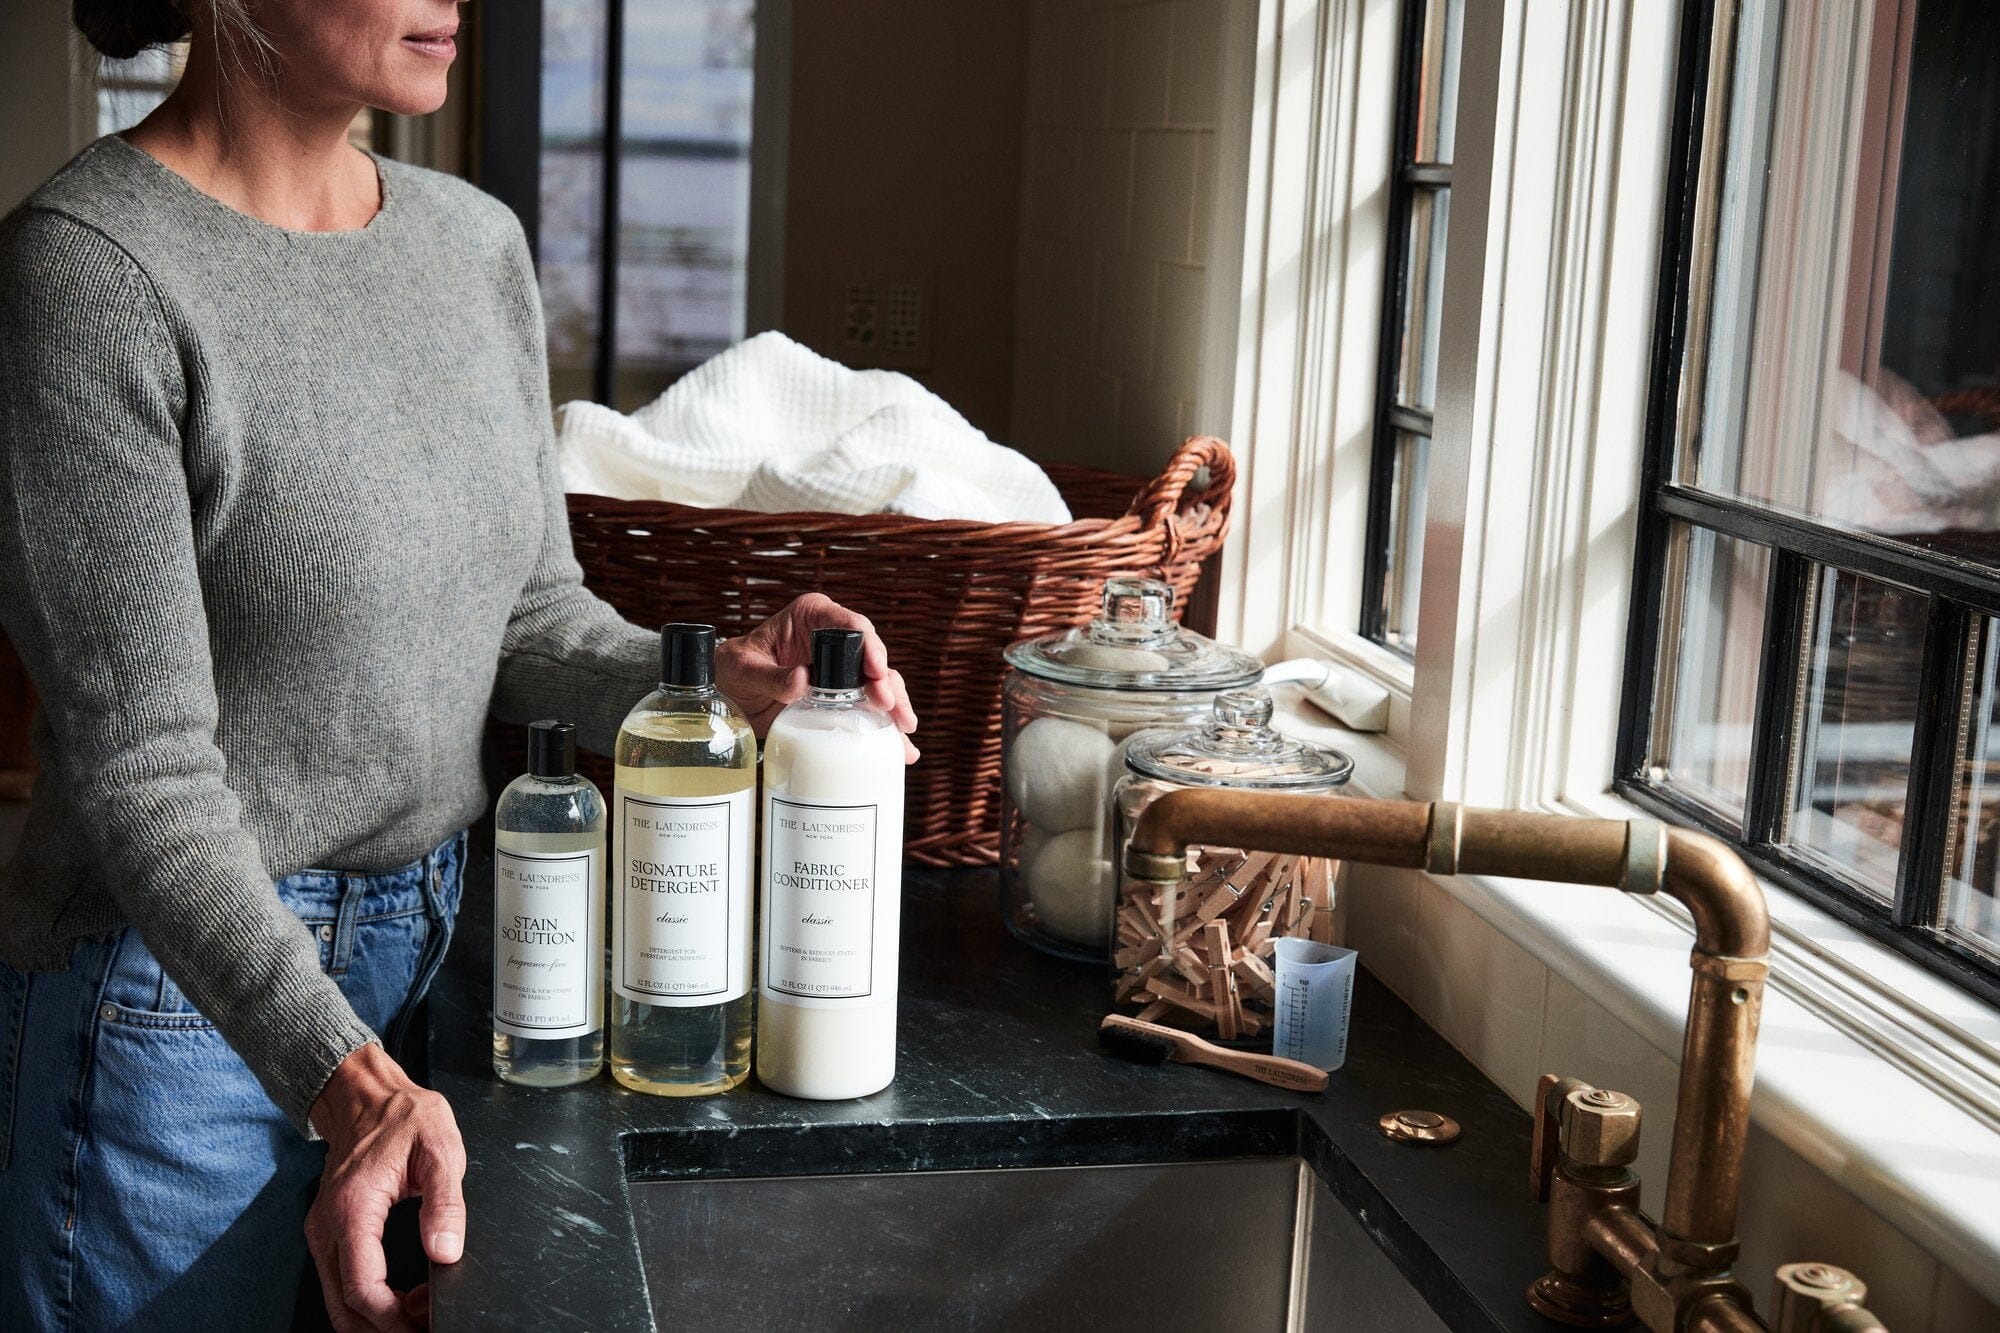
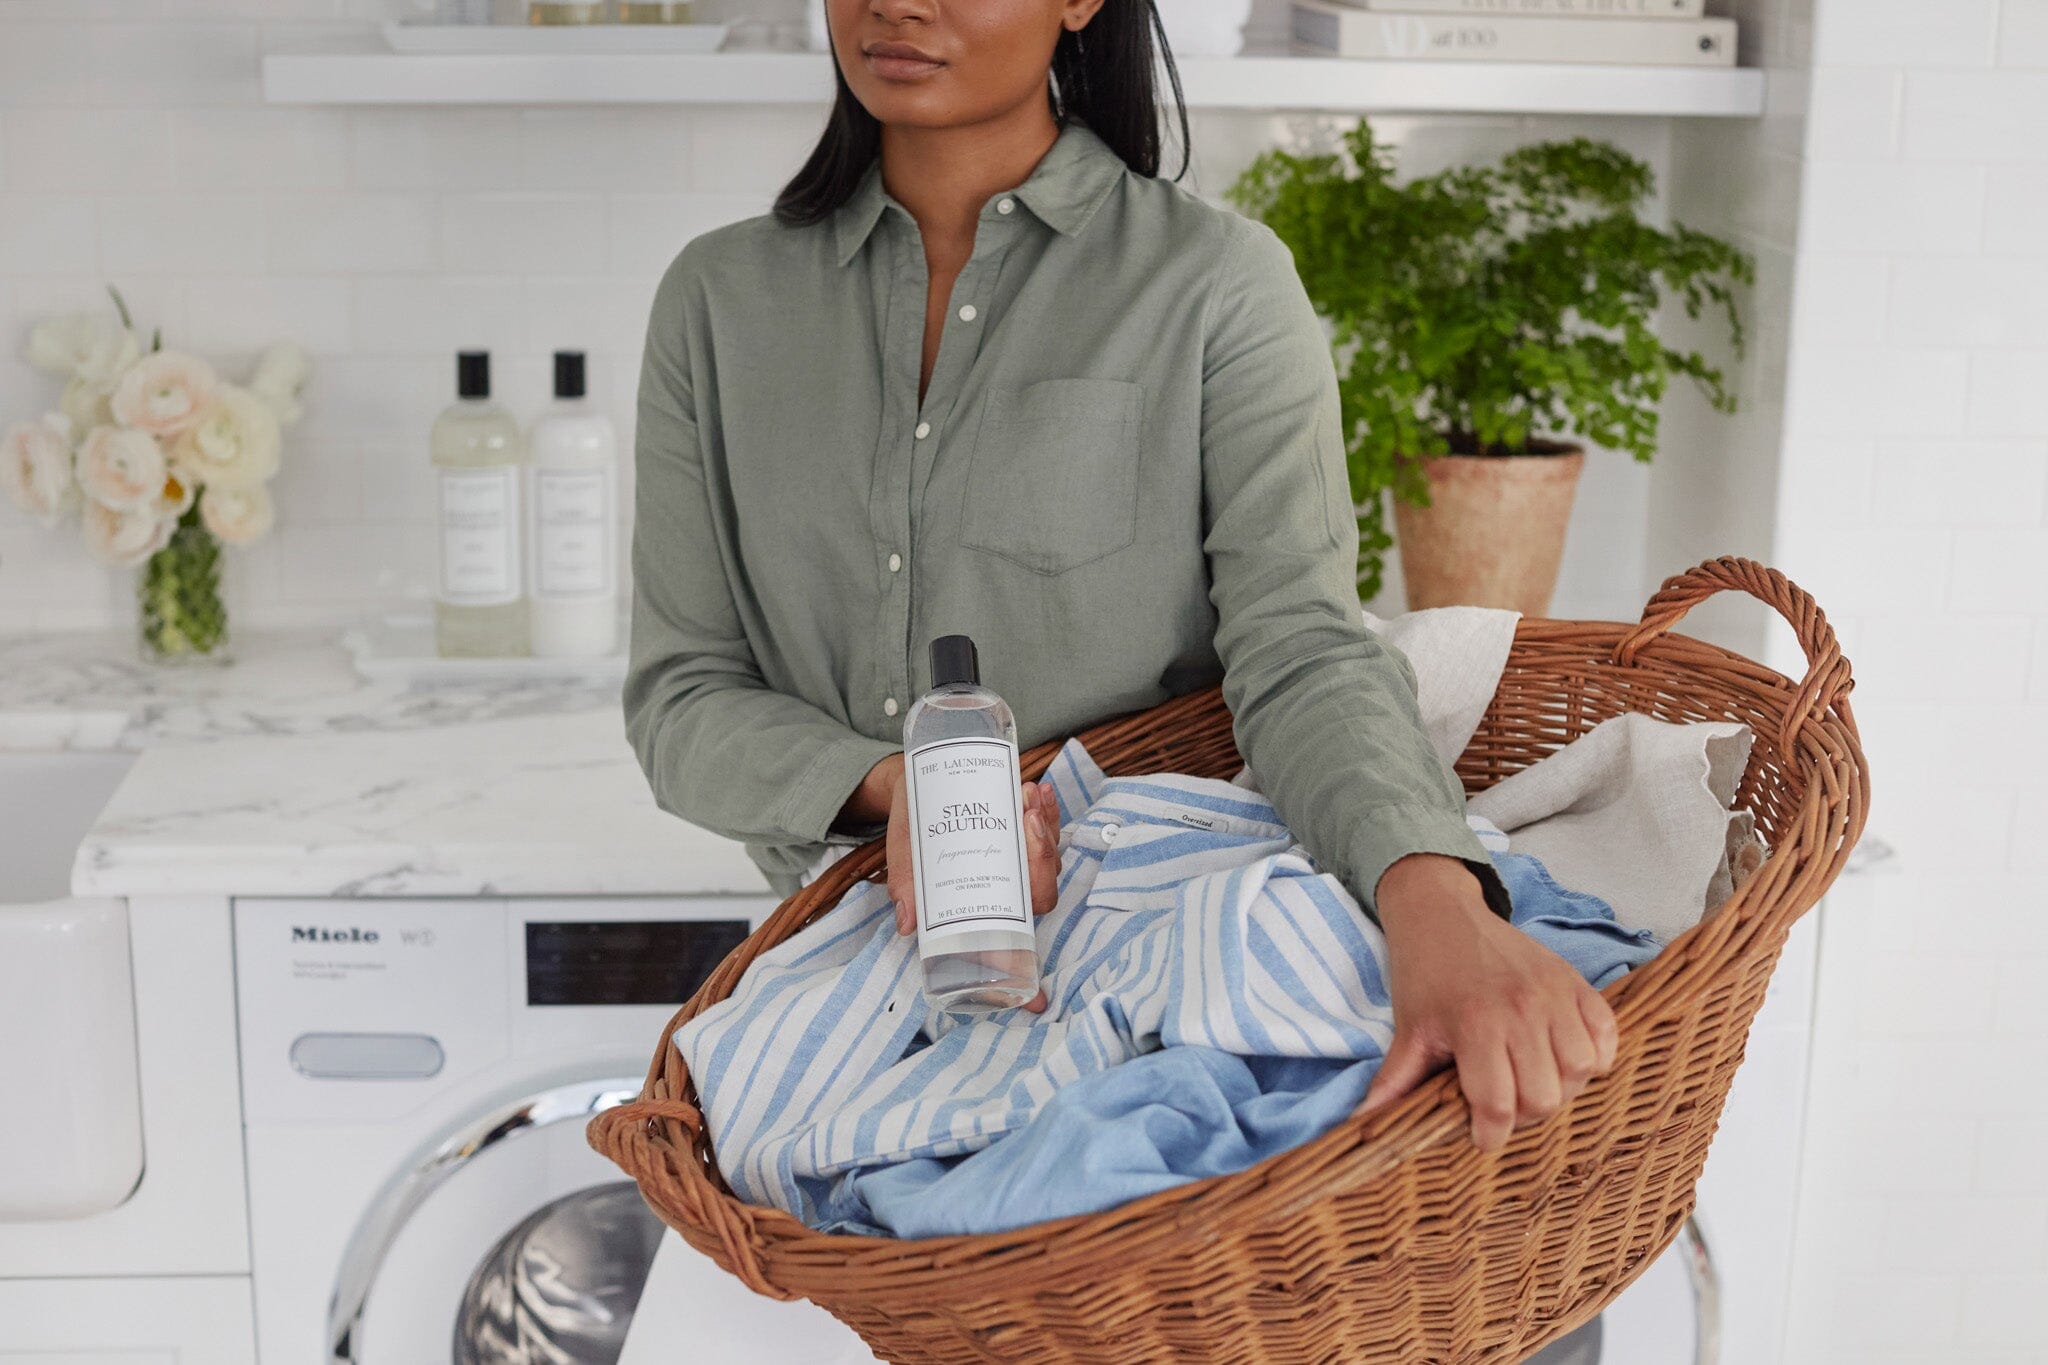
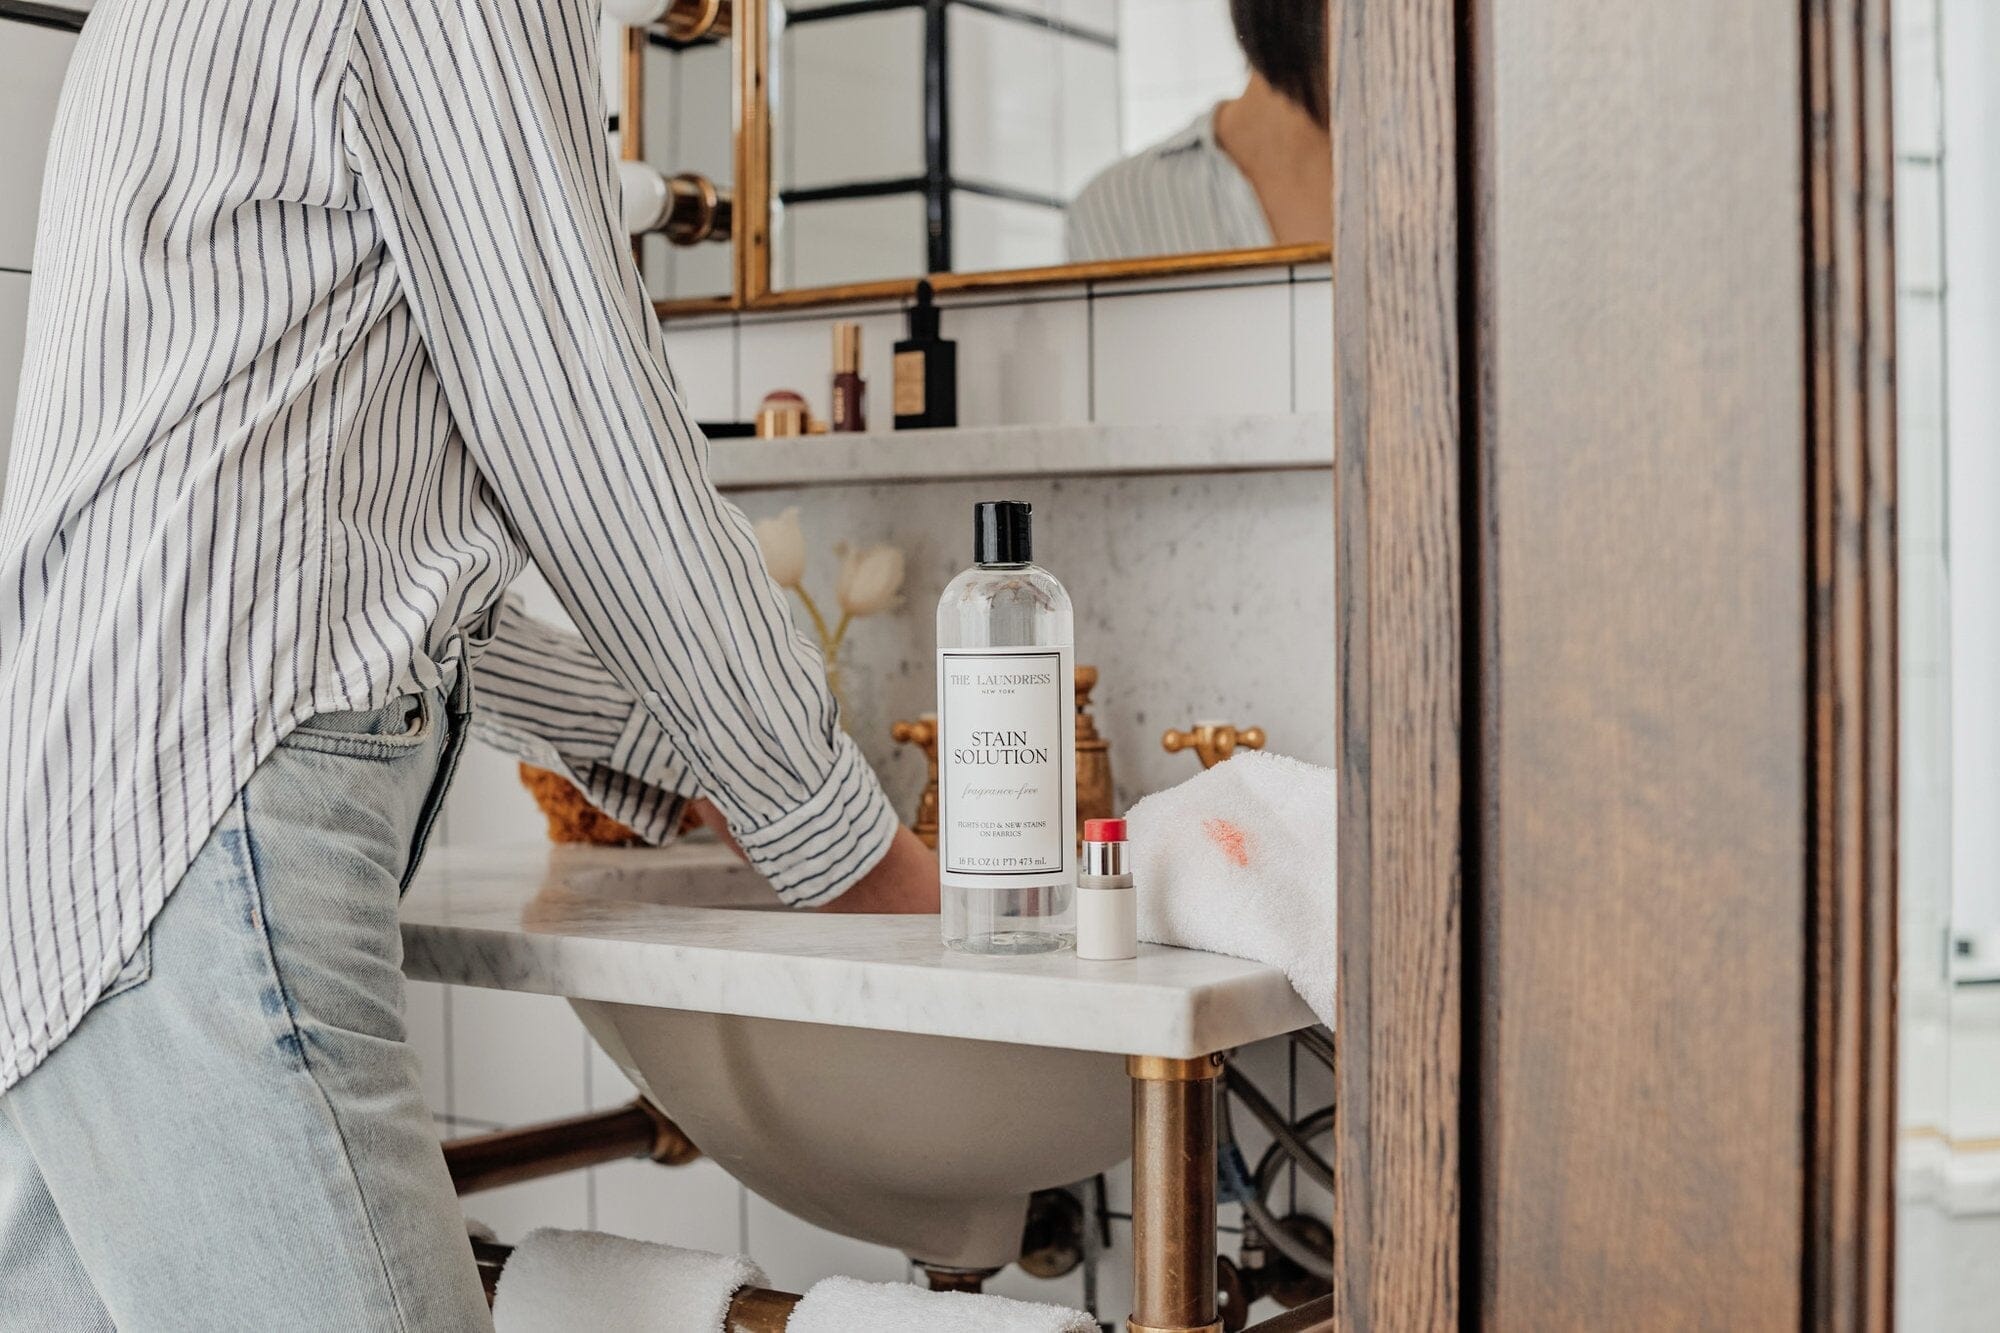
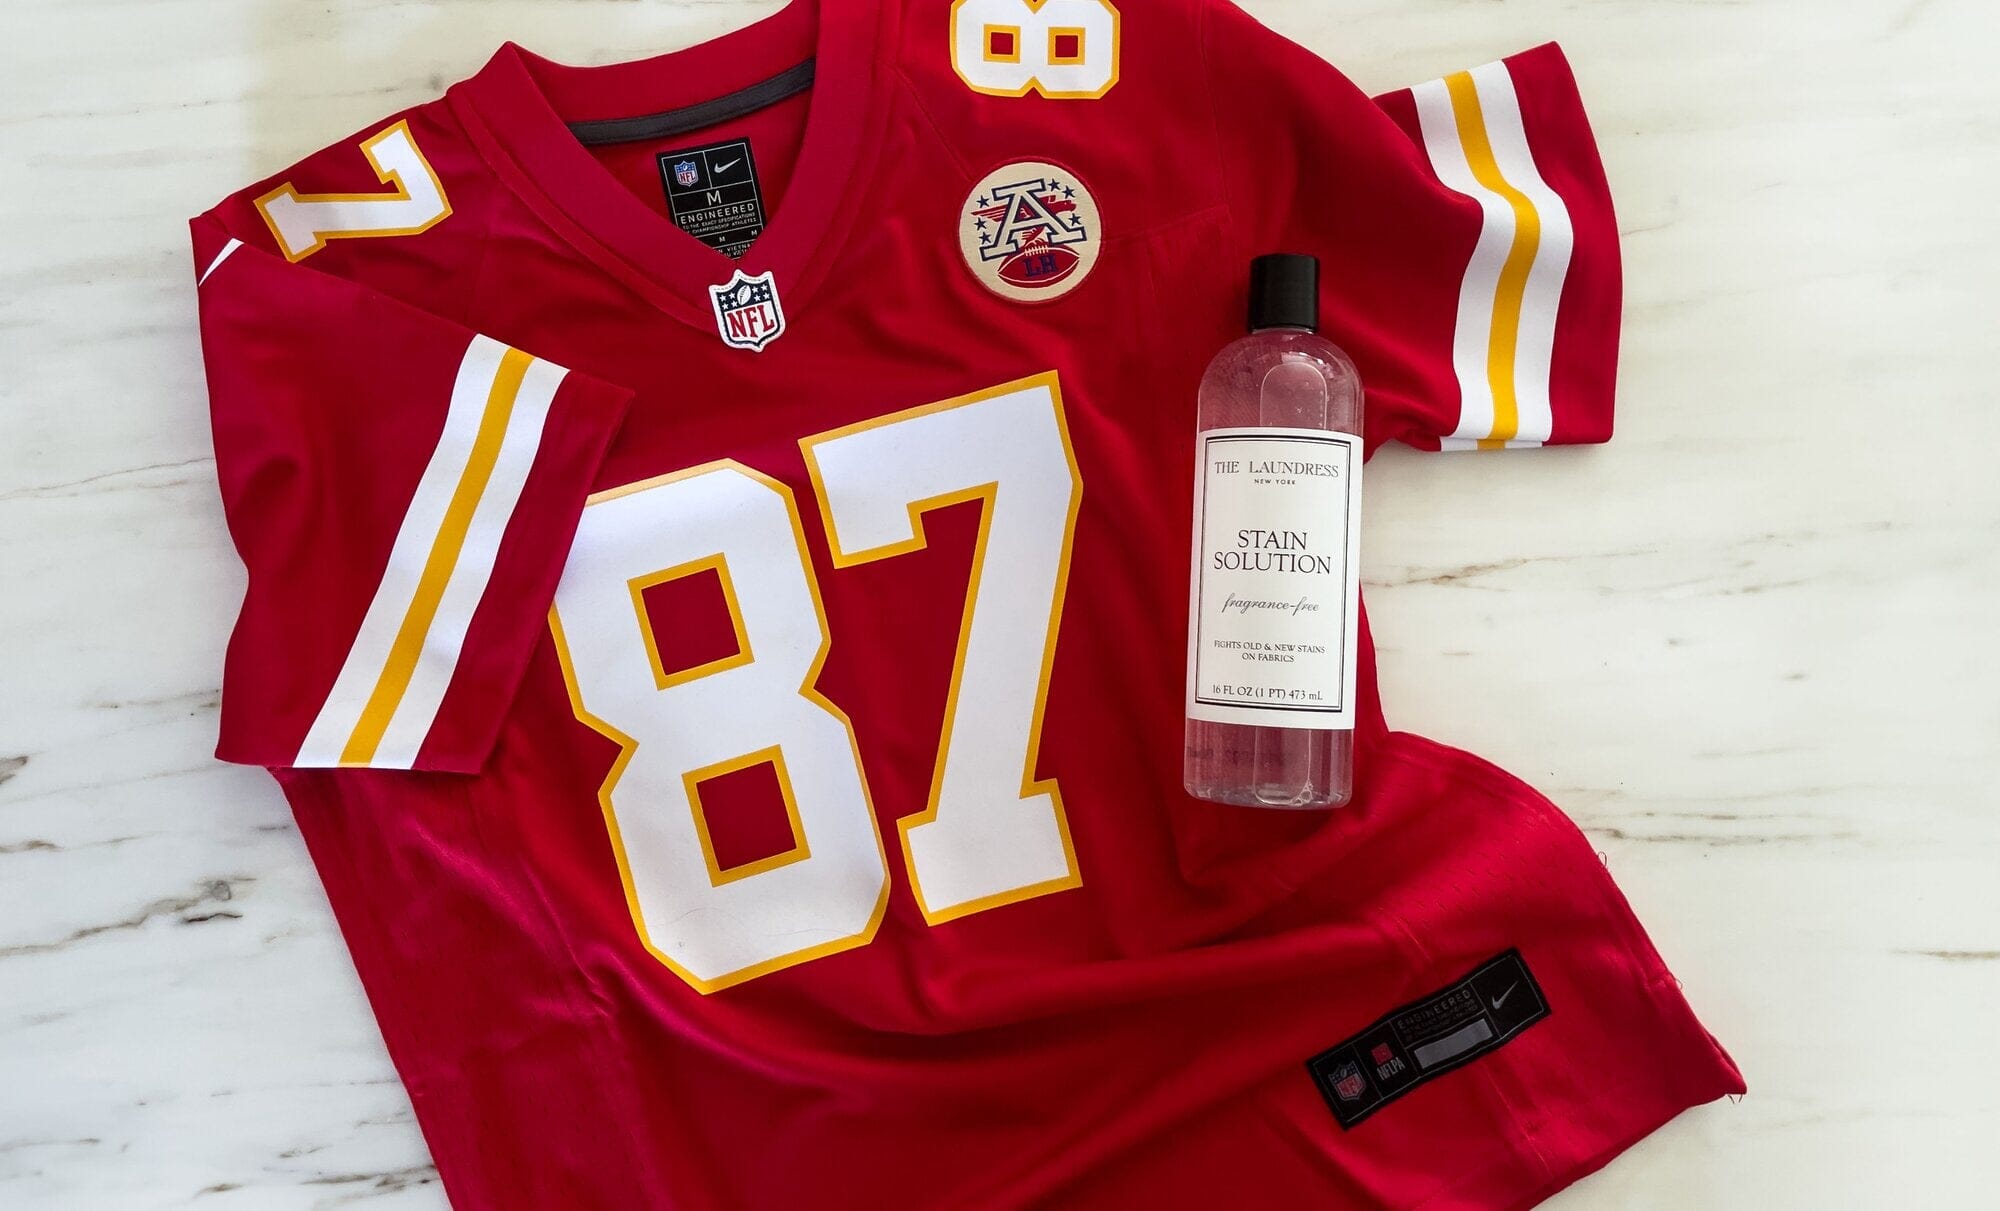
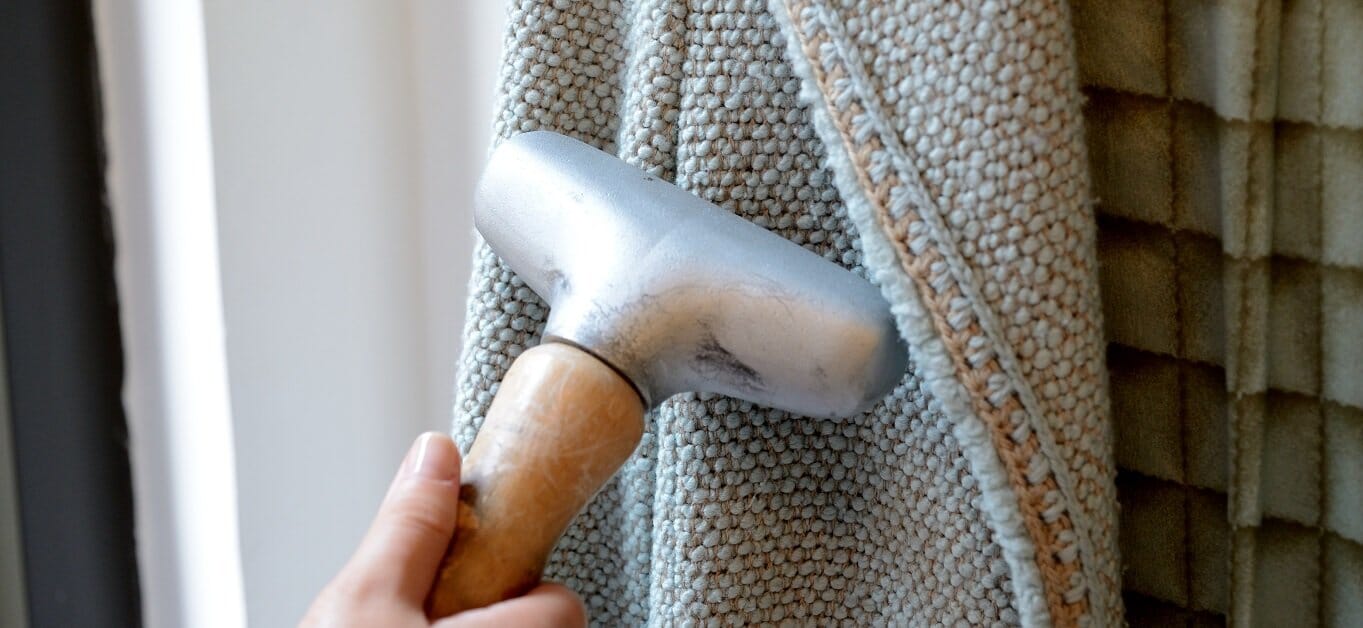
Stain Guide
Need stain help? Our guide helps you tackle even the toughest spots fast.
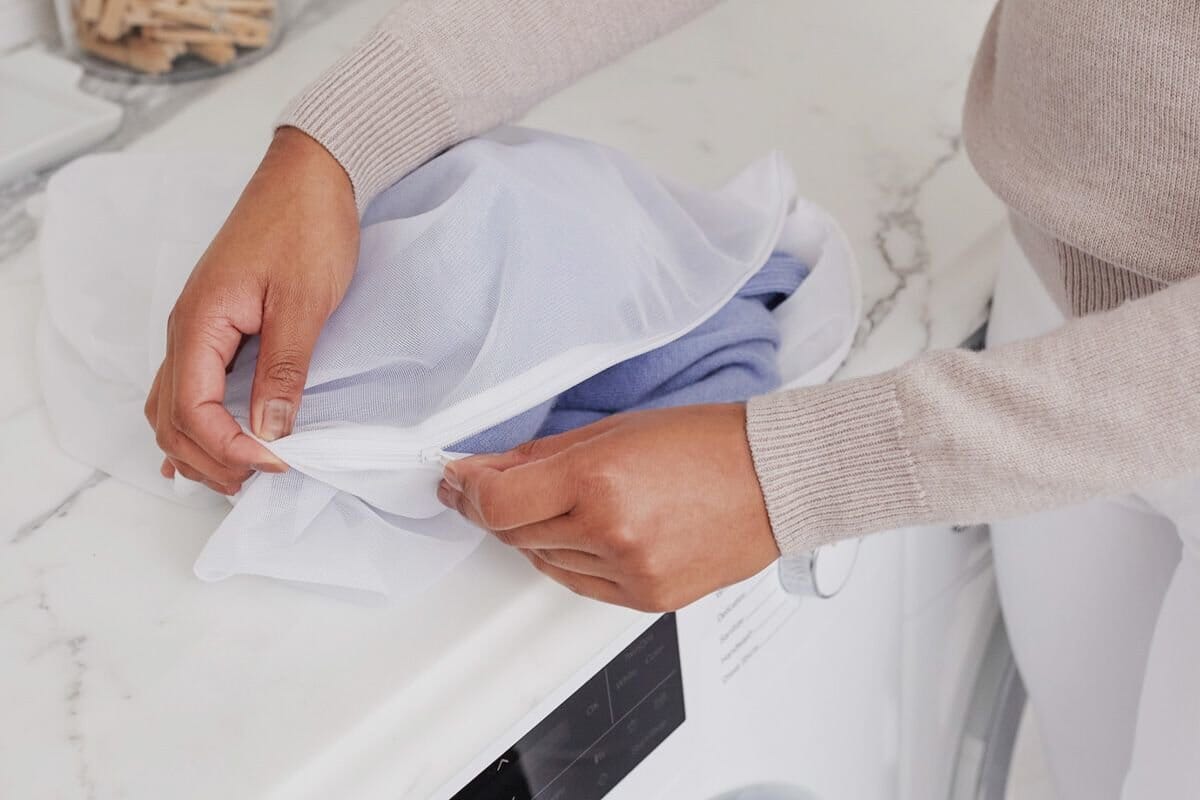
Care Tag Guide
Decode your care tag! Our guide covers fabrics and tricky details.
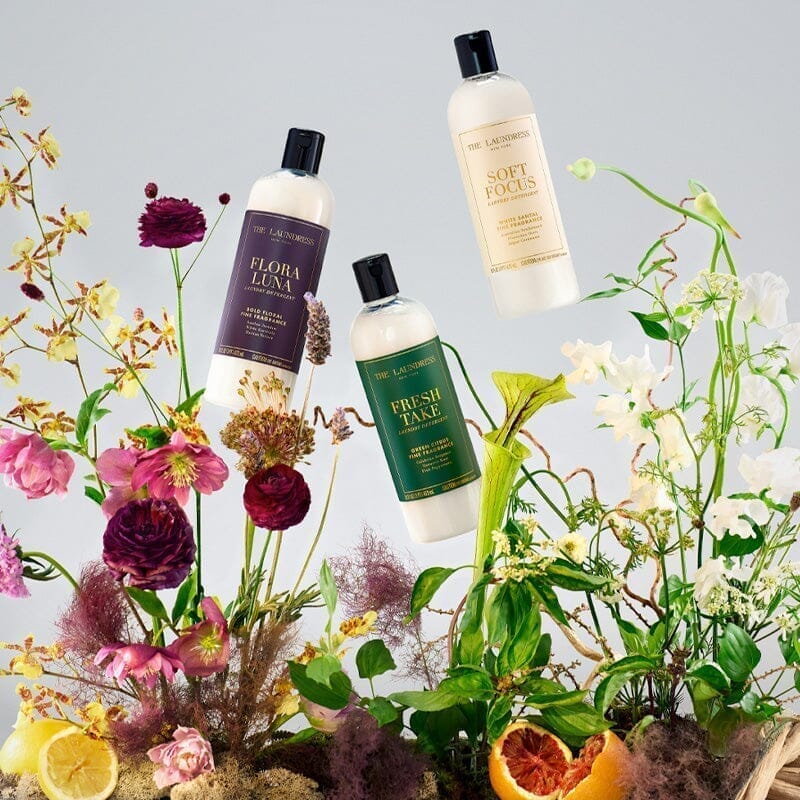
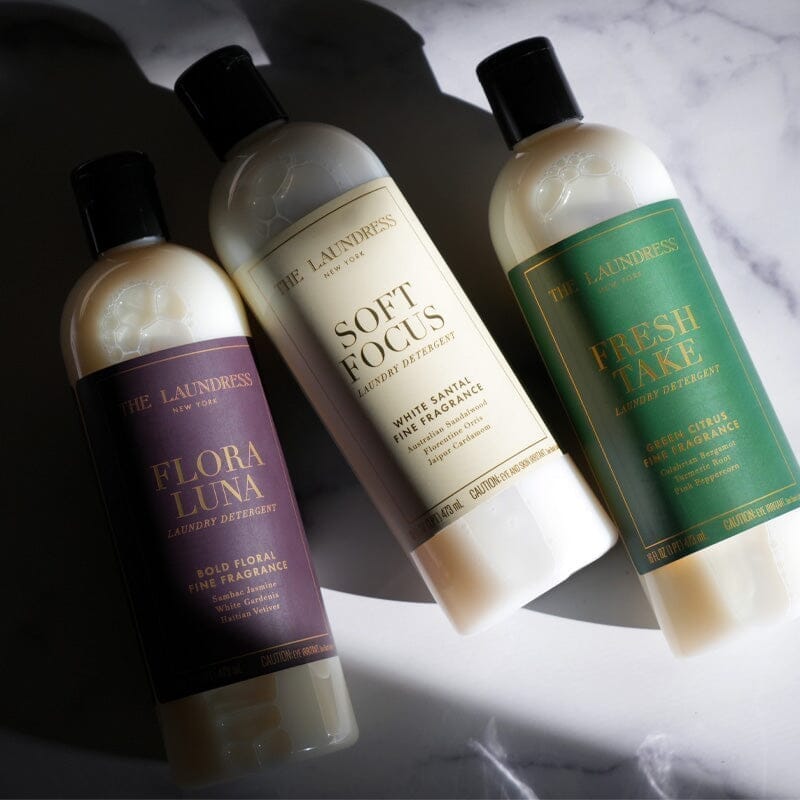
Find Your Fragrance
Find your perfect perfumer-crafted fabric care scent for everyday luxury.
Smells Like Team Spirit
Activewear care designed to refresh every move you make.
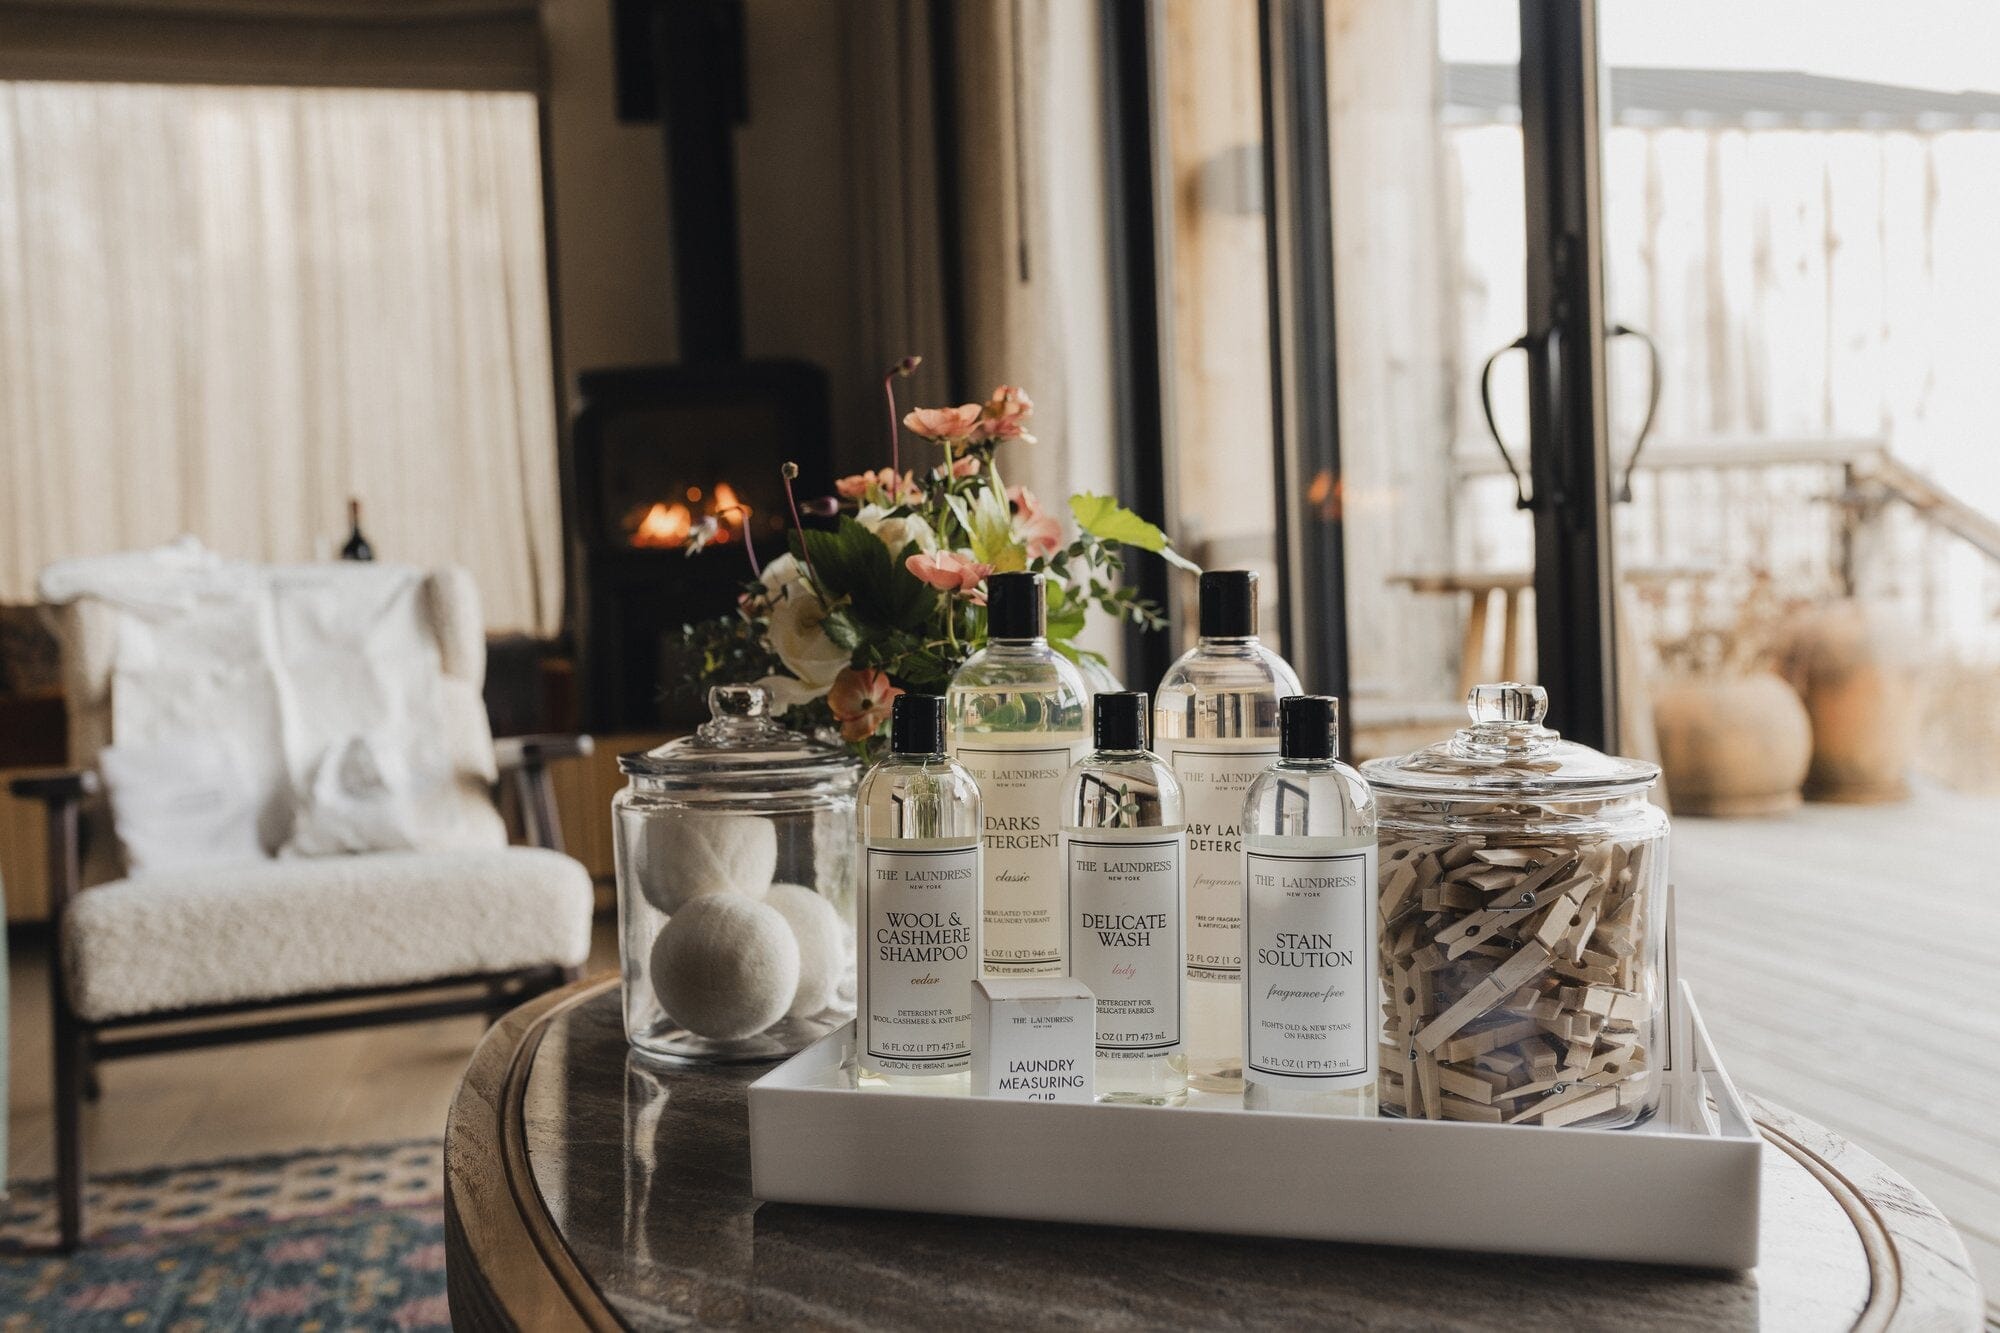
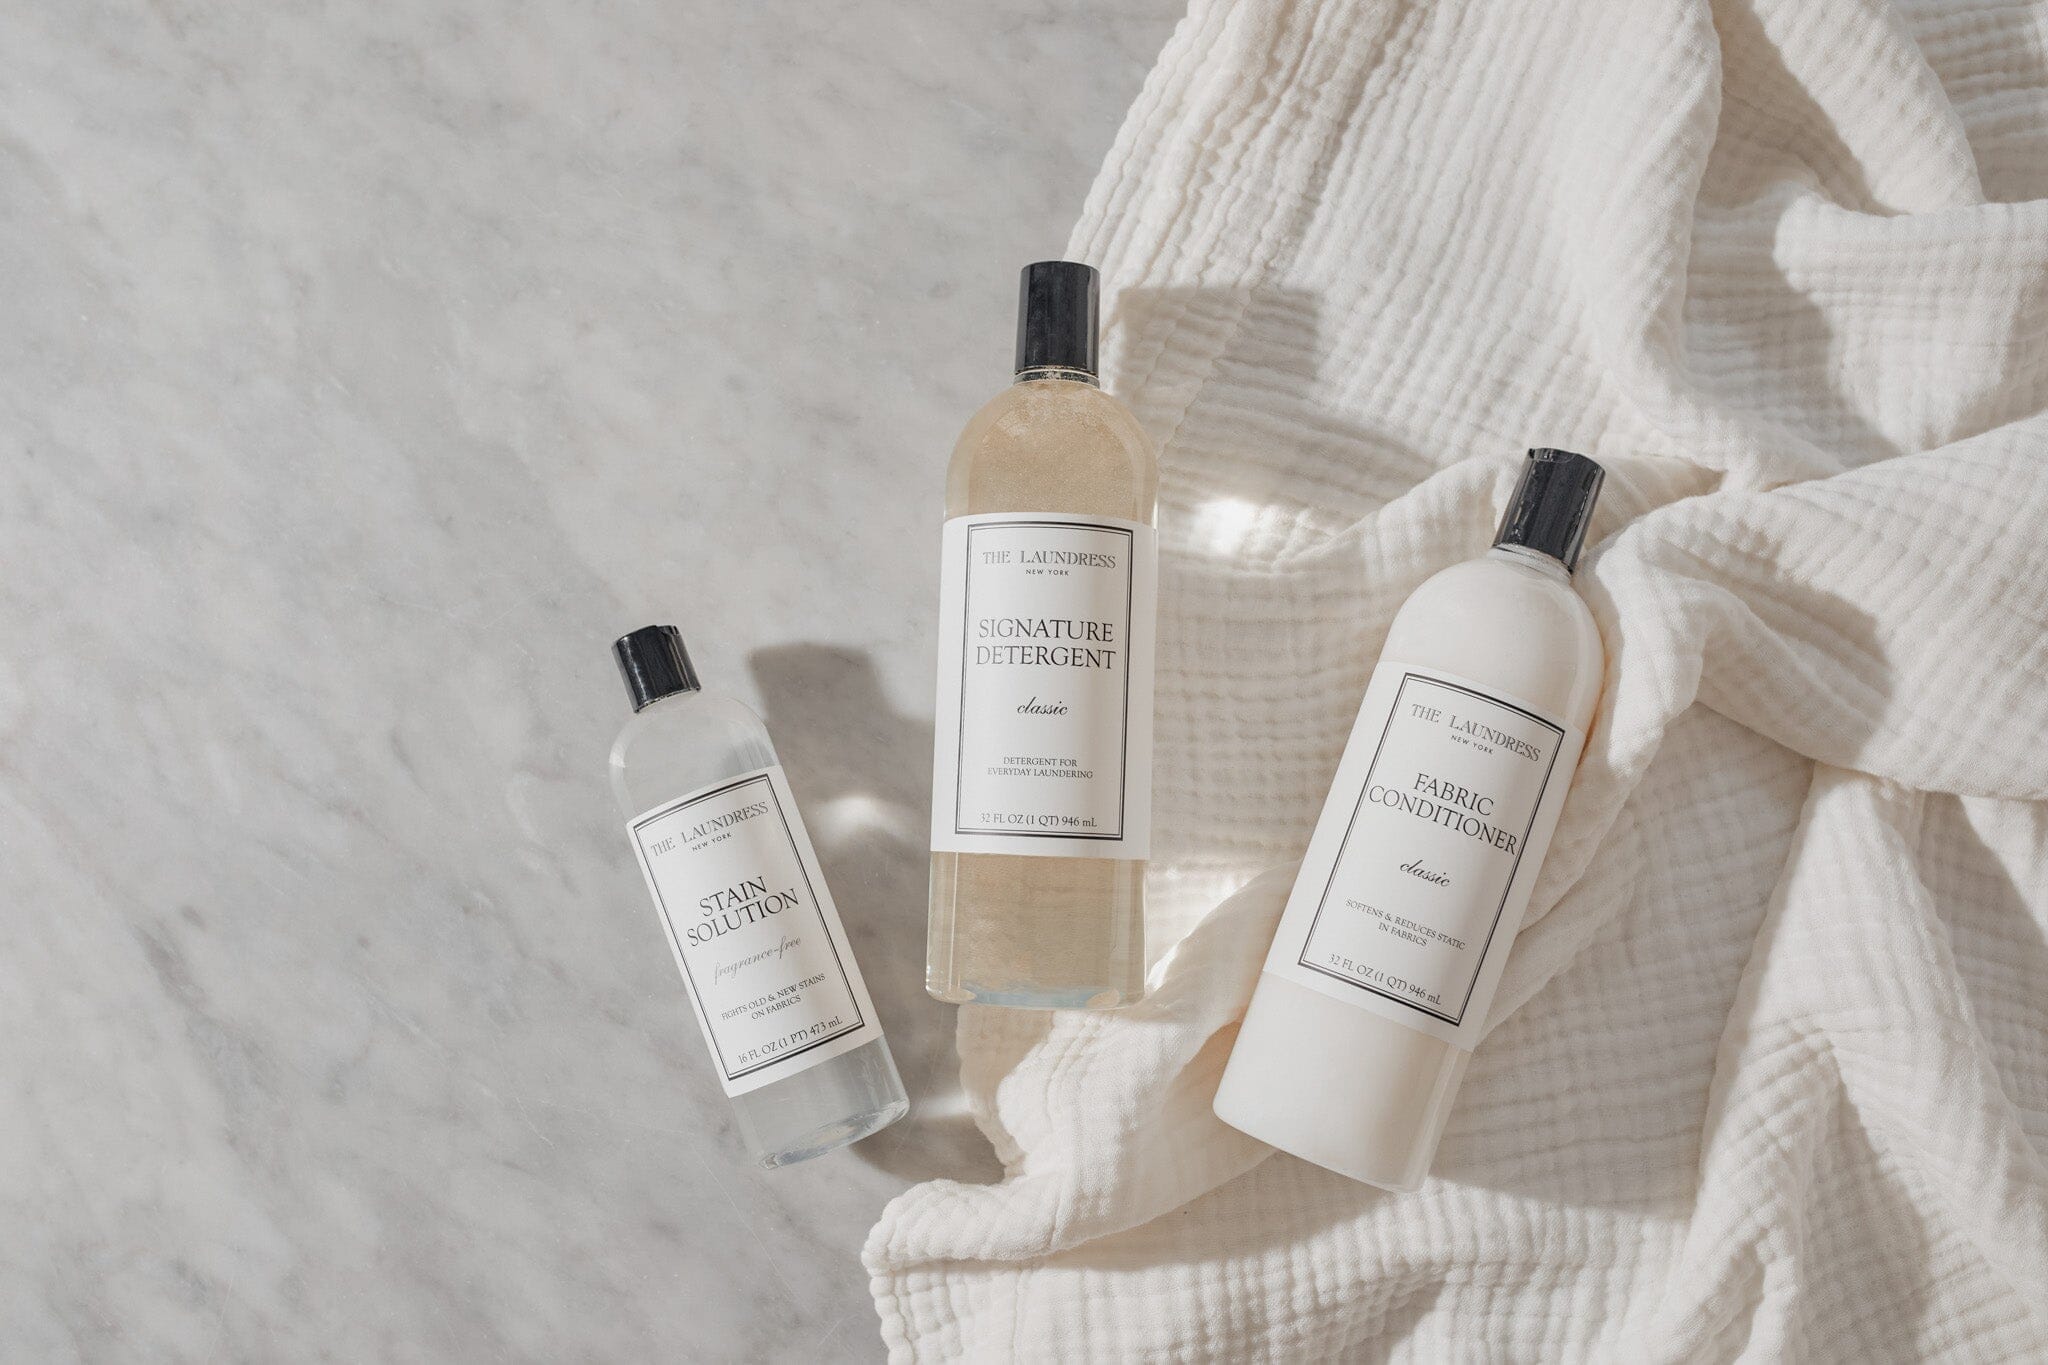
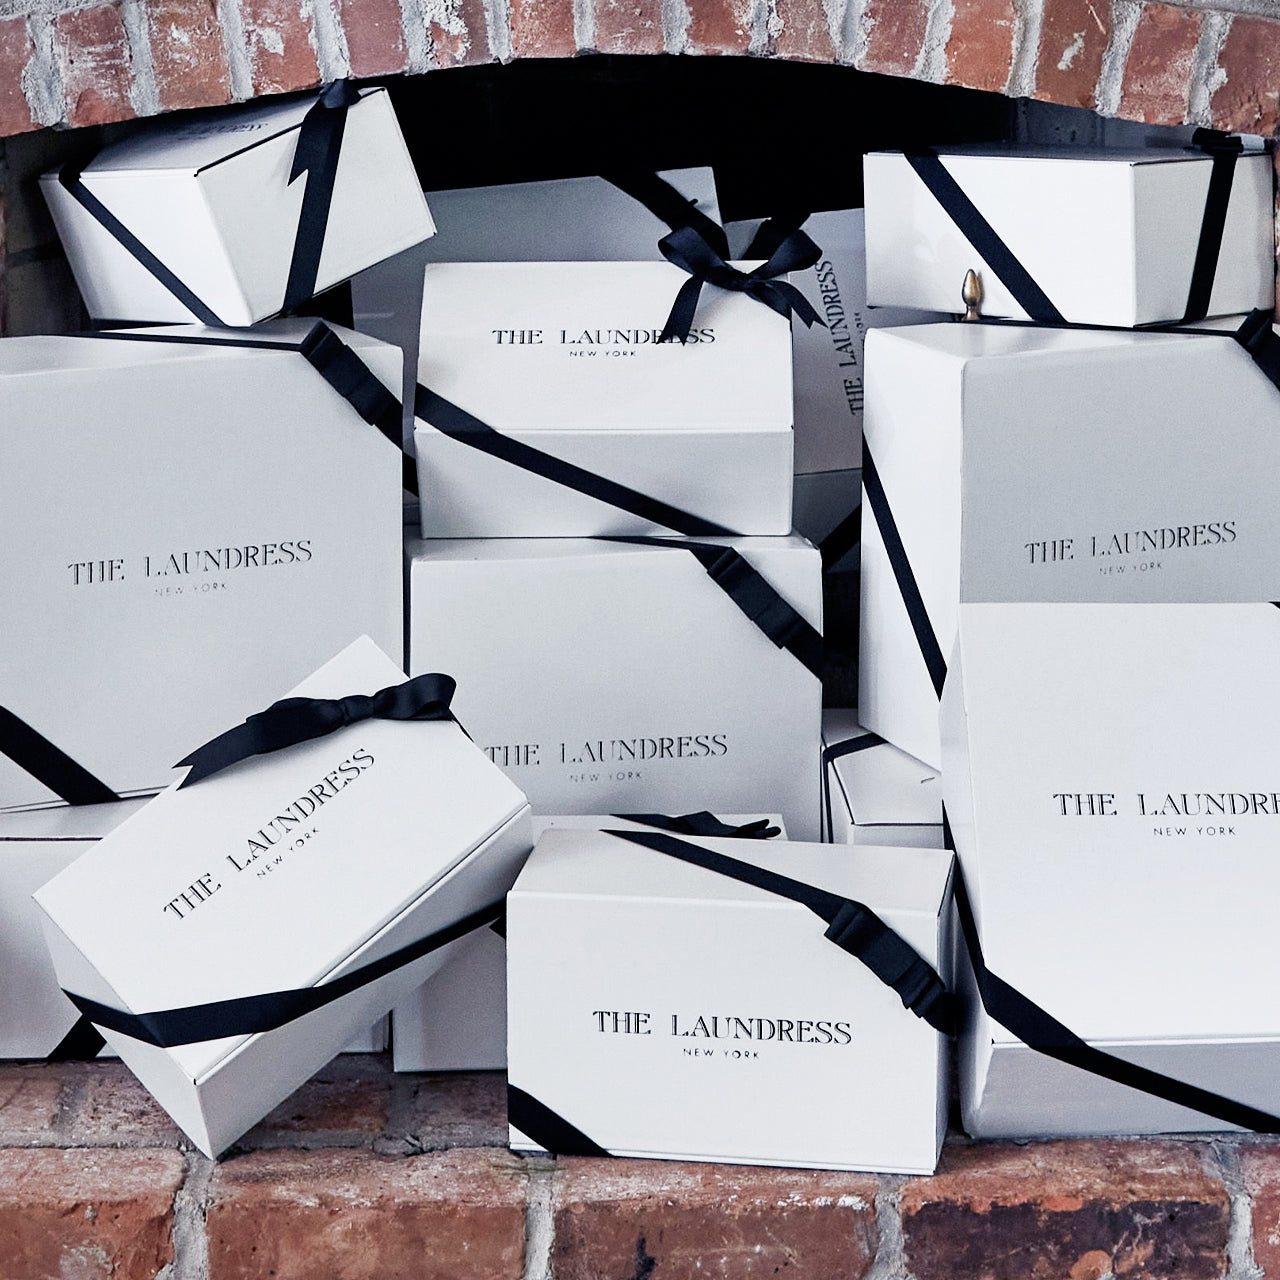
Get to Know The Laundress
Specialty and everyday detergents for a cleaner, longer life for clothes.
Suds, Tools, Triumphs
Clever accessories that tackle stains, boost freshness, and make laundry a breeze.
Laundress Loyalty Program
Sign up, earn points with every purchase, and redeem for exclusive rewards.
Popular Searches
Featured Products
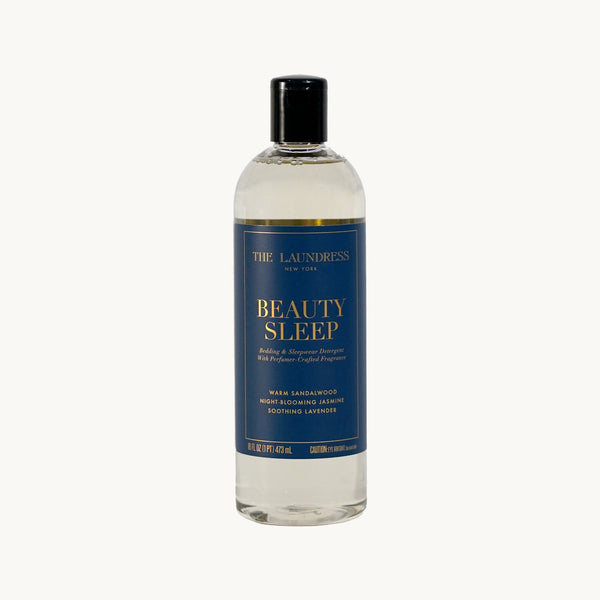
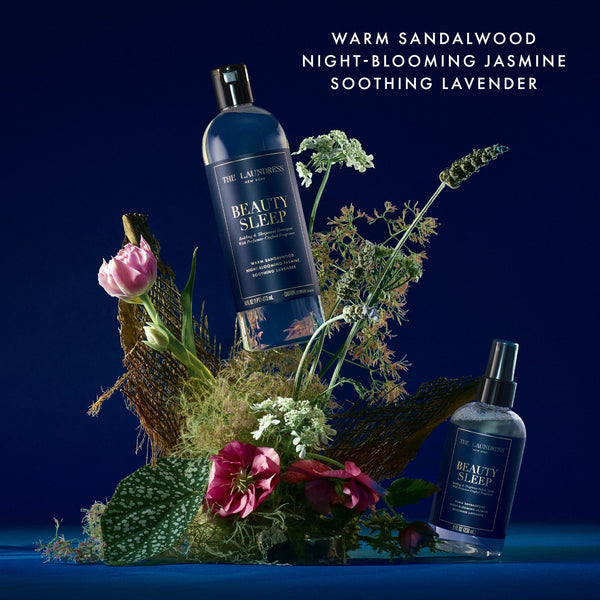
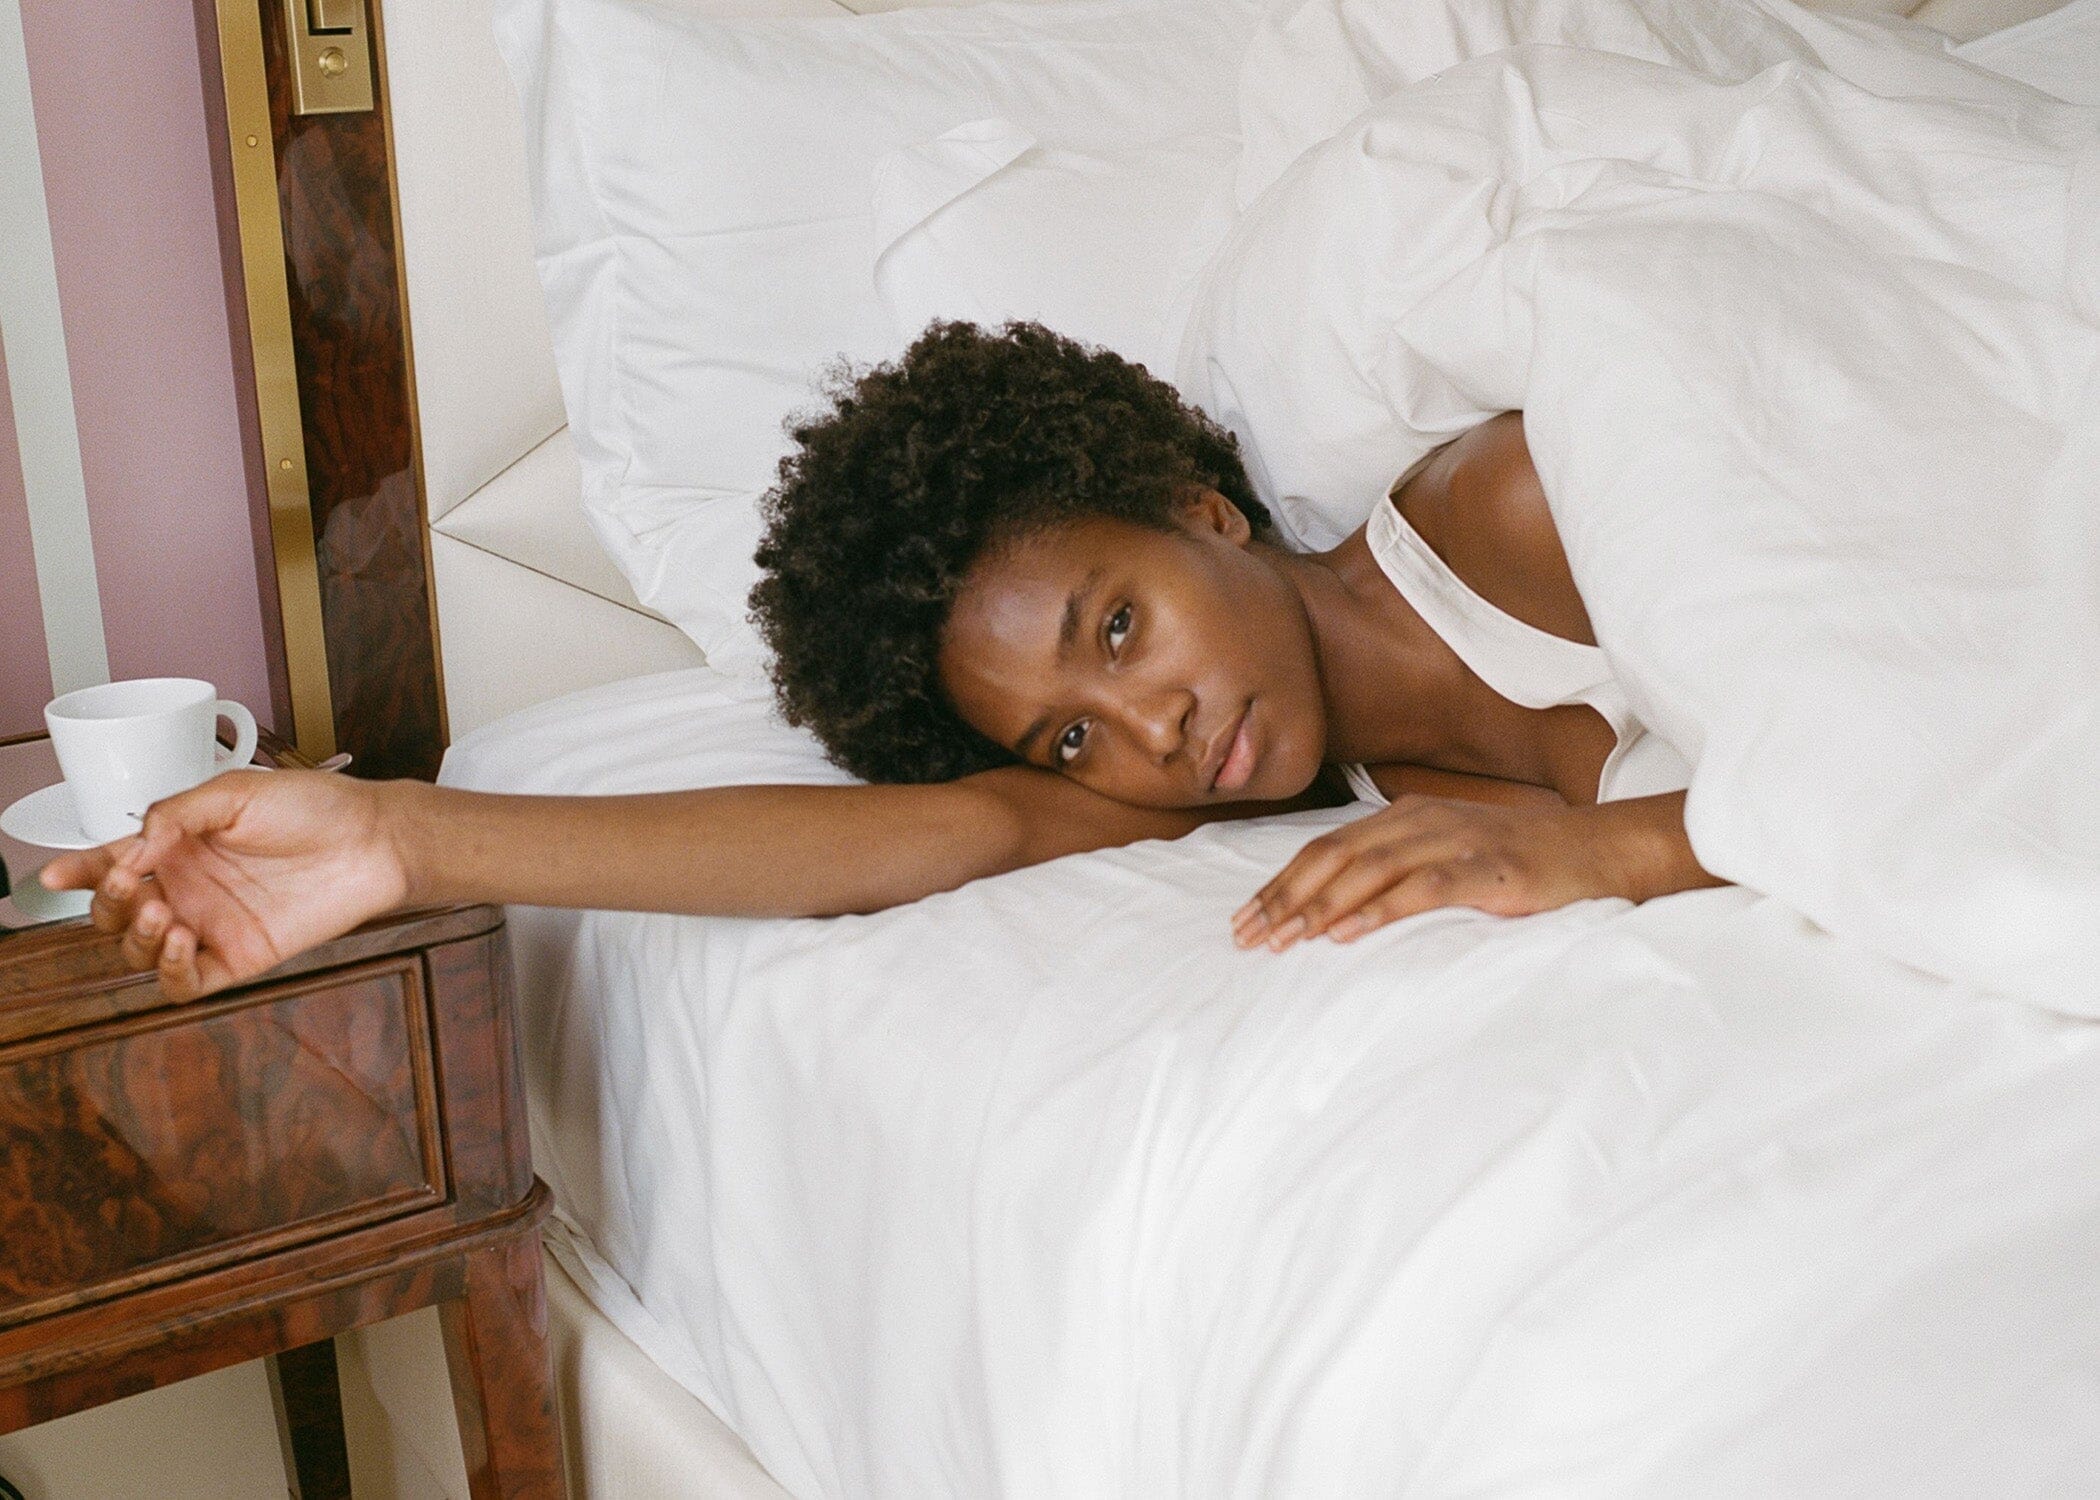
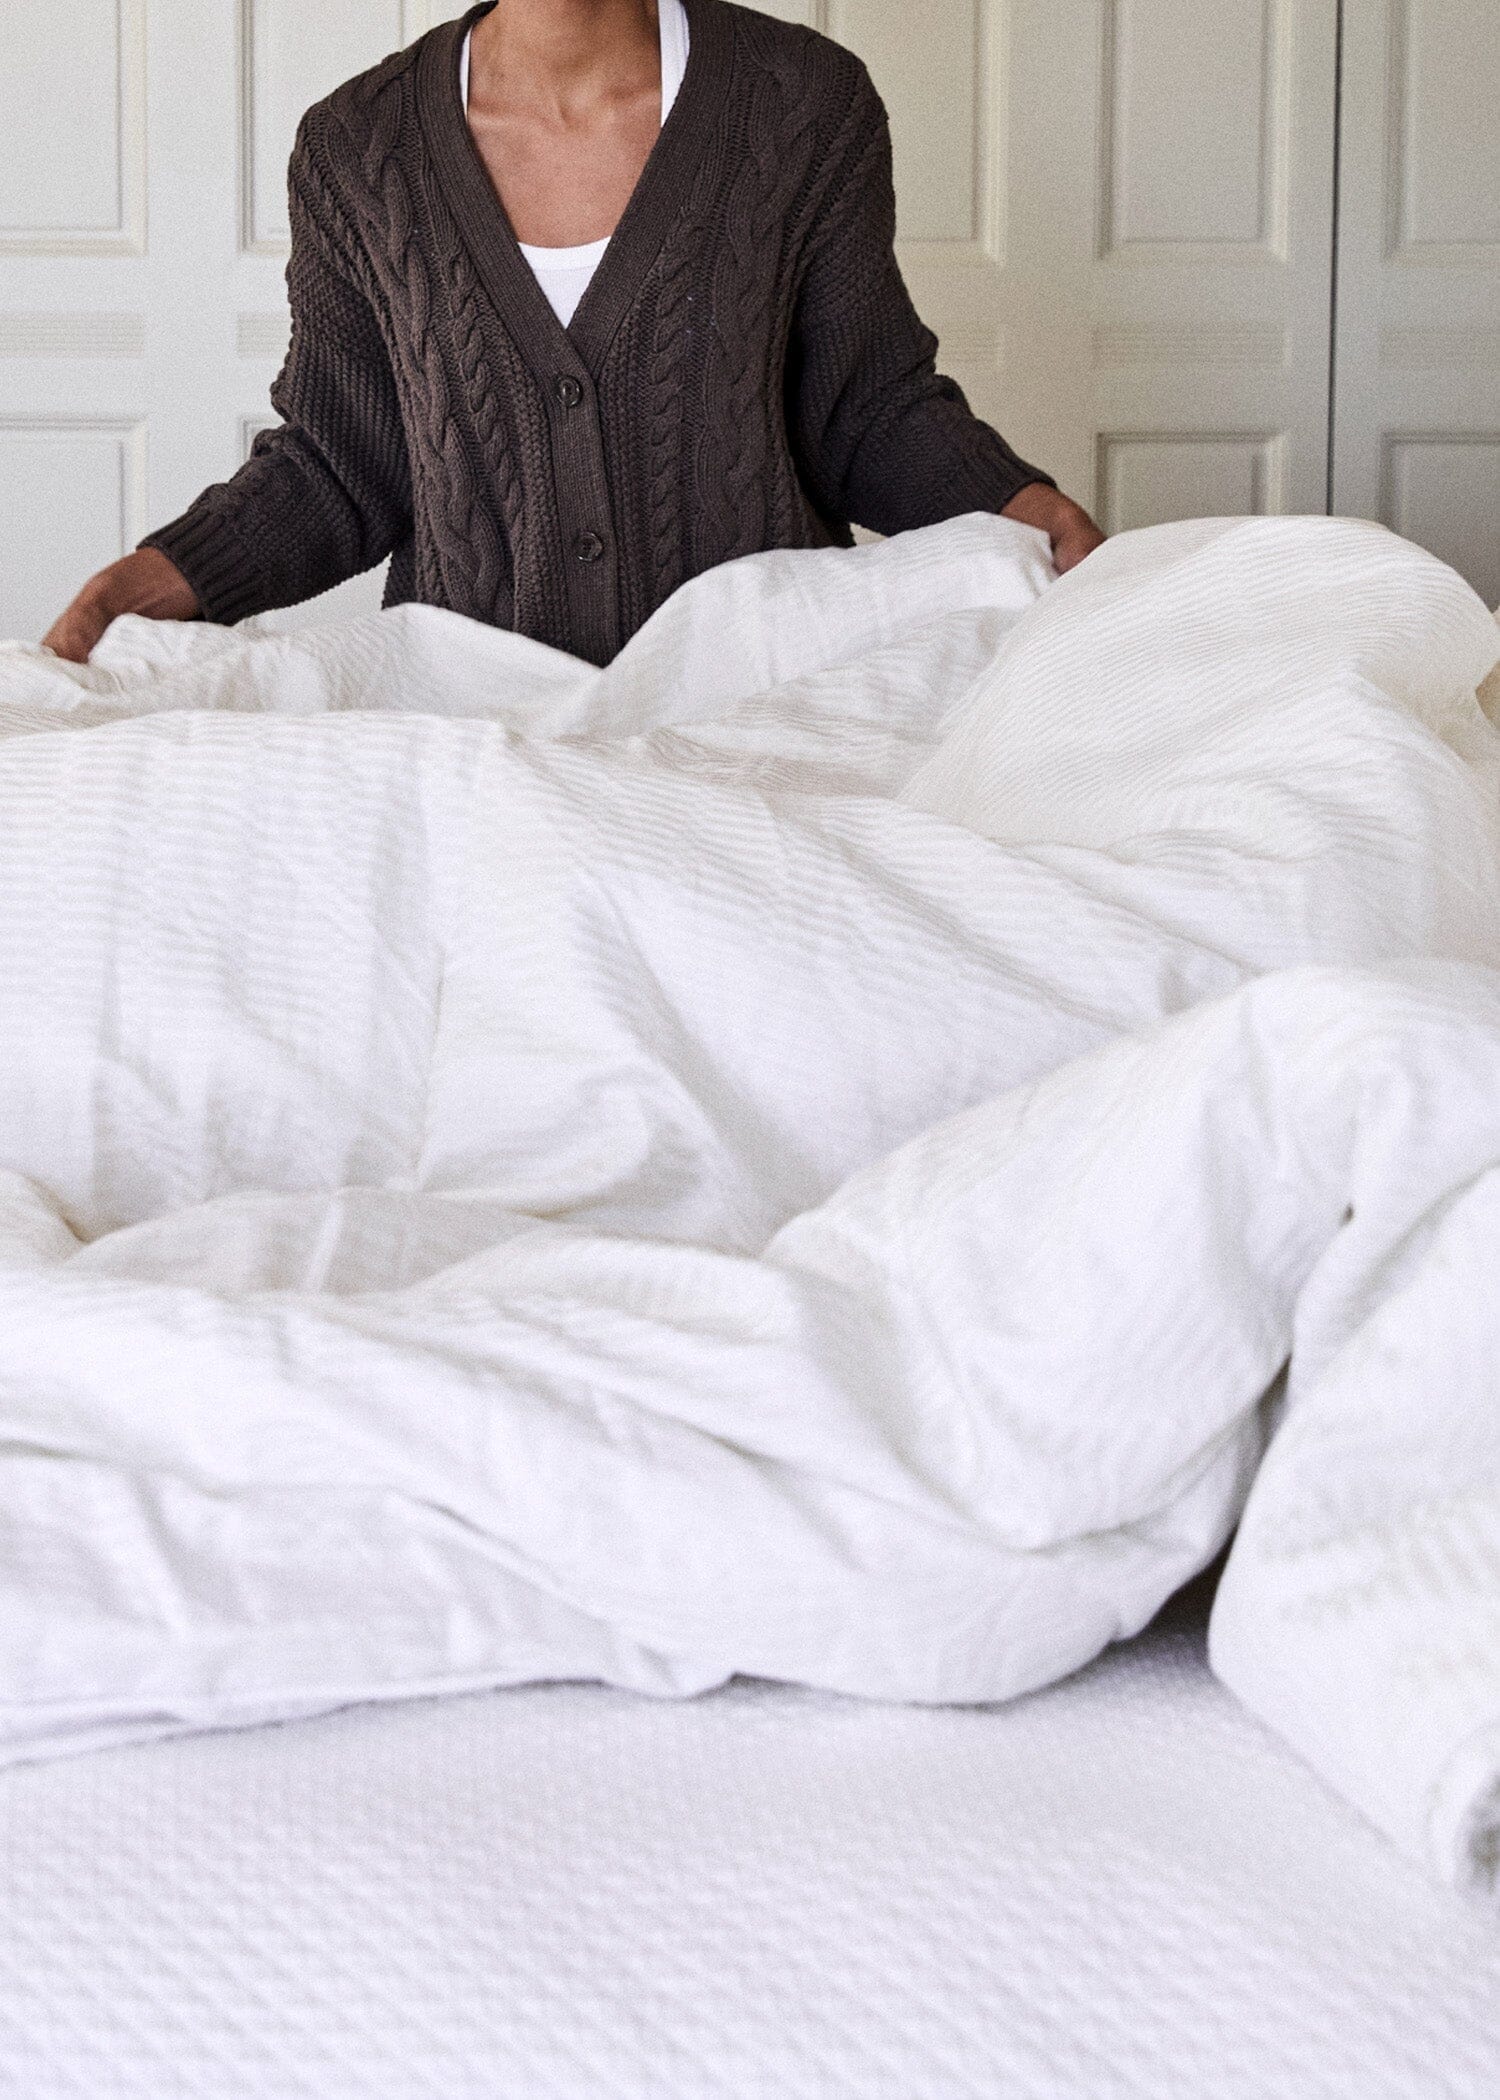
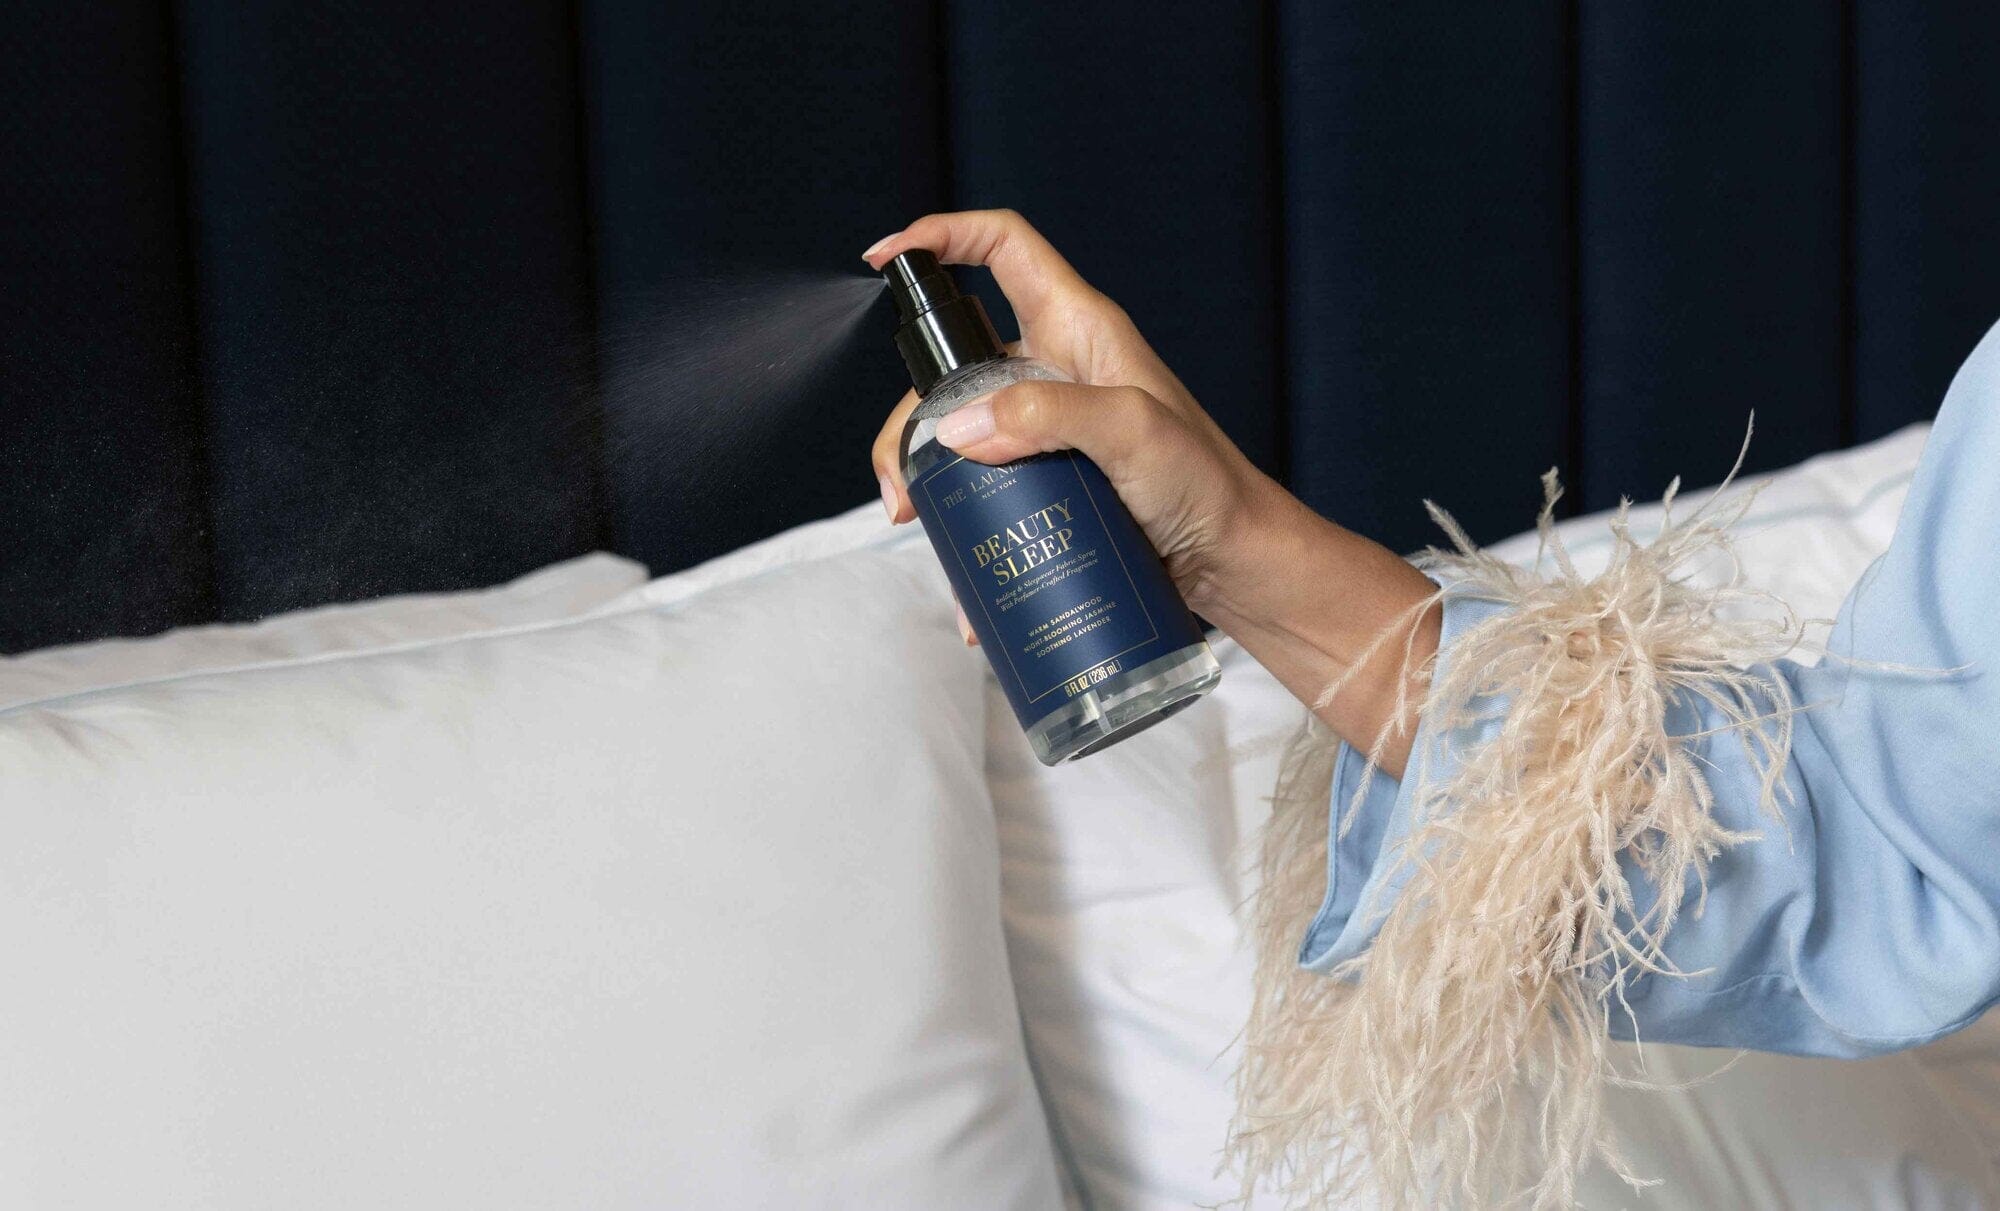
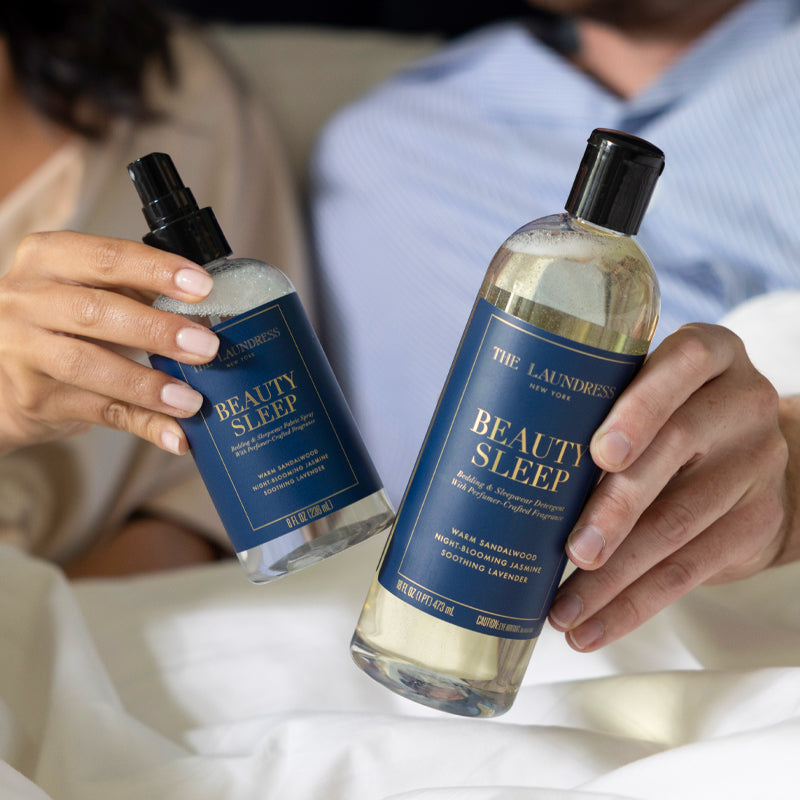
Serene Scent For Sleepwear & Bedding
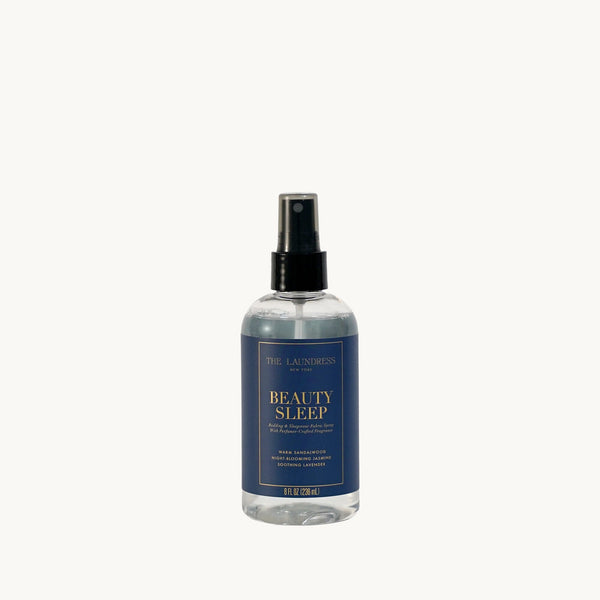

Serene Scent For Sleepwear & Bedding

Your go-to source for expert fabric & home care
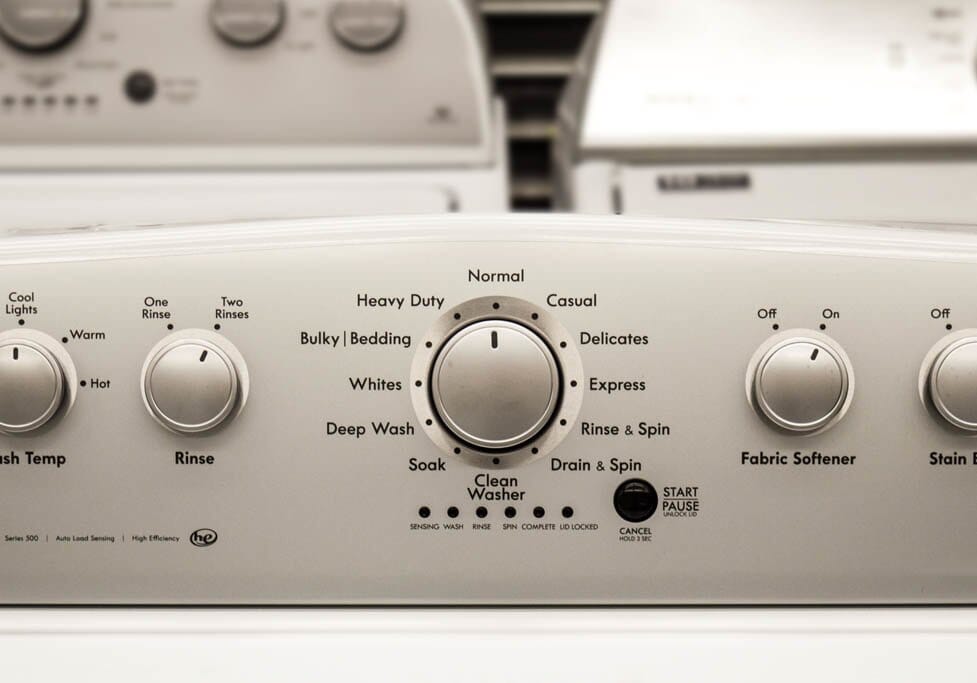
DECODE YOUR GARMENT LABEL & GET WASHING

All Tips & How-Tos