


No wrinkle left behind! Master the art of ironing and get the perfect press every time with our ironing guide. Read on to learn the tricks of the trade for a fine finish – from dress shirts to khakis.
PREP
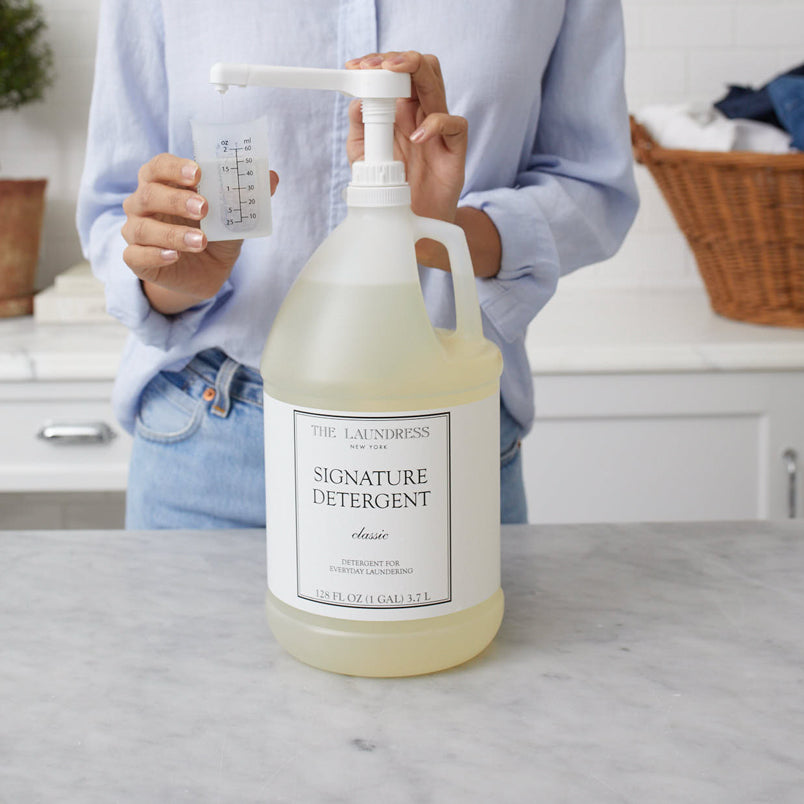
STEP 1: Adjust Setting Before you iron, check the fabric label to see whether the item can be ironed and which temperature setting to use. Cottons and linens are typically safe to iron. For synthetics, test a small area to ensure it's safe to iron. Never iron wool, velvet, or corduroy, as it can crush and ruin the pile. Tip: Use a steamer to freshen and release wrinkles from delicate fabrics like wool, cashmere, delicate synthetics, and blends.
STEP 2: Start Clean Make sure your iron and cover is clean and ready to go. Check for grime or rust on the bottom of the iron and clear the ironing surface of debris. Tip: An accumulation of mineral deposits in the iron can lead to rusting and unsightly spots on bedding and clothing. To prevent this, it is best to clean your iron using plain white vinegar once every two to four months. Always check manufacturer instructions before cleaning.
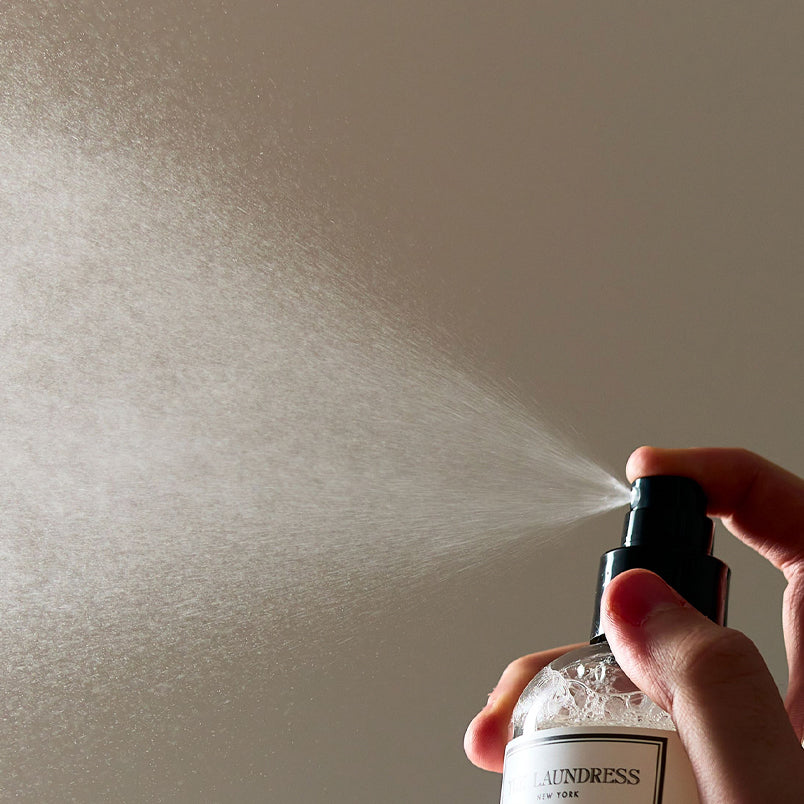
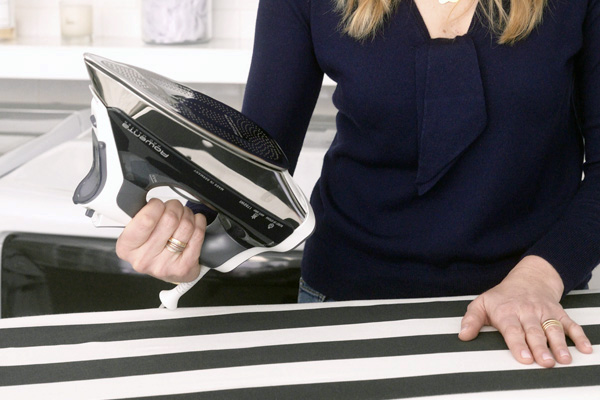
STEP 3: Tools for a Flawless Finish Spray with your favorite fabric finishing spray from 6 inches away while ironing to add body and crispness to fabrics. Cotton and linen items that require pressing should be removed from the dryer while still damp. If the items are dry, it helps to use a spray bottle with water to dampen.
HOW TO IRON DRESS SHIRTS
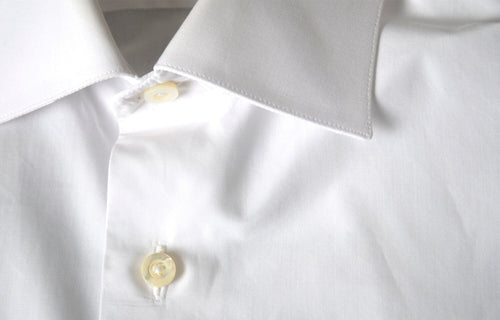
STEP 1: Iron the inside collar flat, working tip to middle, always in one direction. Don't turn down the collar until the rest of the shirt is ironed. Be careful not to iron a crease into the collar.

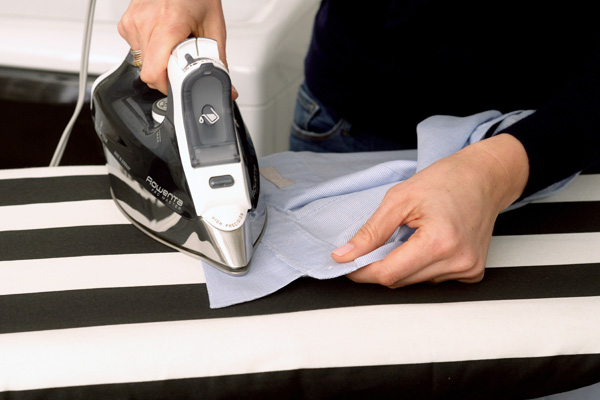
STEP 2: Starting on the inside, iron from the bottom edge of the cuff toward the sleeve. Flip and repeat. Poke the tip of the iron into the pleats above the cuff.
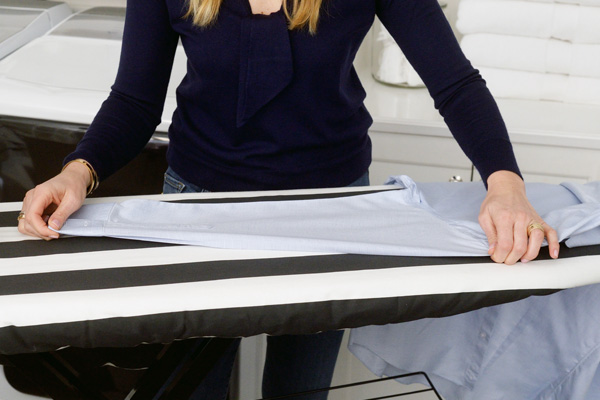
STEP 3: Tug the sleeve taut along the seam so you'e got a crisp, straight fold from shoulder to cuff. Lay the sleeve on the board, and ensure both layers of the fabric are smooth. Iron in long sweeping strokes. Rotate and repeat.
STEP 4: Slide the armpit part of the sleeve over the tip of the ironing board. Iron each shoulder flat.
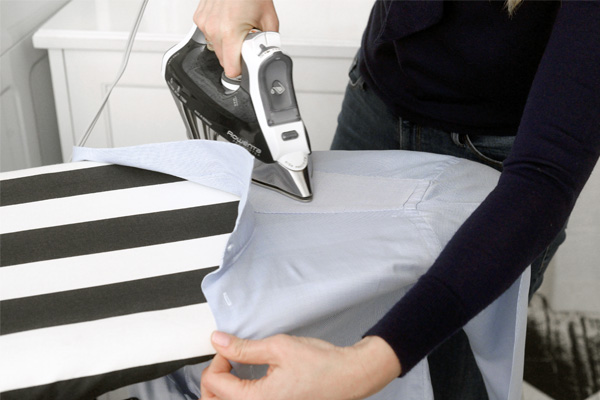
STEP 5: Now hit the yoke (the double-layer strip that connects the collar to the shirt). Swing the iron from shoulder to mid-back. Switch shoulders and repeat.
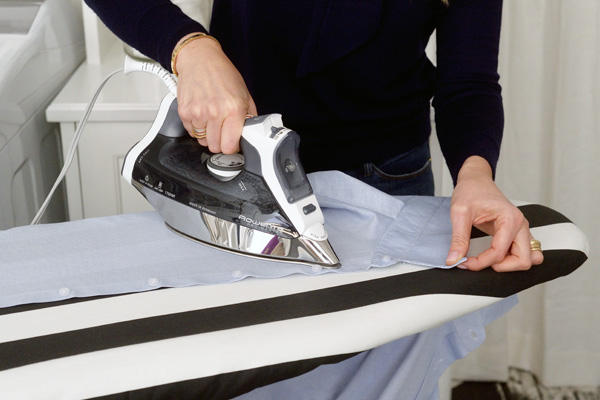
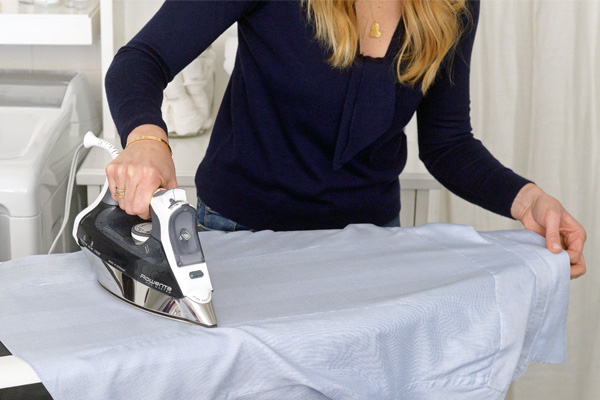
STEP 6: Confront the front! Iron each side in long strokes from the collar down, starting with the placket. If your shirt has a pocket, iron from the bottom up to prevent bunching. Finish up by weaving the iron in and around the buttons.
HOW TO IRON PANTS
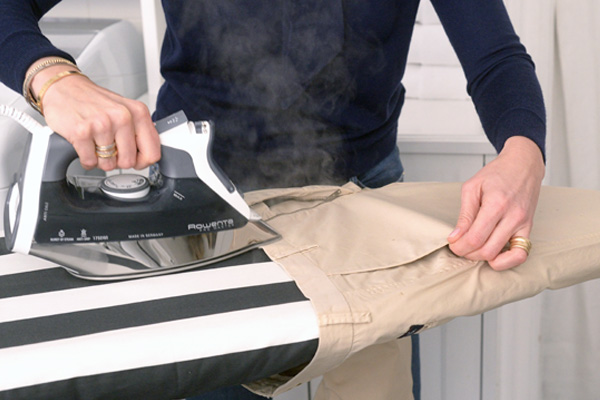
STEP 1: Slip the waistband over the top of the of the ironing board. Start by pressing the waistline, zipper area, and hem.
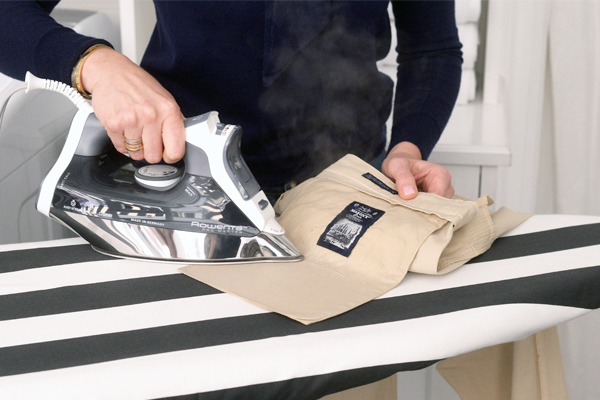
STEP 2: Pull out pockets from inside each pant leg and press. Be careful! You don't want a pocket outline.
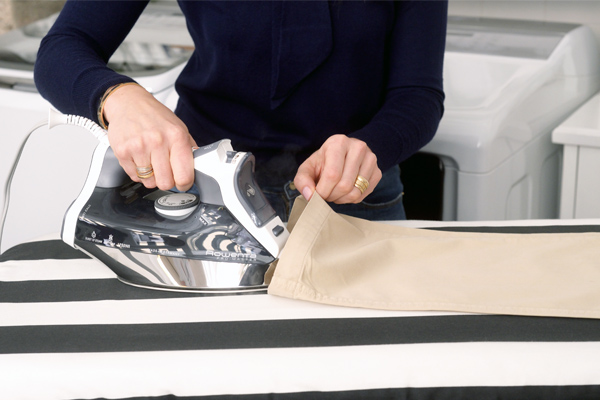
STEP 3: Iron each pant leg from top to bottom in a straight line. Rotate and repeat. Dealing with pleats? Press along the pleat line for the perfect finish. Iron pant hems from the inside and on the outside.
Related Stories
-
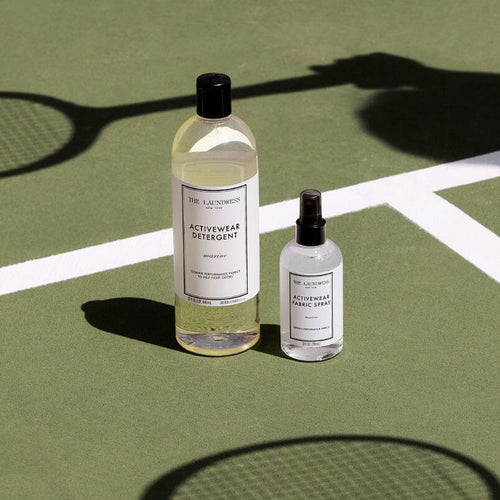
Introducing The Laundress Activewear Collection
-

How to Keep Activewear Fresh, Clean & Ready for More
-

The Kitchen
-

Oven
-

How To Refresh Your Guest Suite
-
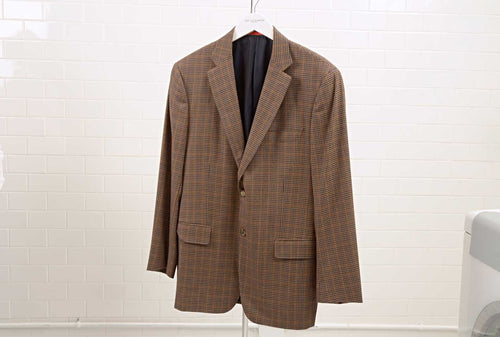
How To Clean a Blazer
-
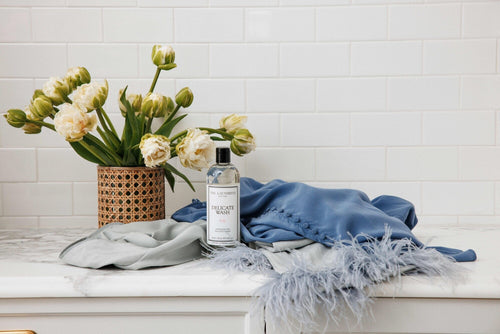
How To Wash Silk
-
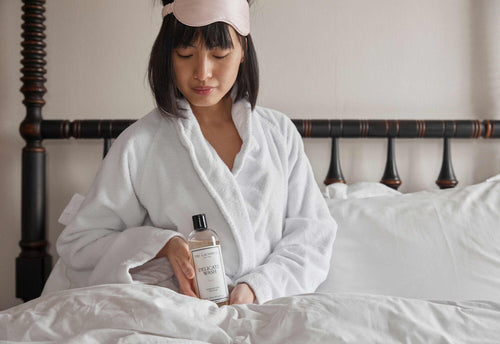
How To Wash Silk Nightwear: Pajamas, Bedding & Eye Masks
-
Seasonal Cleaning Secrets
-

How To Get Your Fridge Stone Cold Clean
-
Clean Grout & Tile
-

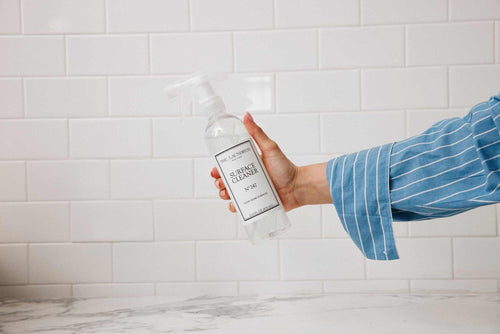
How To Clean Every Single Type of Counter
-
Linoleum
-

Chrome
-
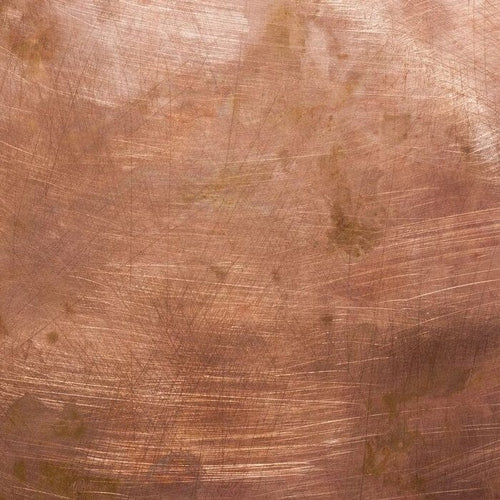
Copper
-
Silver
-
Give Your Grill A Fresh, Clean Start
-
The Bedroom
-

The Living Room
-
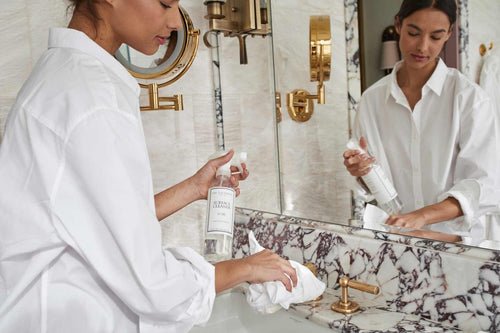
The Bathroom
-

A Smooth Process For Washing Silk
-

How To Clean Outdoor Furniture & Upholstery
-
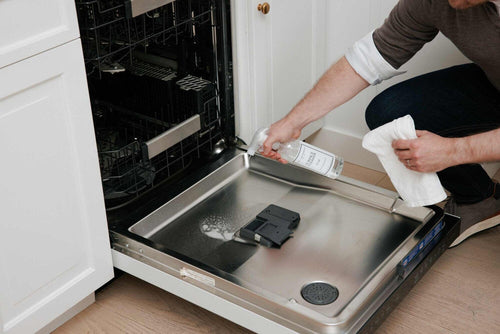
Dishwasher
-

How Often to Clean Every Area of the Home
-
30 Places You May Be Forgetting To Clean
-
Glass
-
Porcelain
-
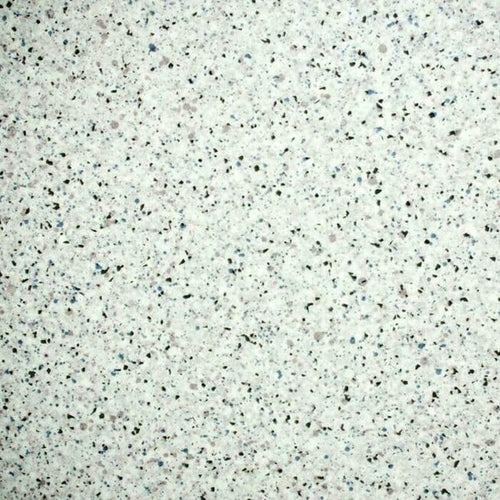
Granite
-
Stainless Steel
-
Laminate
-

Ceramic
-
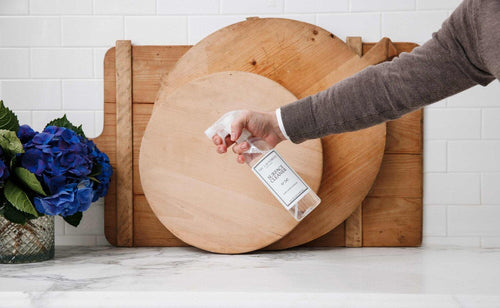
Wood
-
Marble
-

How To Achieve Truly Streakless Windows & Glass
-

The 10 Minute Home Clean
-
Delicate Stains
-

Knitwear Stain Guide
-
Dry Clean Only Stain Guide
-
Mesh Bags Are The Thing Your Laundry Room Is Missing
-

How To Clean Linen
-
Polyamide
-
Protein & Food Stains
-
Ink & Marker Stains
-
Sweat & Pit Stains
-
Protein & Blood Stains
-
Dirt, Mud, & Grime
-
Dingy Stains
-
Ring Around The Collar Stains
-
Baby Food Stains
-

Makeup & Lipstick Stains


