


How to
Care for Vintage Pieces
If you are what you wear, then wearing vintage is one of the best ways to convey who you are without saying a word. Each piece has a unique history and through wearing your garment, you can become a part of its storytelling. Forever passionate about the history of fashion, its evolution and ultimately, the care of each garment, The Laundress keeps preservation of iconic pieces and special garments top of mind. The care and keeping of vintage garments requires a delicate hand and gentle solutions. Here, we're exploring how to care for delicate vintage items, from chic blouses to timeless woolens. Keep reading to learn how to care for your own vintage finds using expert methods and fabric care solutions from The Laundress. What You'll Need To Care For Vintage Garments:
Before You Begin
Washing vintage items successfully starts with a thorough examination of the garment to make sure you won't ruin it with at-home laundering methods. Keep in mind some items are simply not fit to be washed at home - but many more can be cared for with gentle methods. First, always check tags for special washing instructions and test fabrics for color bleeding and water reactions in an inconspicuous spot to ensure washability. Items with heavily dyed patterns may not be washable, as well as items made from heavily embroidered silk. It's also important to look at the construction of your vintage item to determine whether it is suitable to submerge it in water. Vintage garments with embellishment, sequins, or fur trim should generally not be washed, as well as items with shoulder pads, heavy boning, or lining that differs in fabric type from the outer shell. These types of garments may warp or change shape when exposed to water. Finally, if something is tagged specifically as "dry clean only" or "do not wash", it is likely not designed to get wet. In this case, it's best to leave it to the professionals. Steaming with a hand steamer is a great option for freshening non-washable vintage garments at home between wears (as well as helping banish any lingering musty smells).
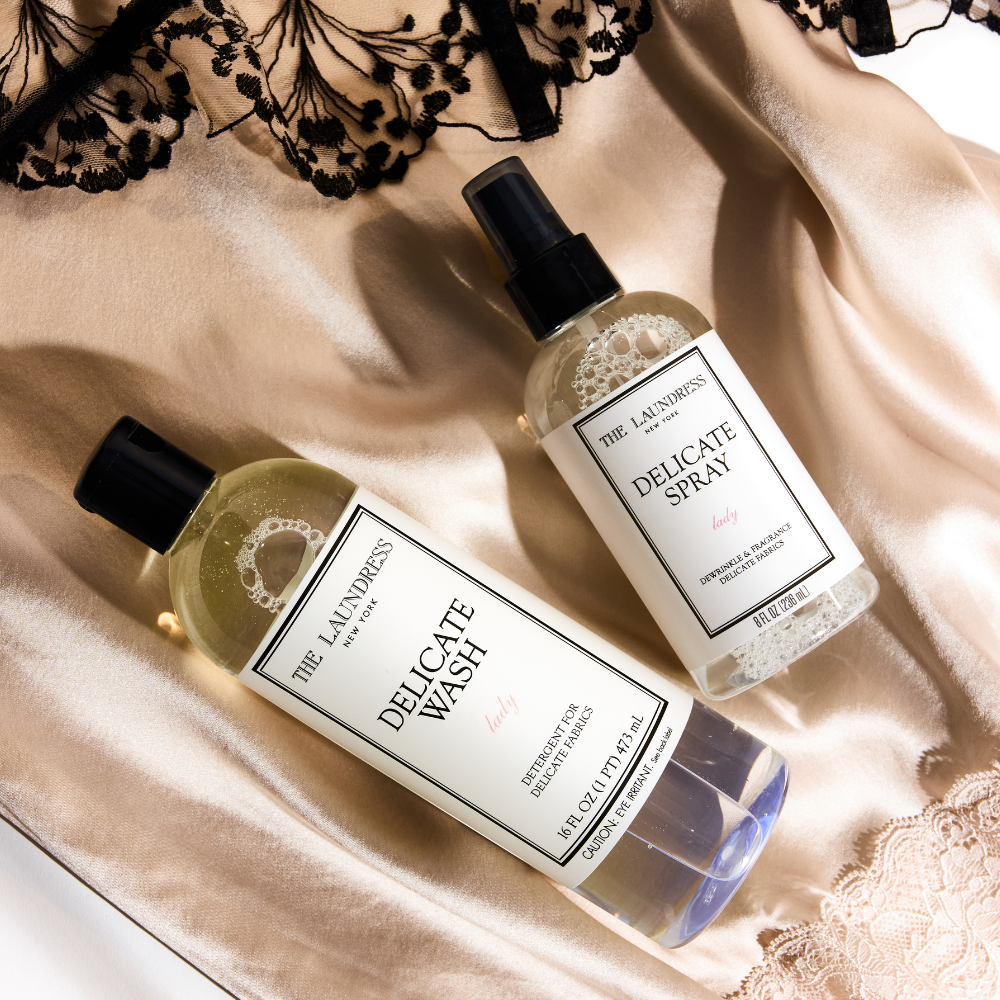
Handwash
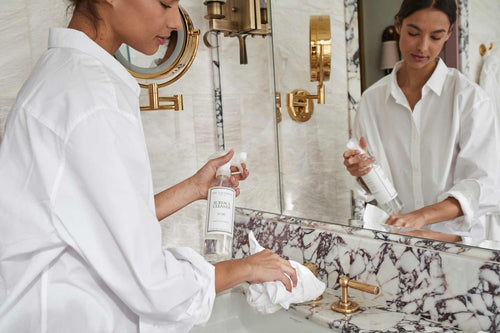
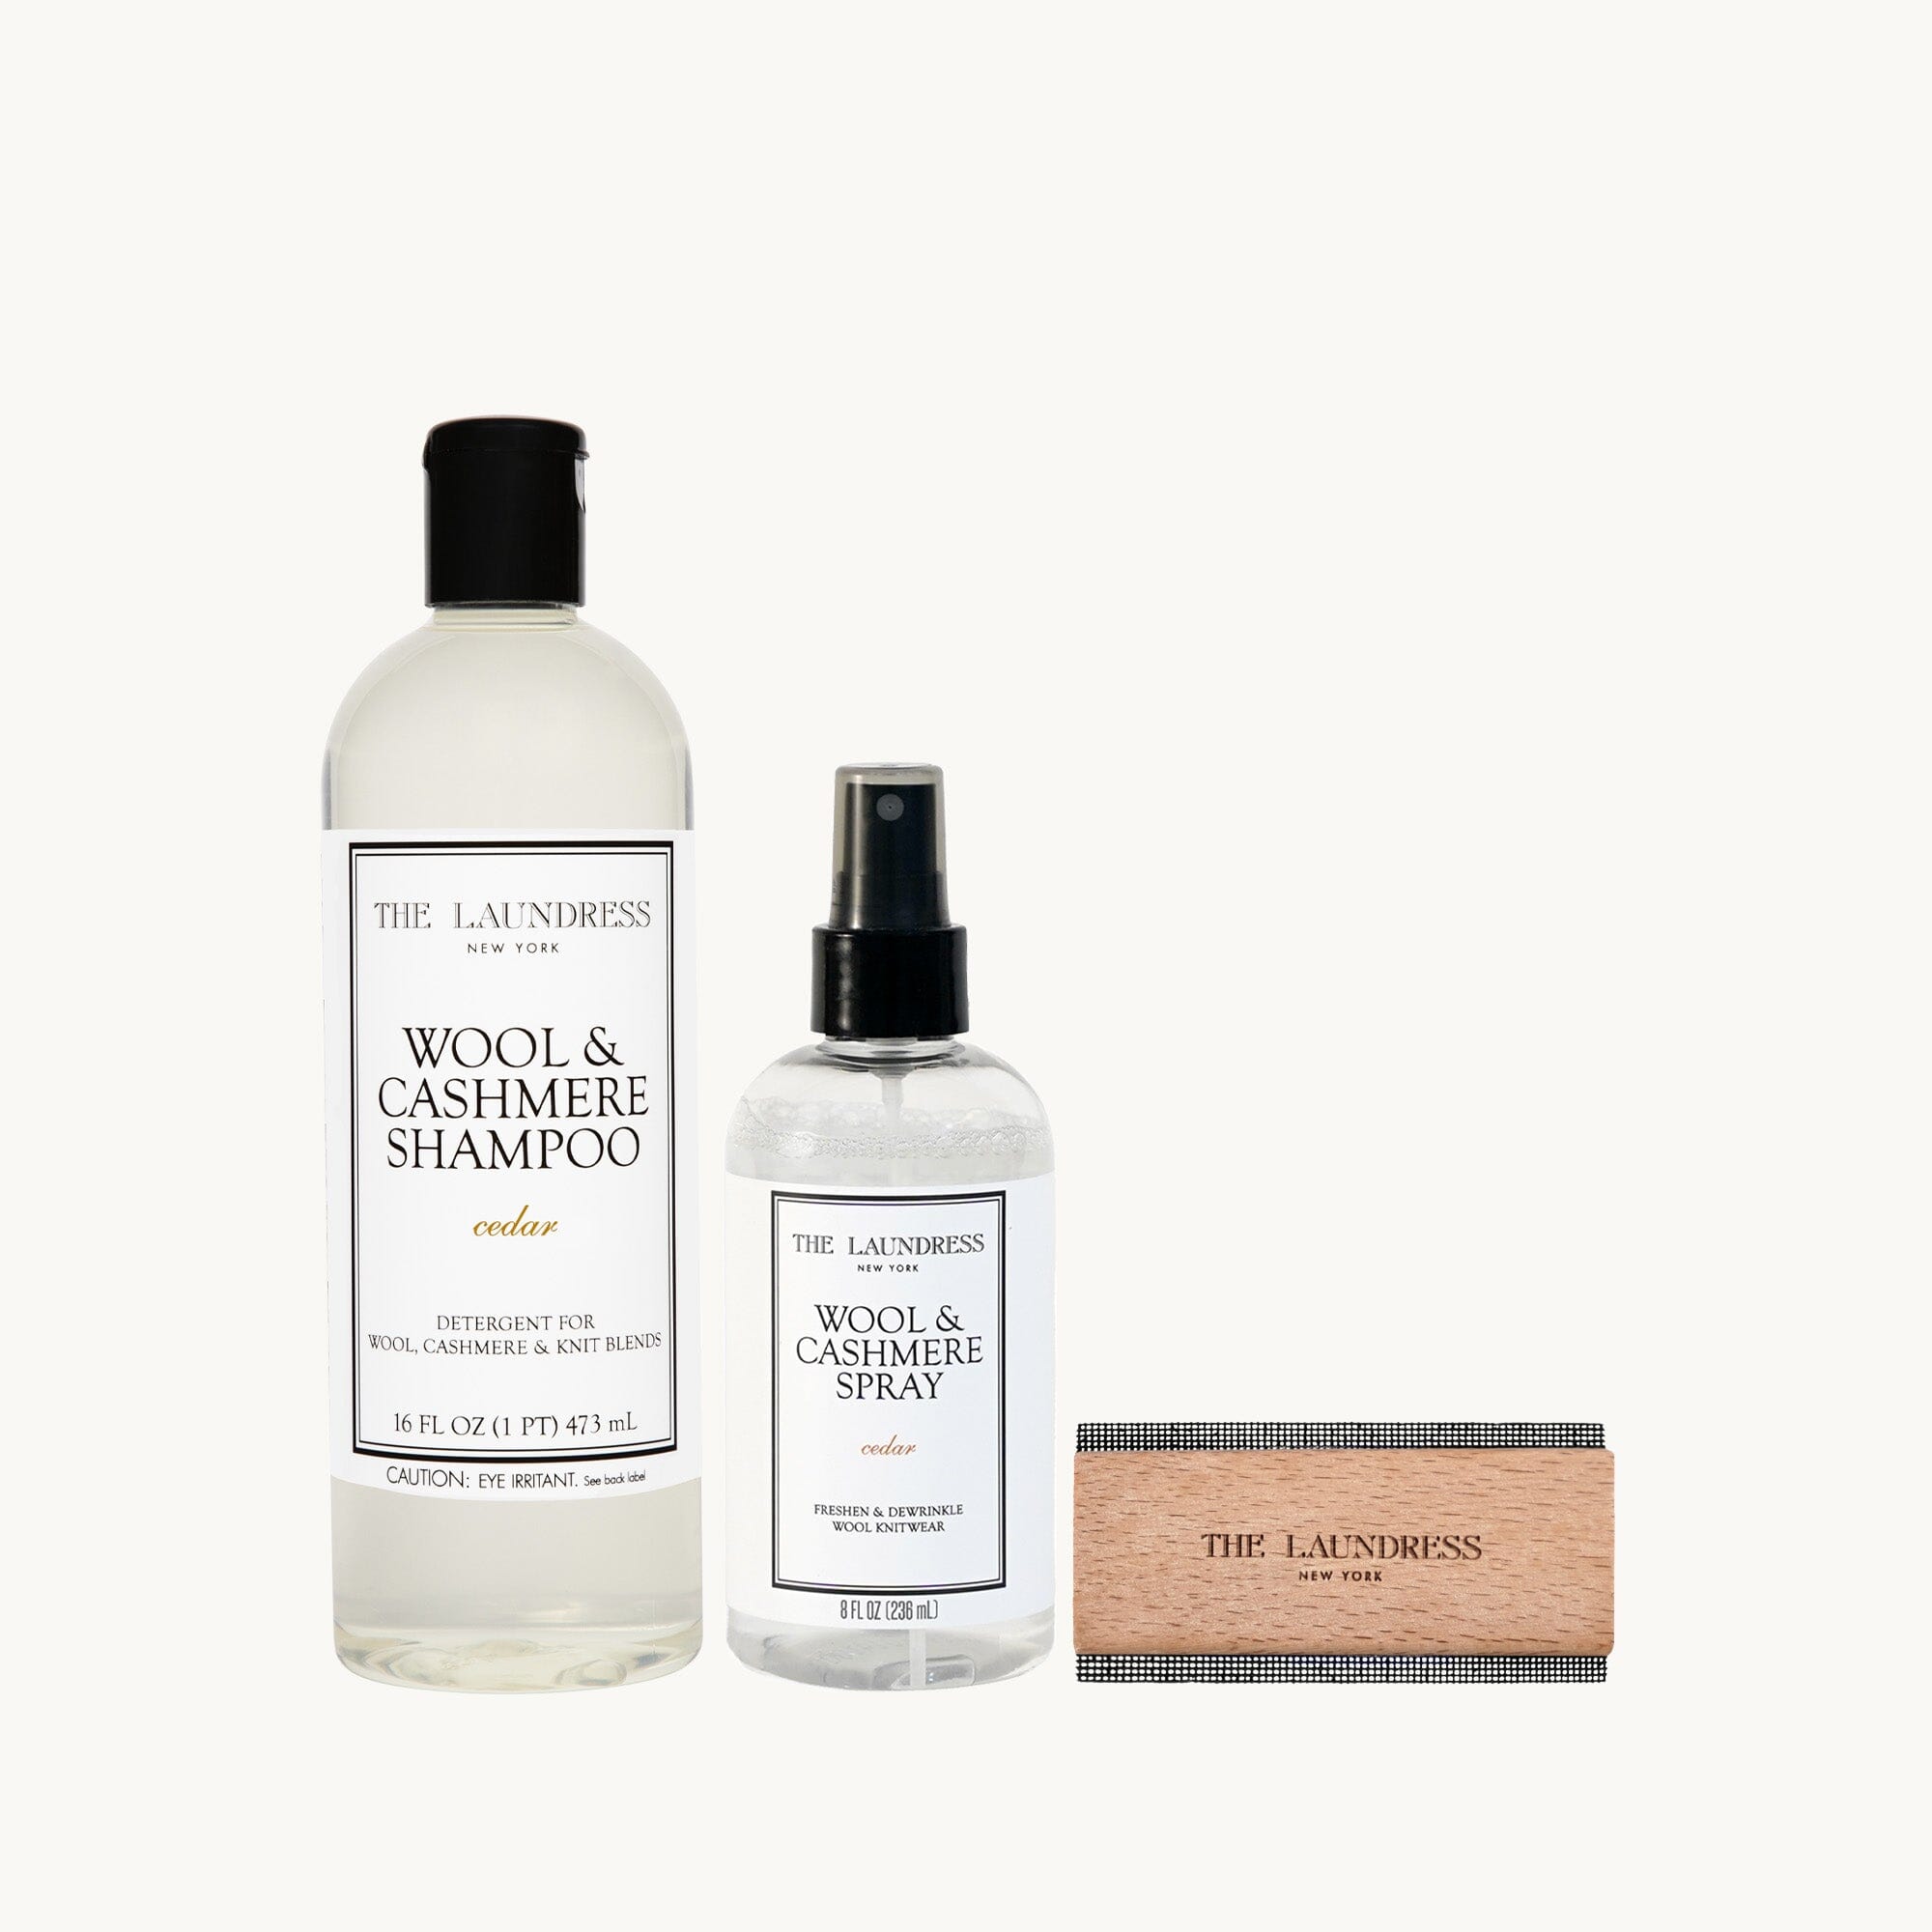
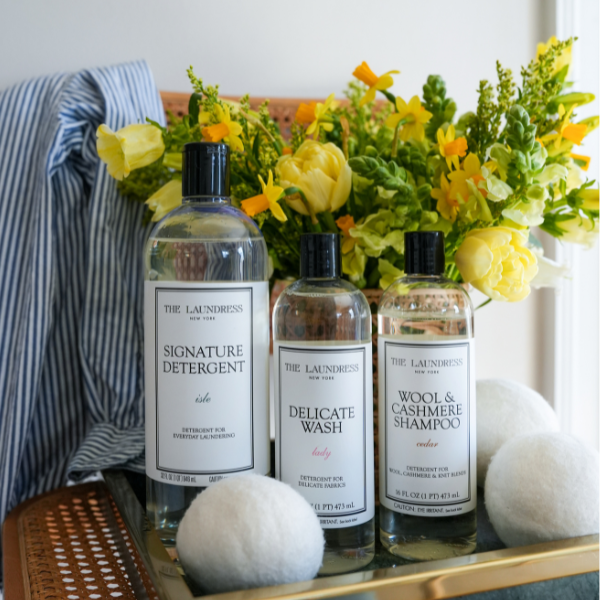
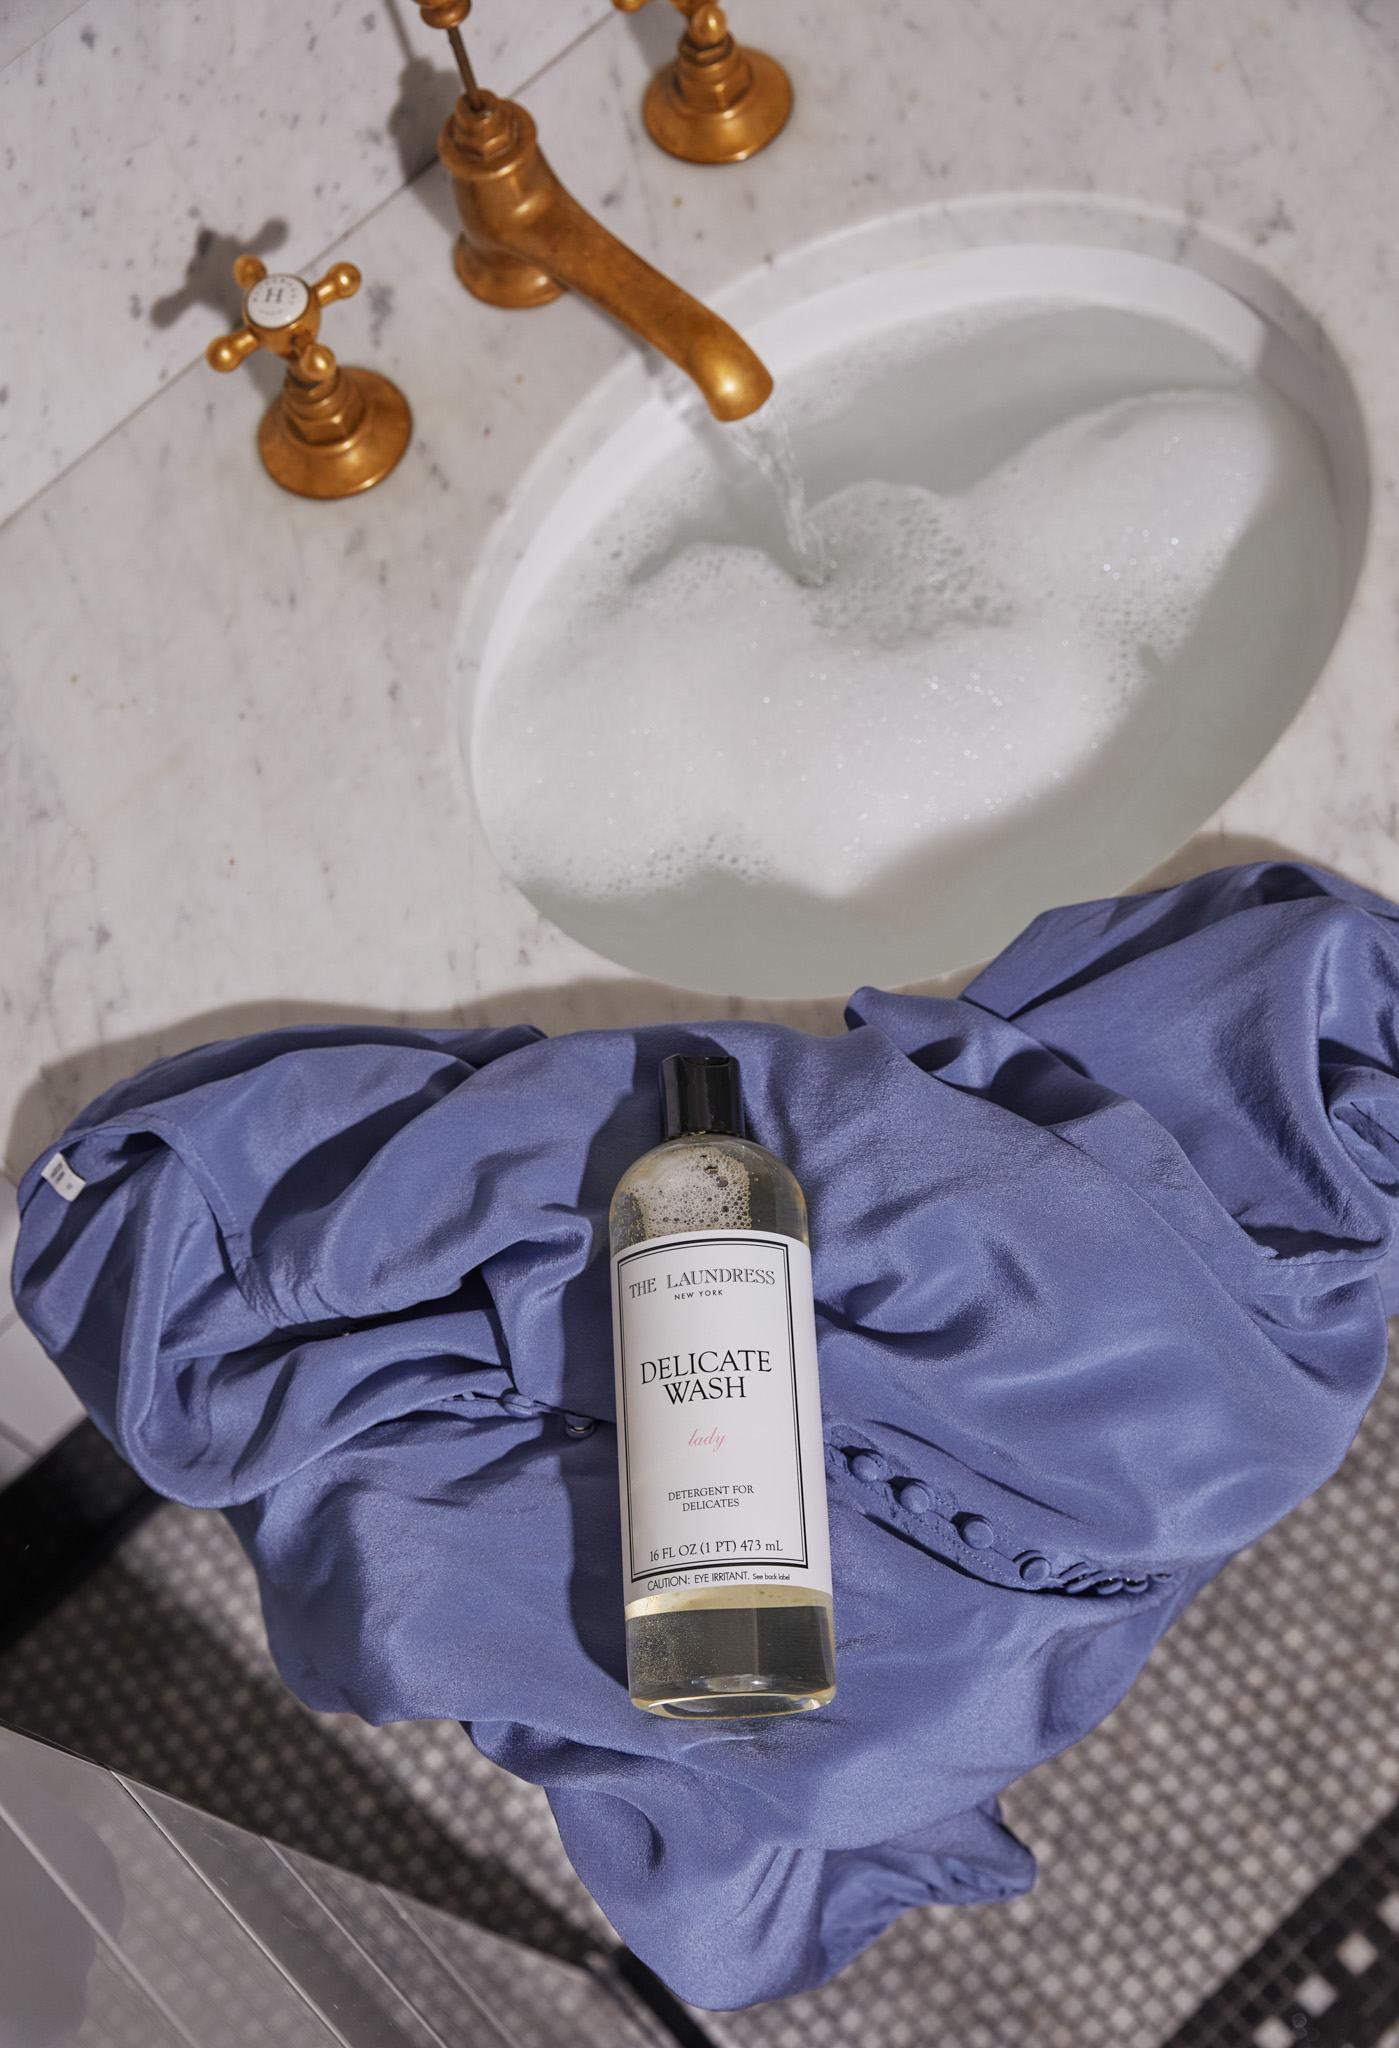
Laundering by hand is the gentlest method for delicate vintage items. Fill a basin or sink with cold water and add Delicate Wash (or Wool & Cashmere Shampoo for knits). These concentrated enzyme-free solutions are designed for cold-water cleansing. Agitate the water gently to ensure even distribution, then soak for up to 30 minutes. Carefully press – don’t wring – out excess water after soaking.

Machine Wash
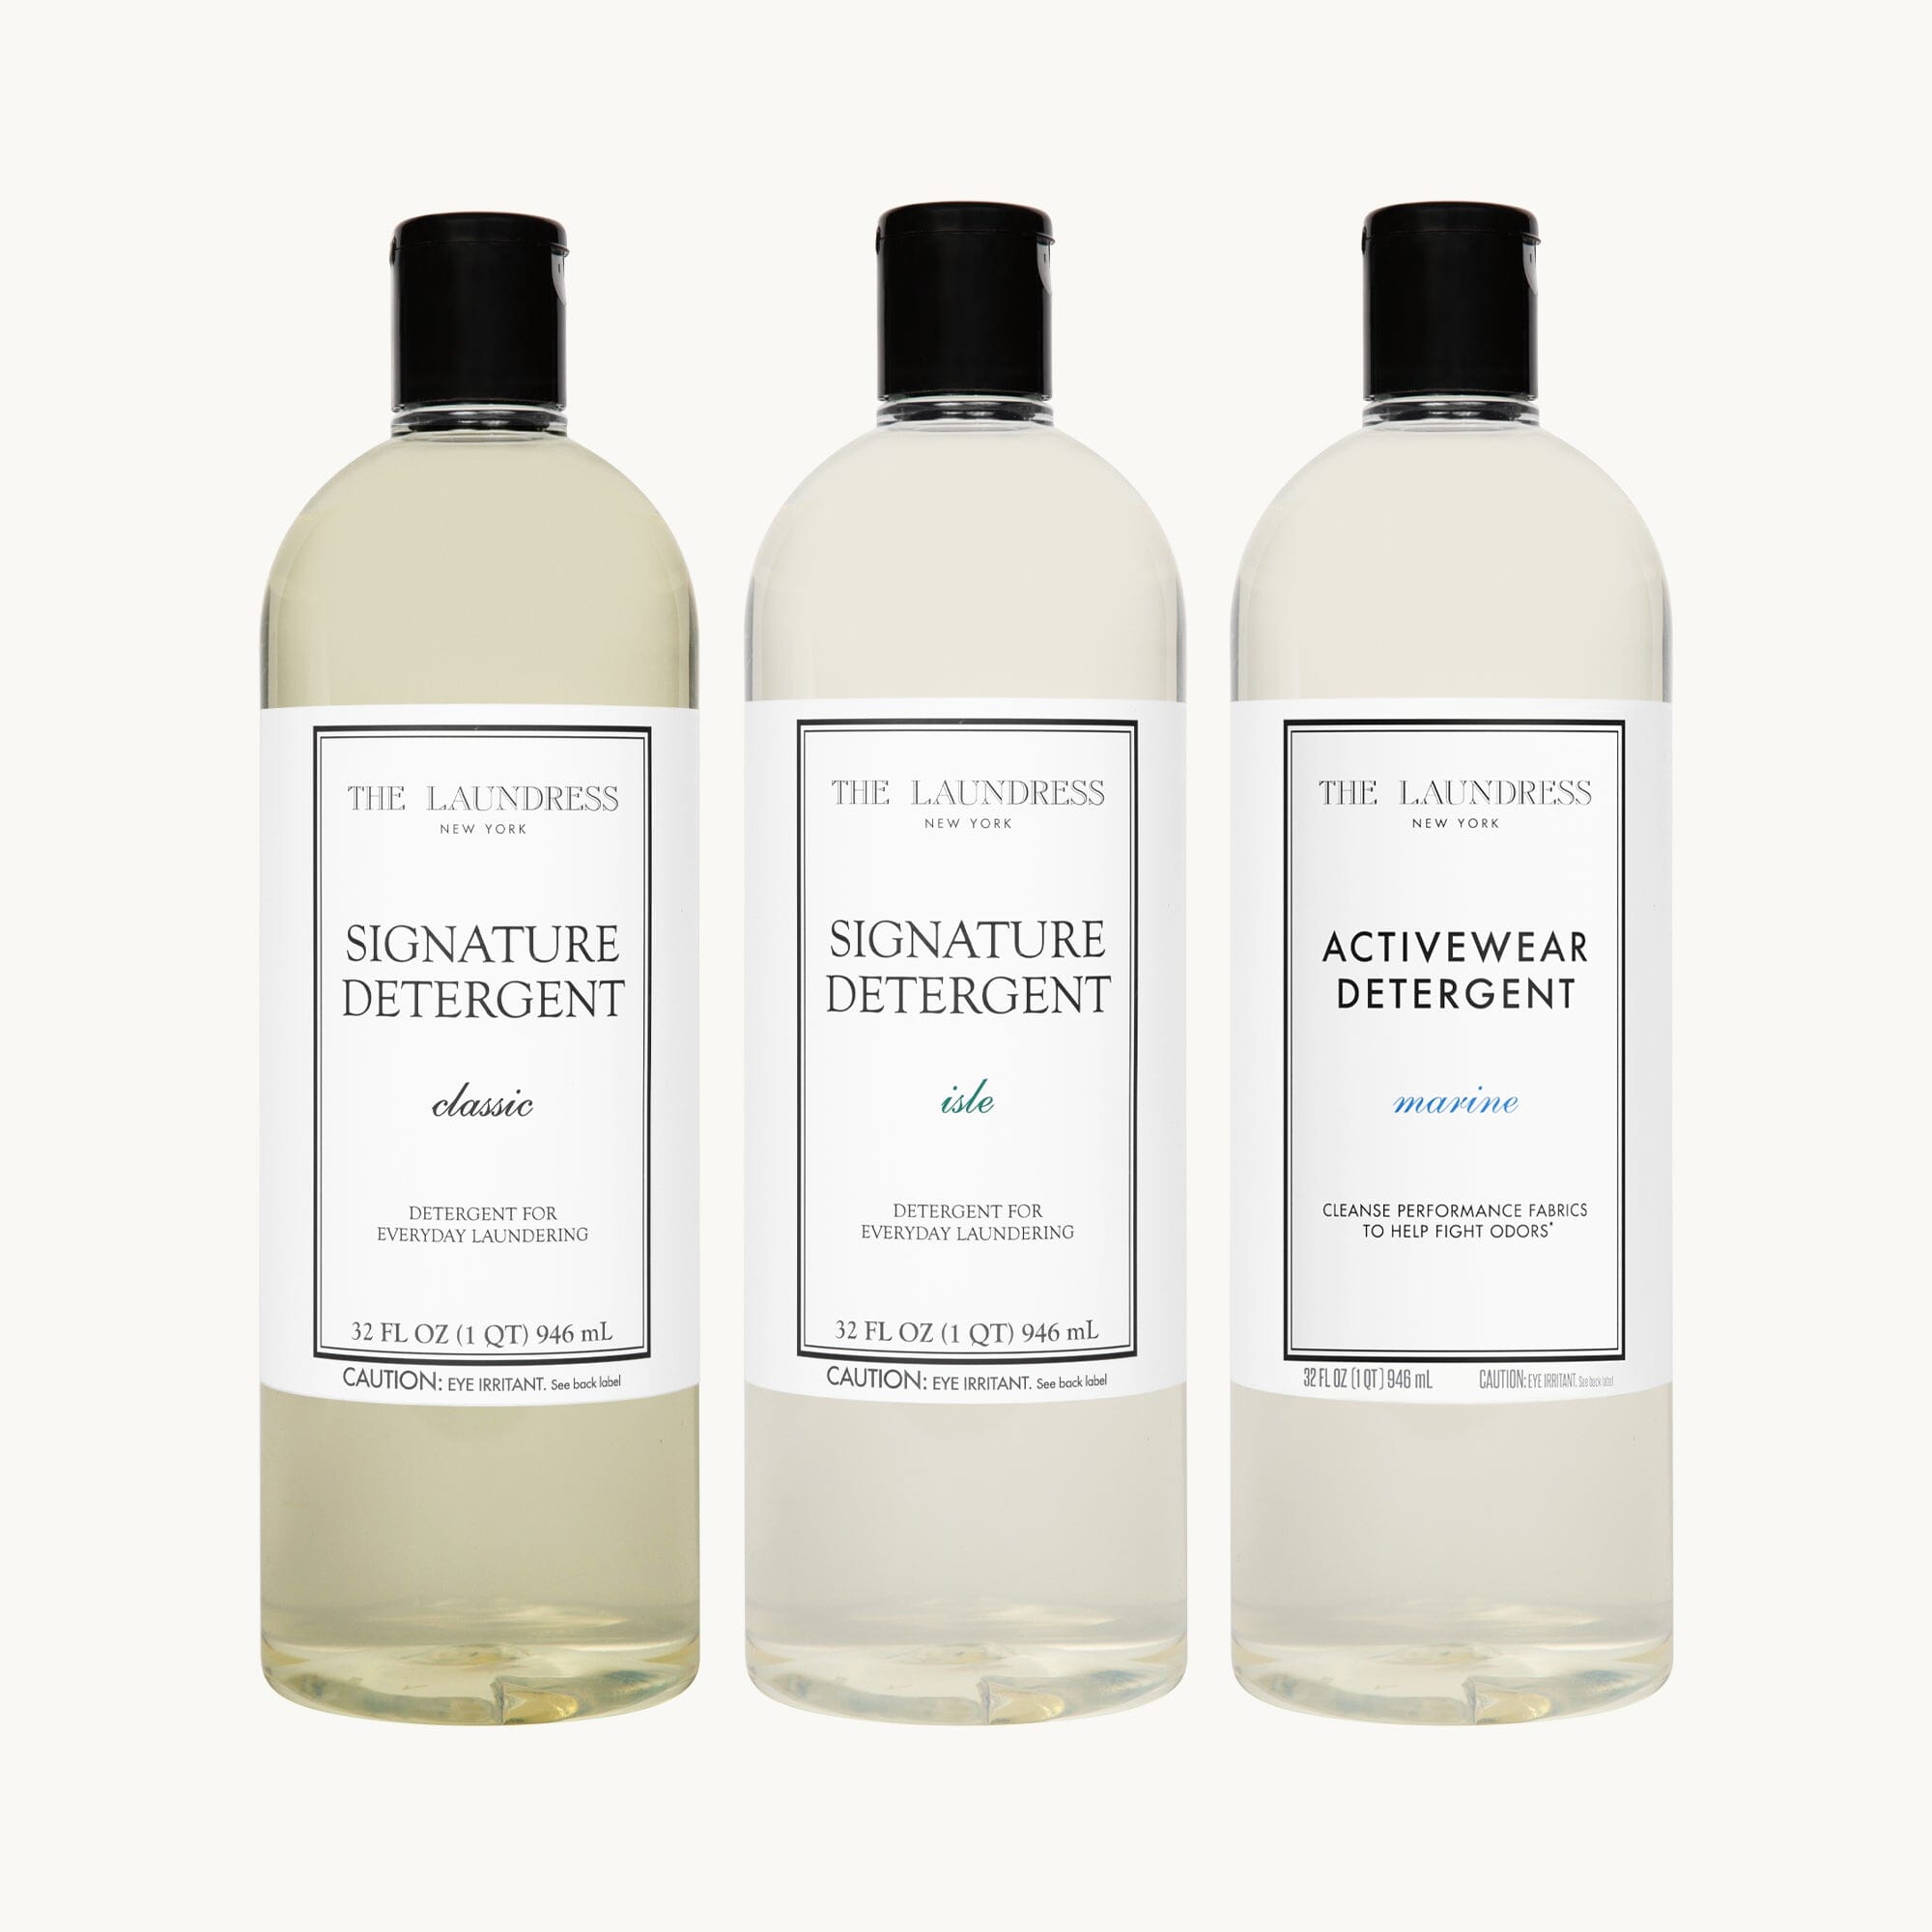
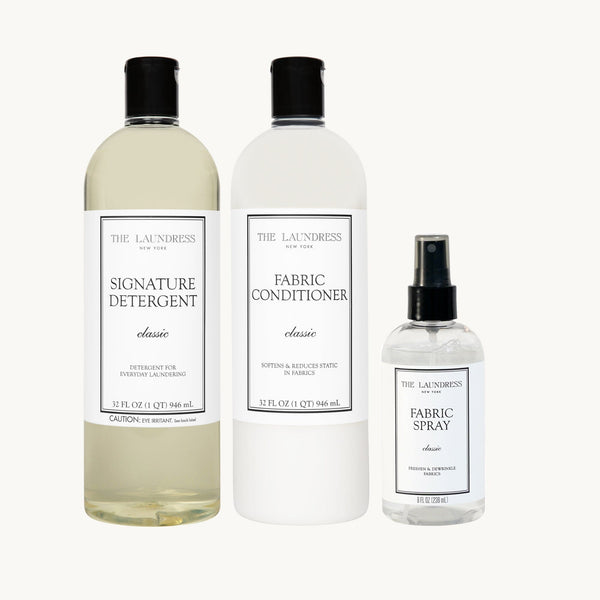
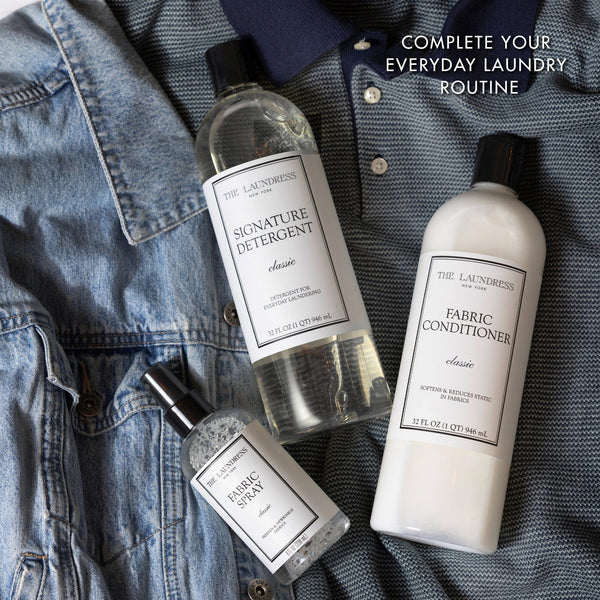
More durable vintage items like denim and bulky sweaters can take a spin in the machine! Always turn inside out and place in a Mesh Bag to add a layer of protection during the wash. Select a cold, delicate cycle and use Wool & Cashmere Shampoo for knits and Signature Detergent for denim and other cotton and poly fabrics. For more delicate items like blouses and sleepwear, opt for Delicate Wash and be sure to select a “hand wash” or delicate cycle with low spin. Remove promptly from the machine after washing to cut down on wrinkling.
Dry
It's always best to air-dry vintage items to preserve fit and finish. Lay pieces flat on a clean towel and roll up to remove excess water. Lighter items can hang dry, while bulkier garments should be laid flat. Not sure whether to hang or to dry? Check out our go-to guide.

Freshen
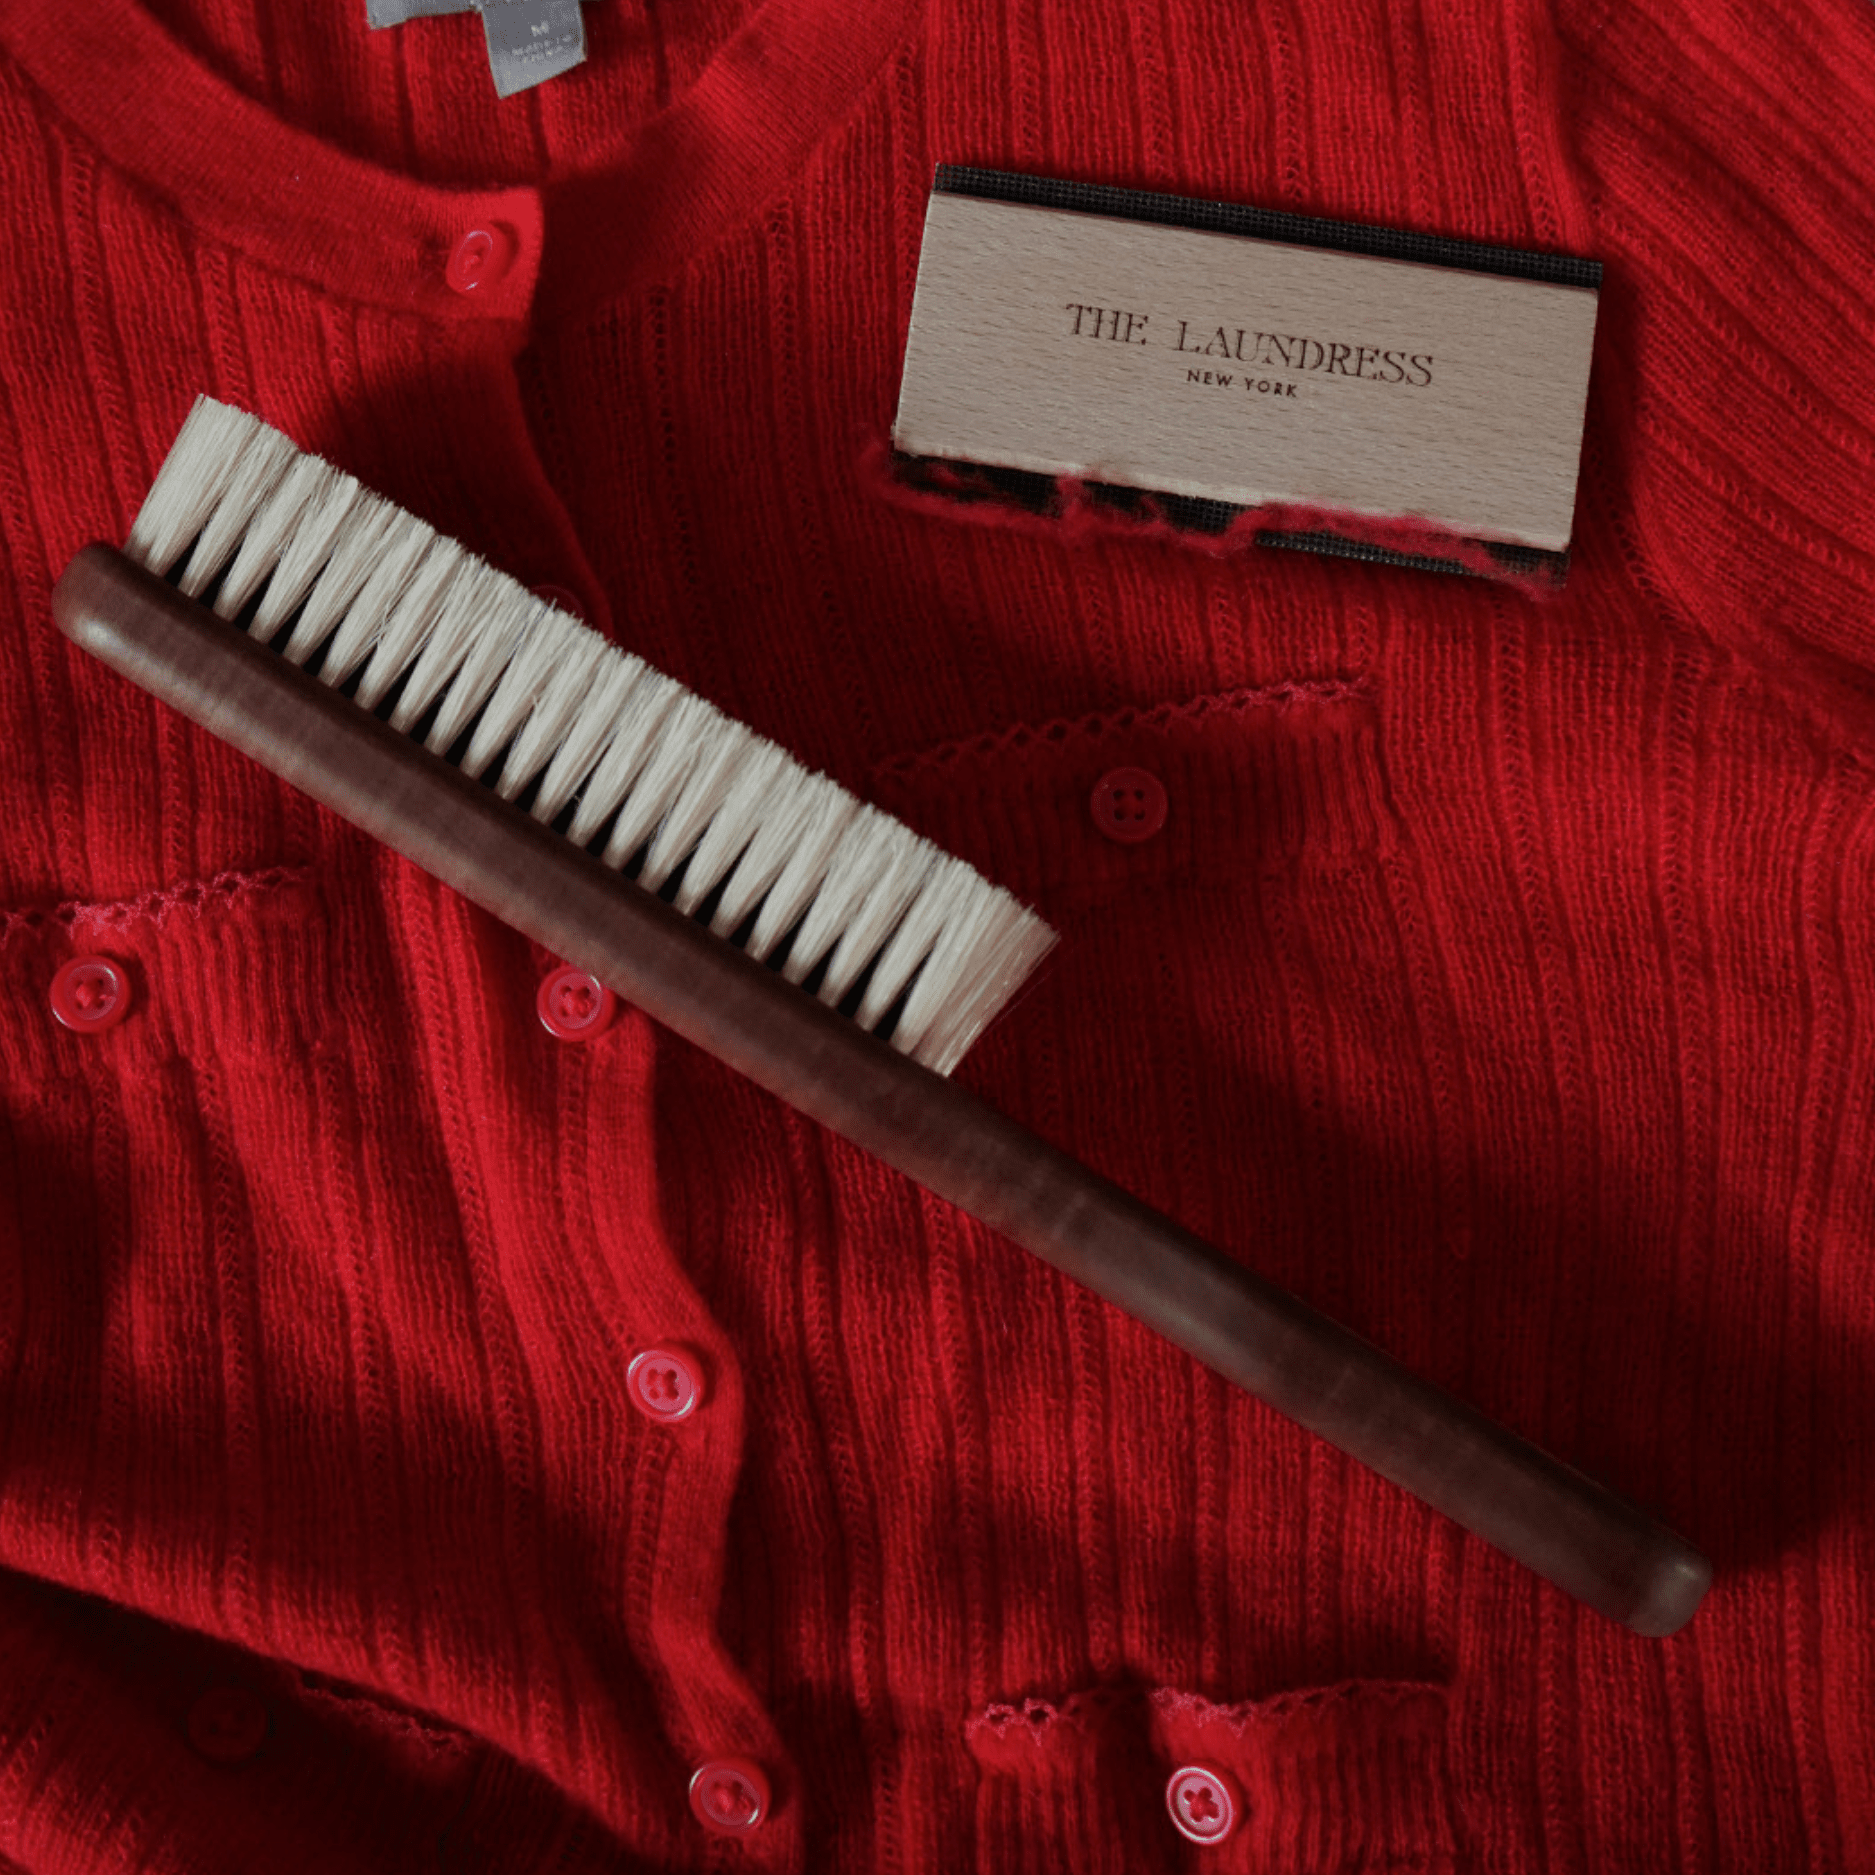
Steam as needed for the perfect wrinkle-free finish. It’s important to avoid over-washing delicates, so a hand steamer is the ideal tool to freshen in between washes and wears. If ironing delicates, be sure to use a protective cloth in between the garment and the iron to help prevent scorching. Never iron knits, as it can crush and flatten the yarns.
Shop The Story
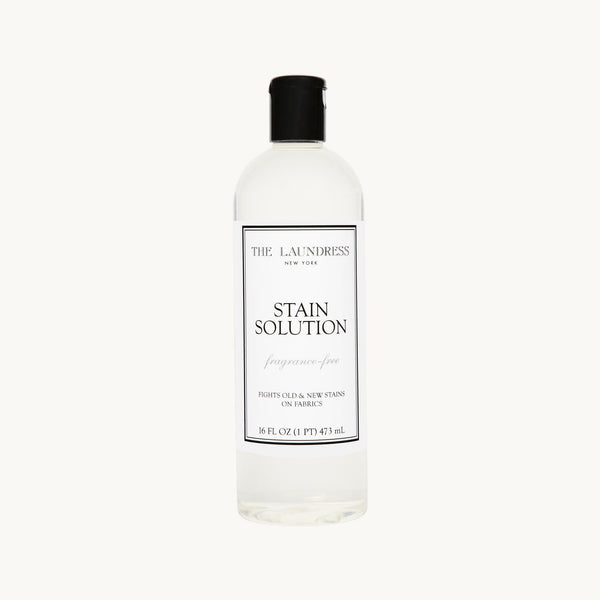
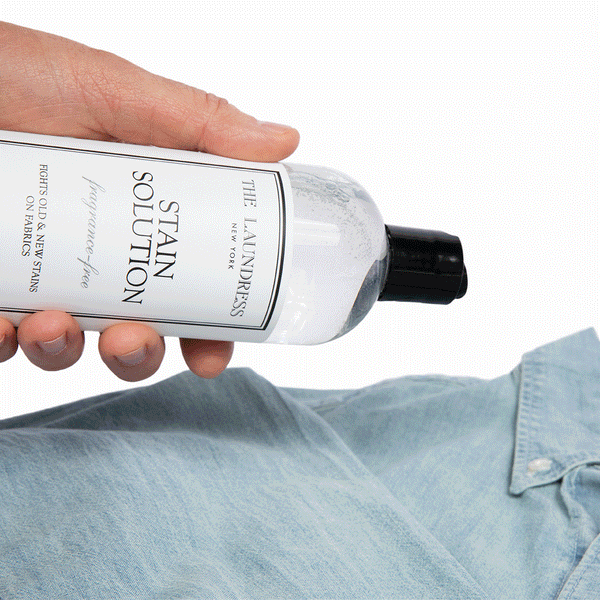
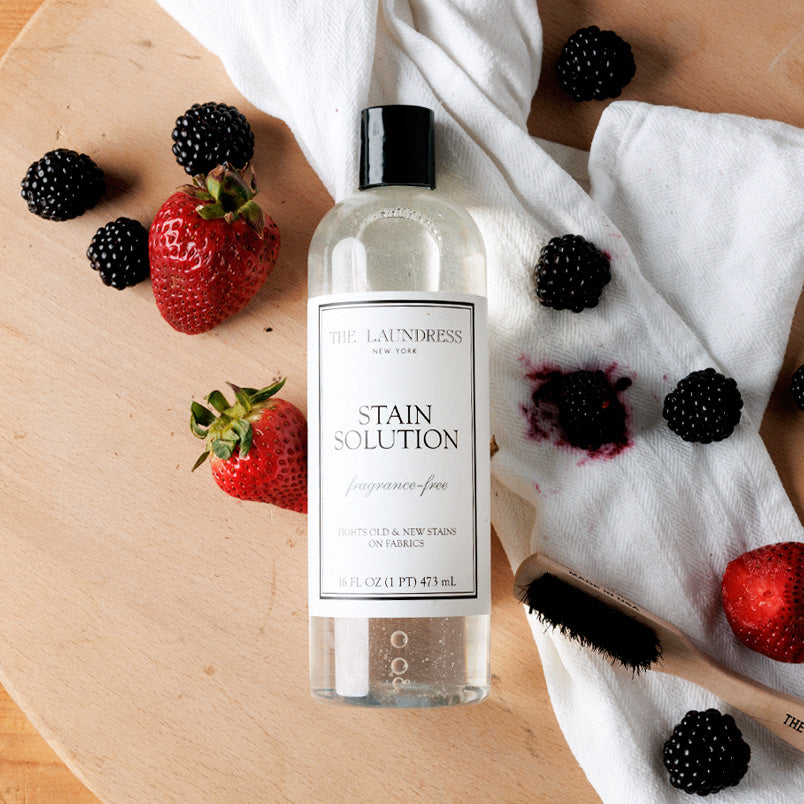
Fights Old & New Stains On Fabrics

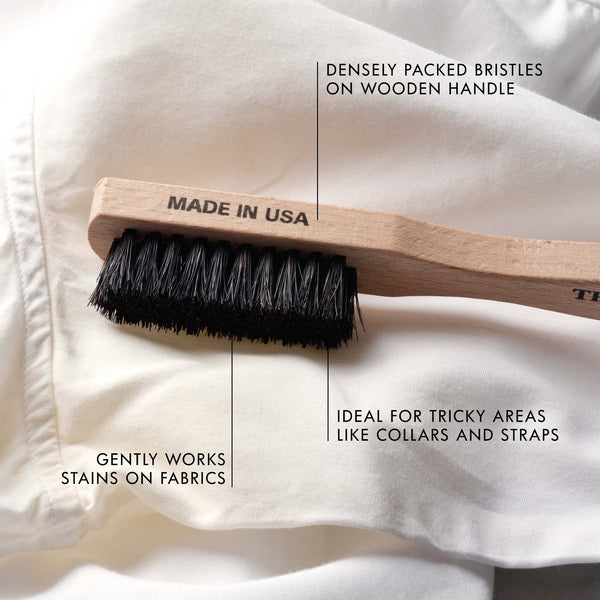
Aid Stain Removal
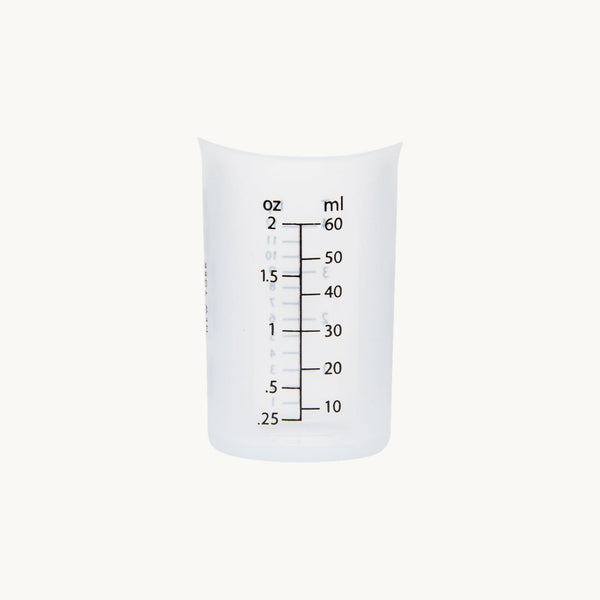
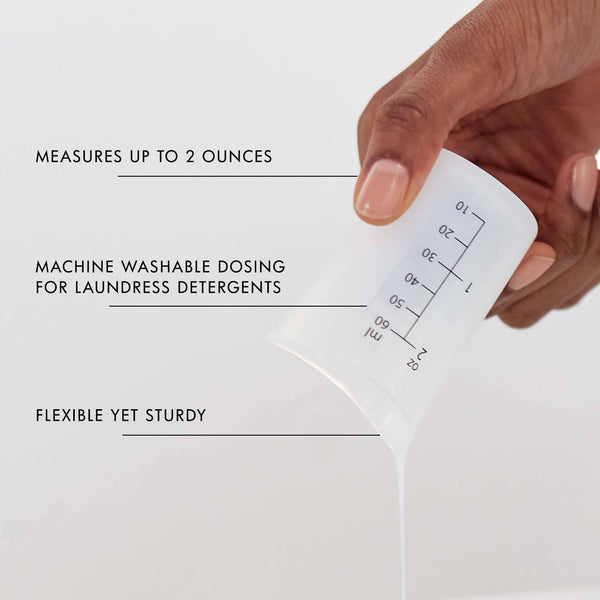
Dosing For Fabric Care

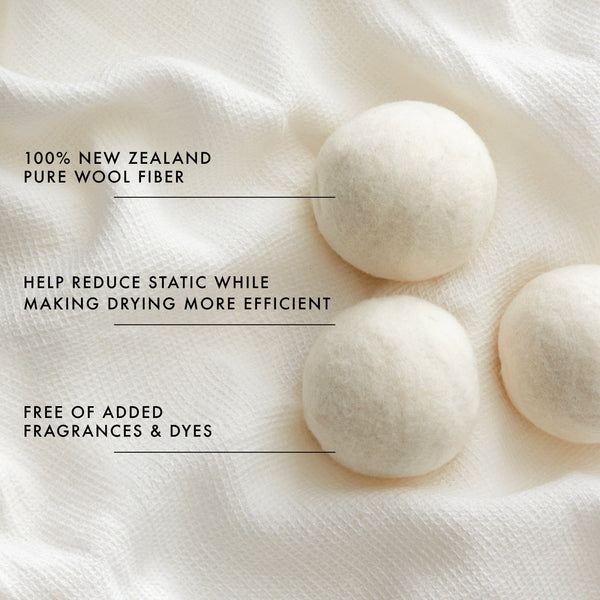
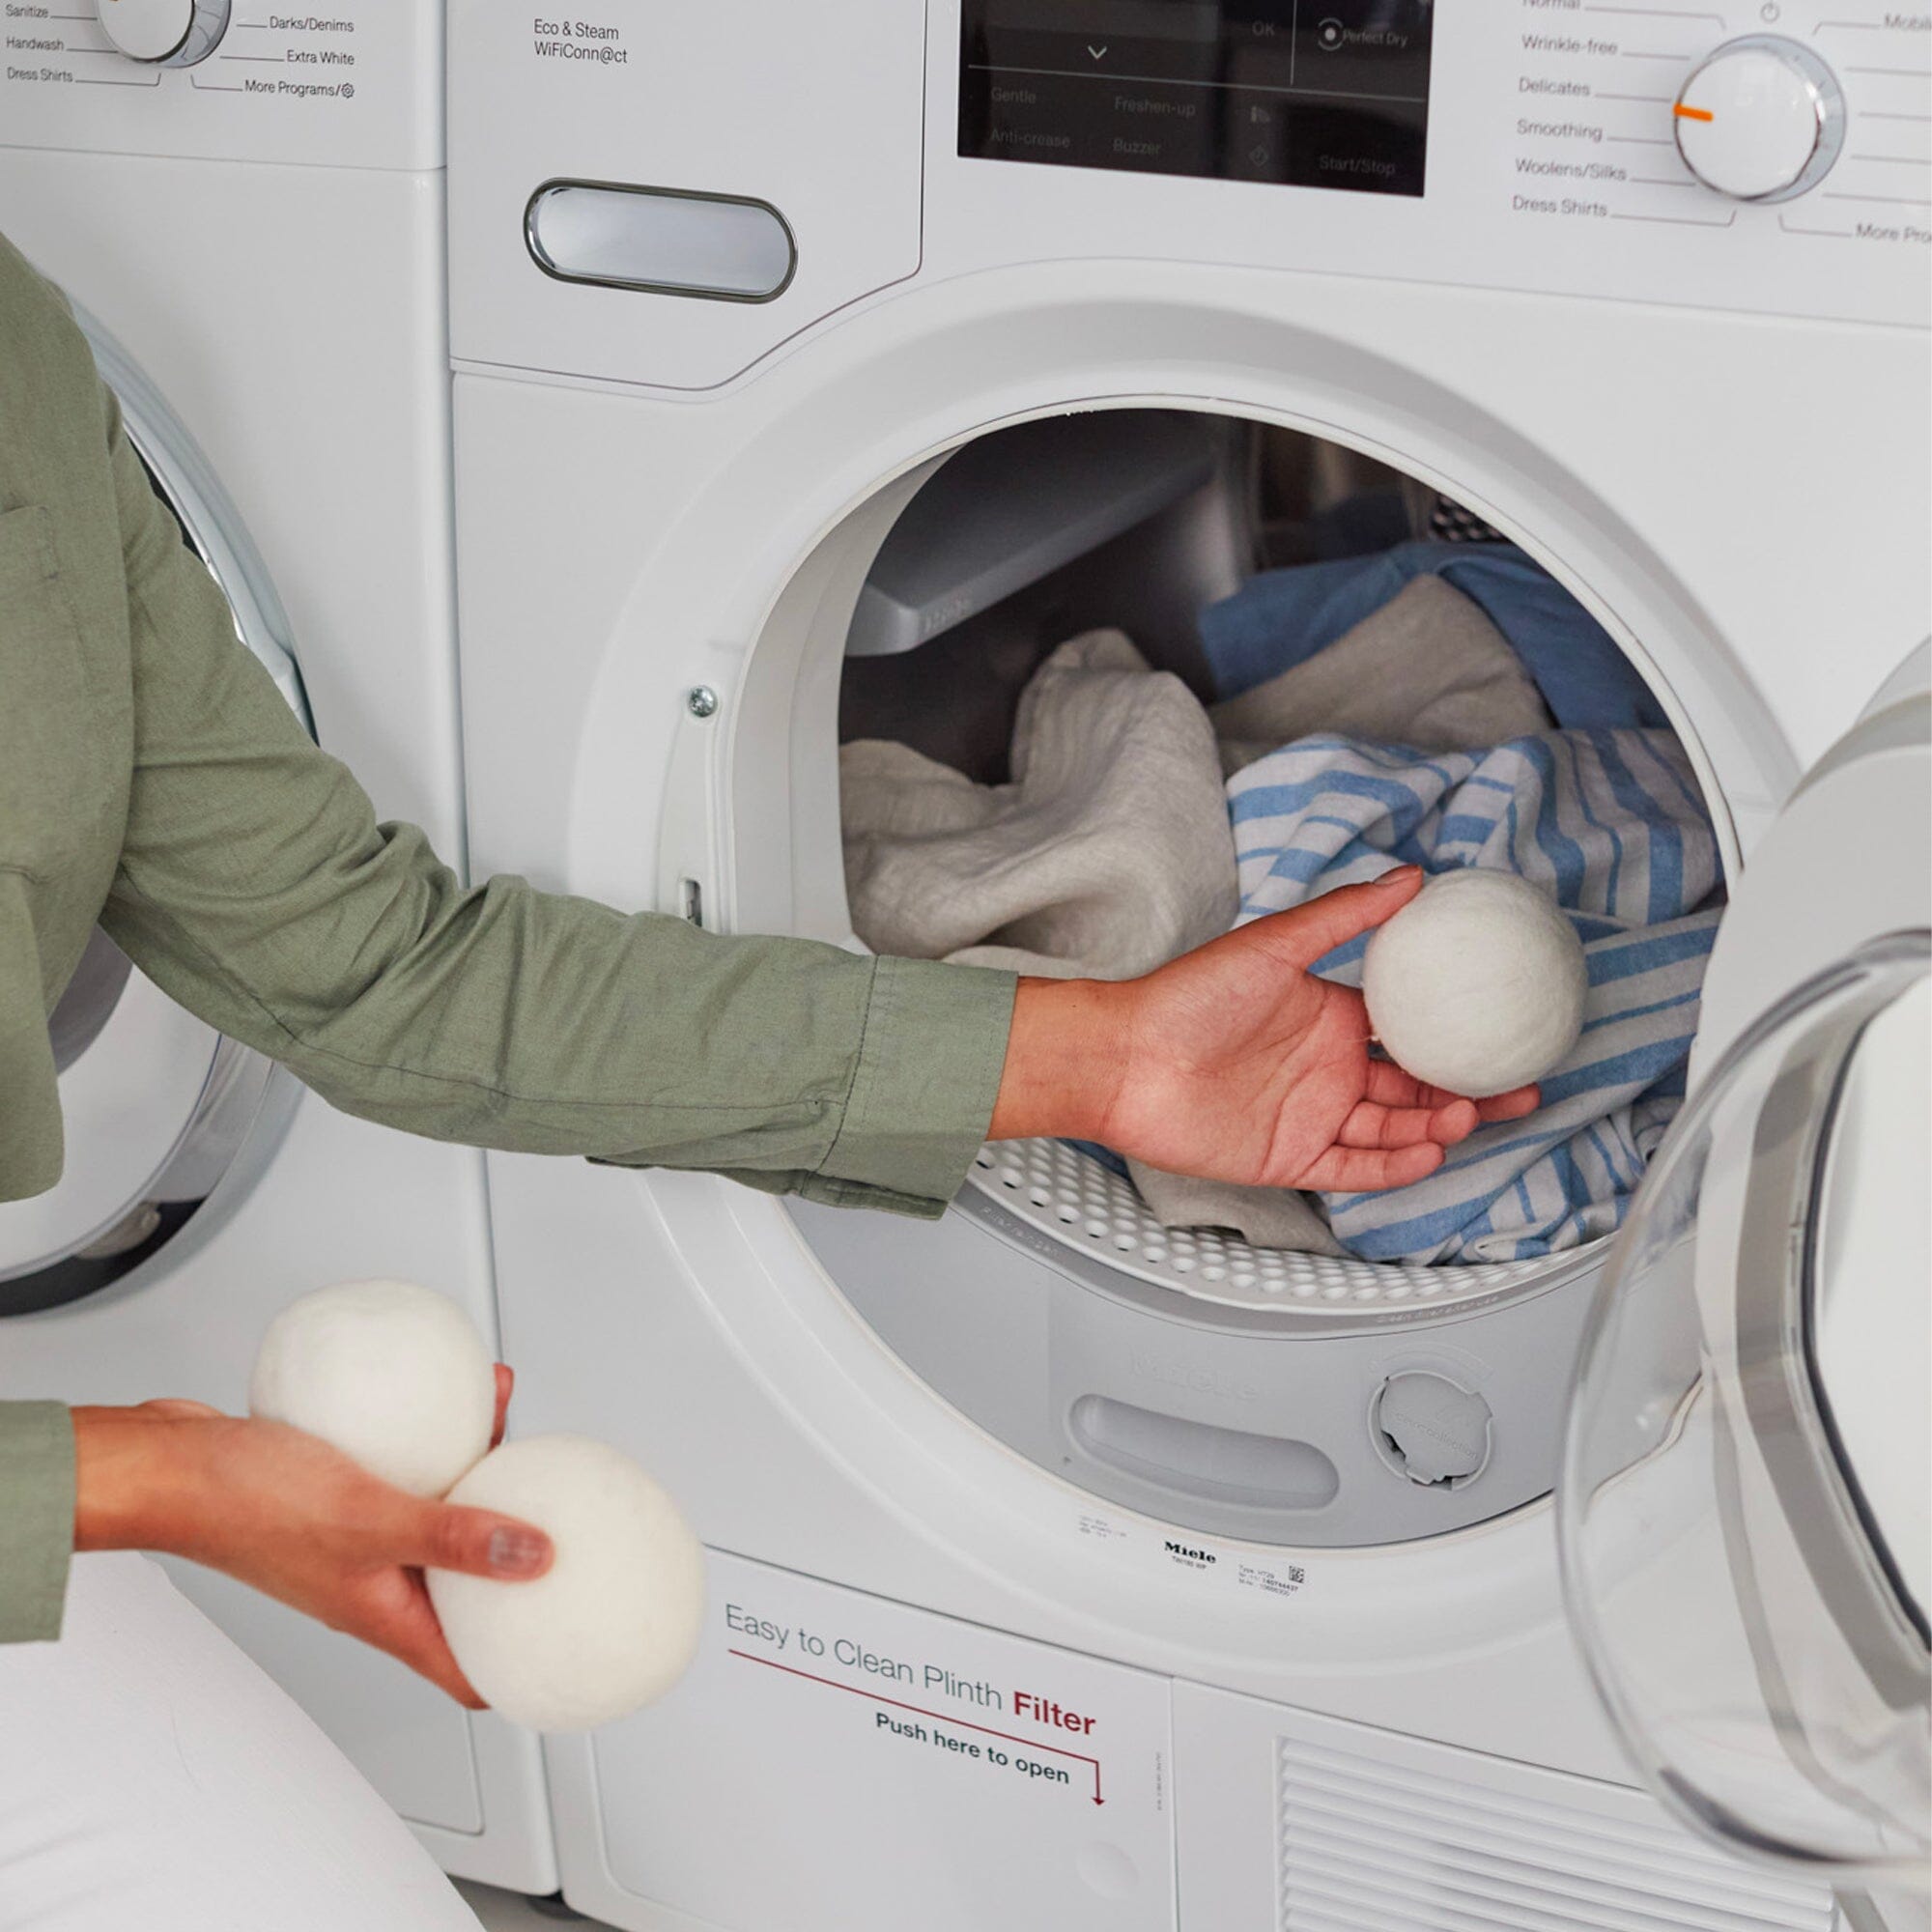
Fluff & Reduce Static During Drying
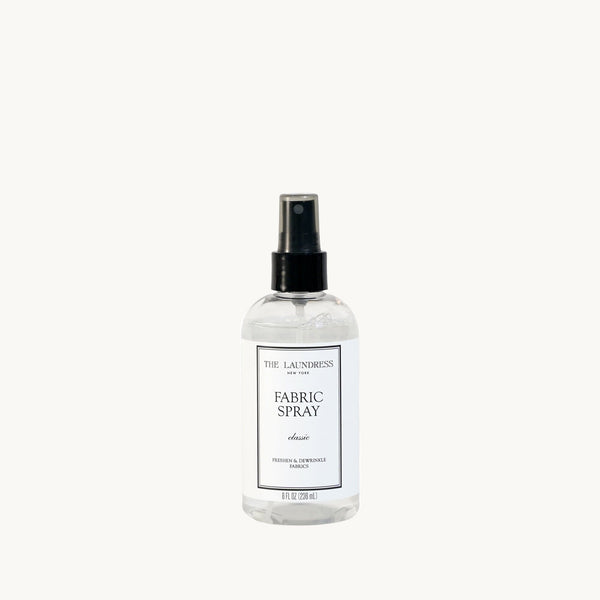
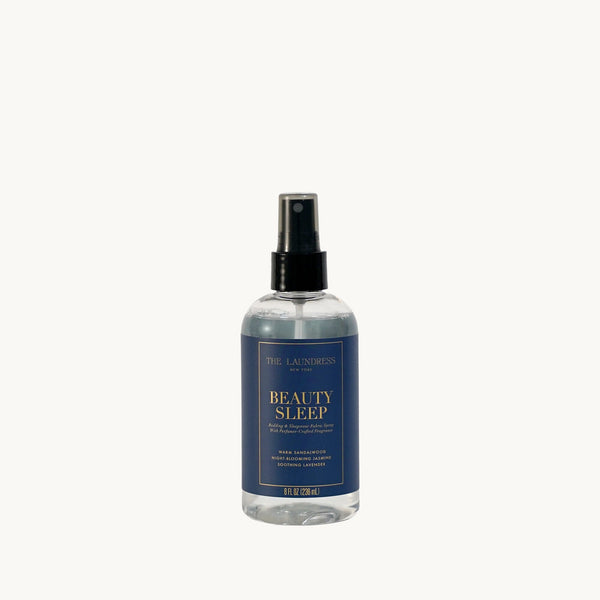
Dewrinkle Fabrics & Clean Laundry Scent
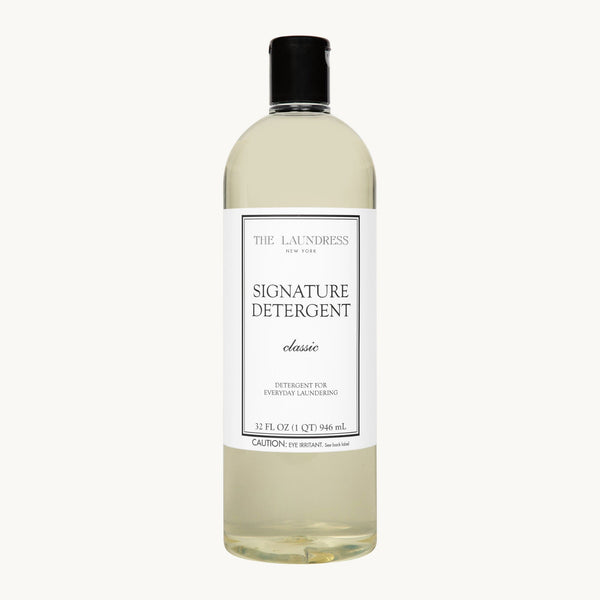
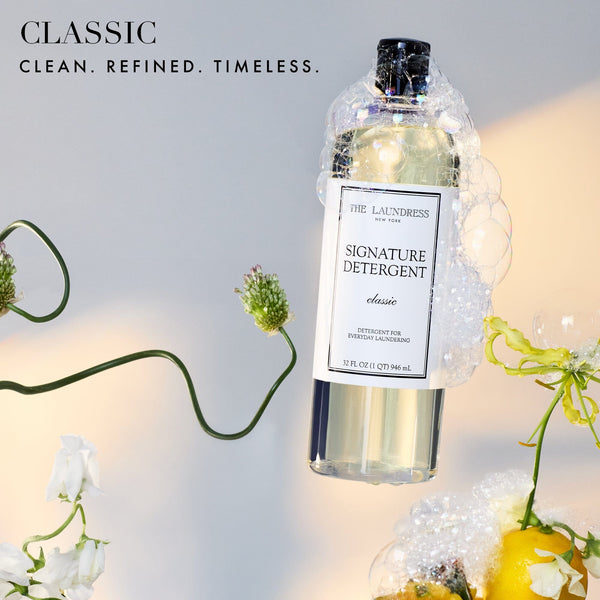
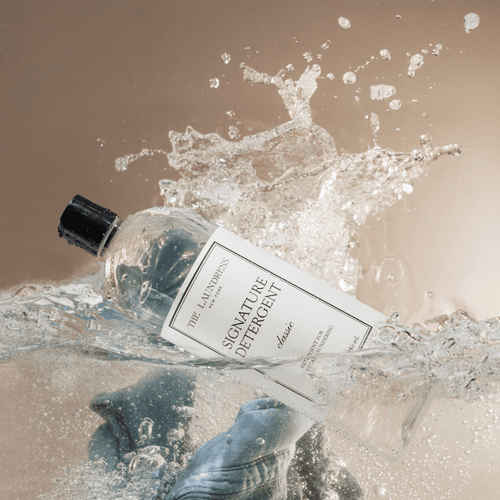
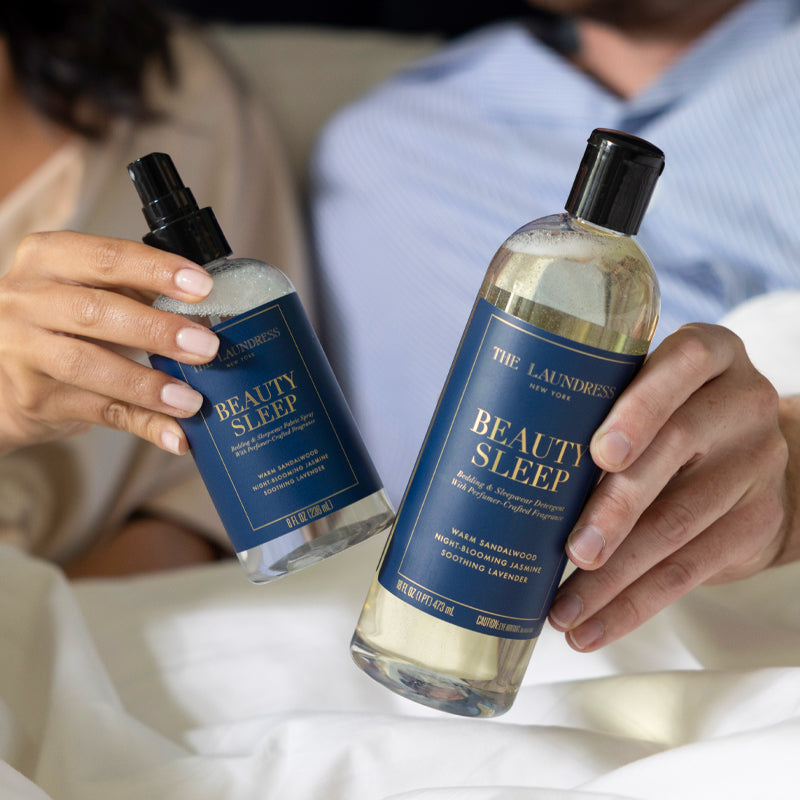
Detergent For Everyday Laundering
Deep Cleaning Essentials for Everyday Laundry